-

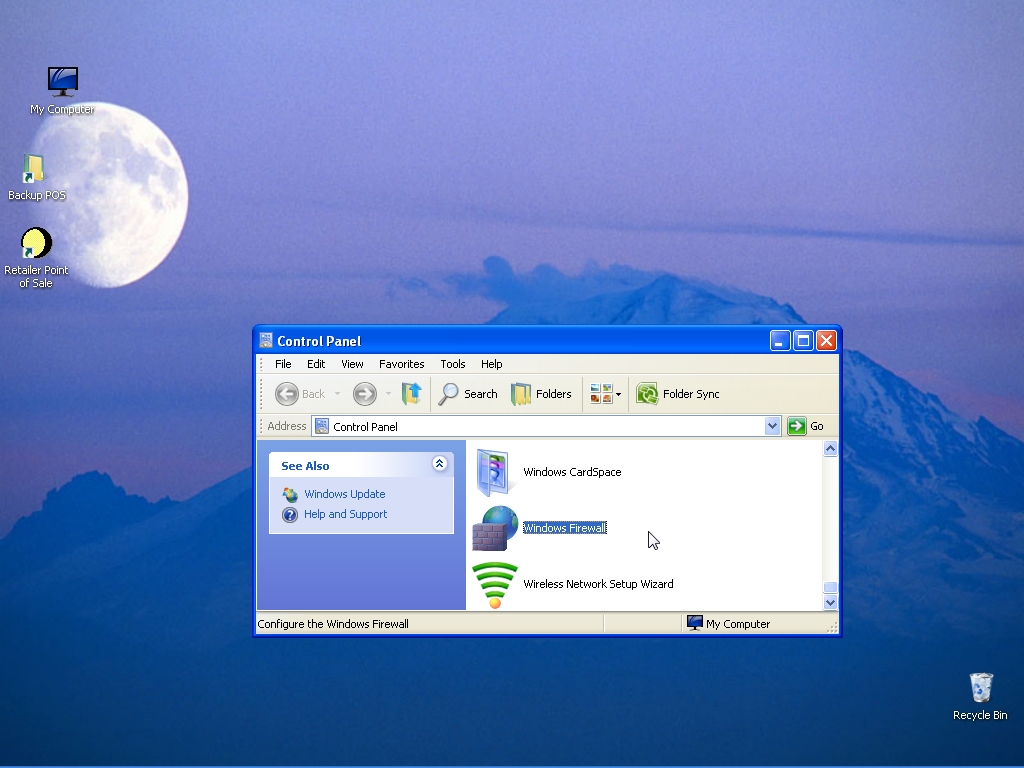
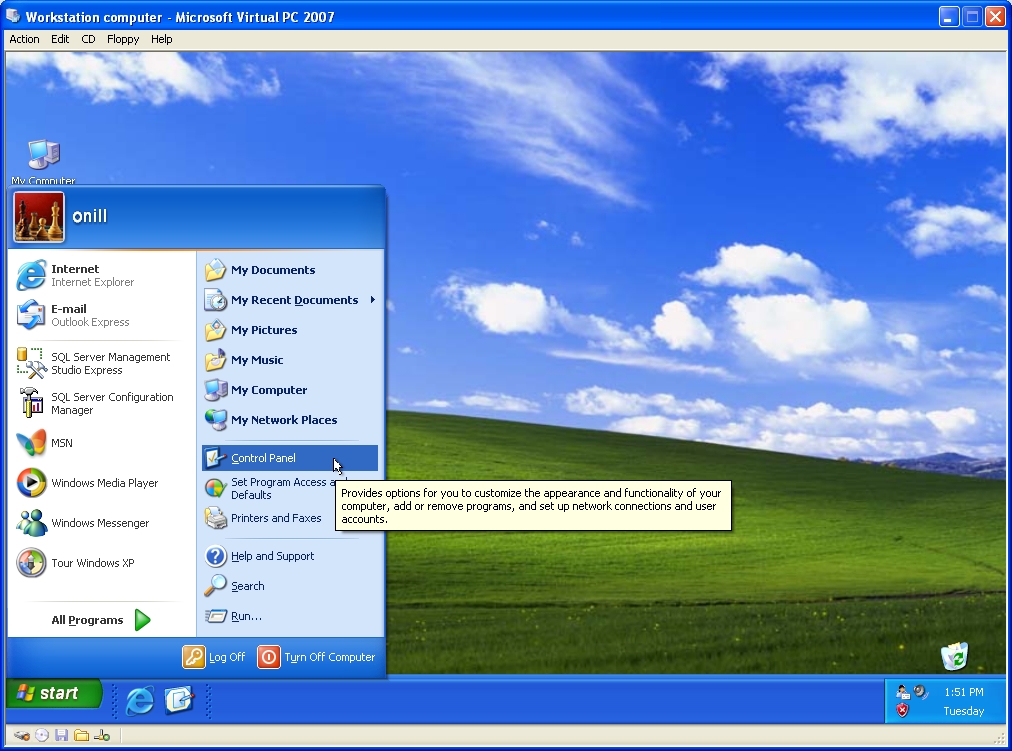
Go to “Control Panel”
-

Go to “Windows Firewall”
-
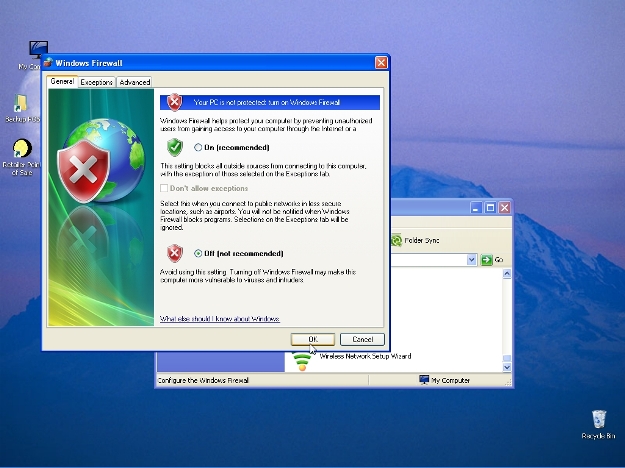
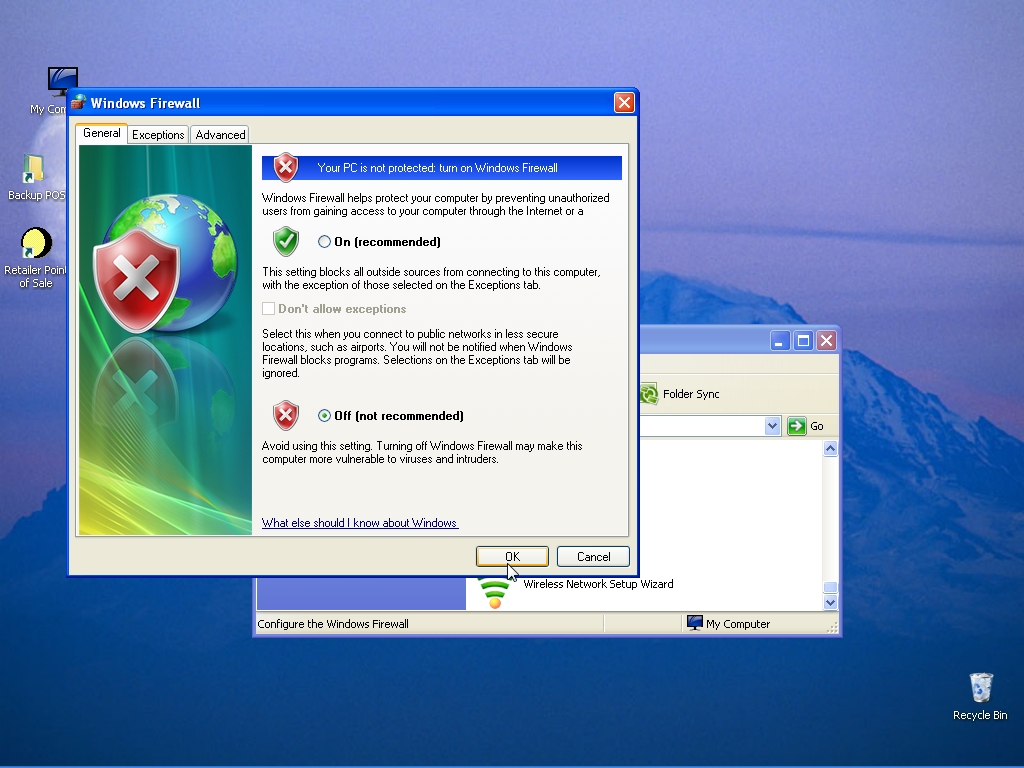
To turn off the computer’s firewall click “Off”, and then ok (WARNING: All programs will be allowed through the firewall).
To keep computer’s firewall on, but allow SQL to pass through the firewall click “On”, and then click the “Exceptions” page.
-

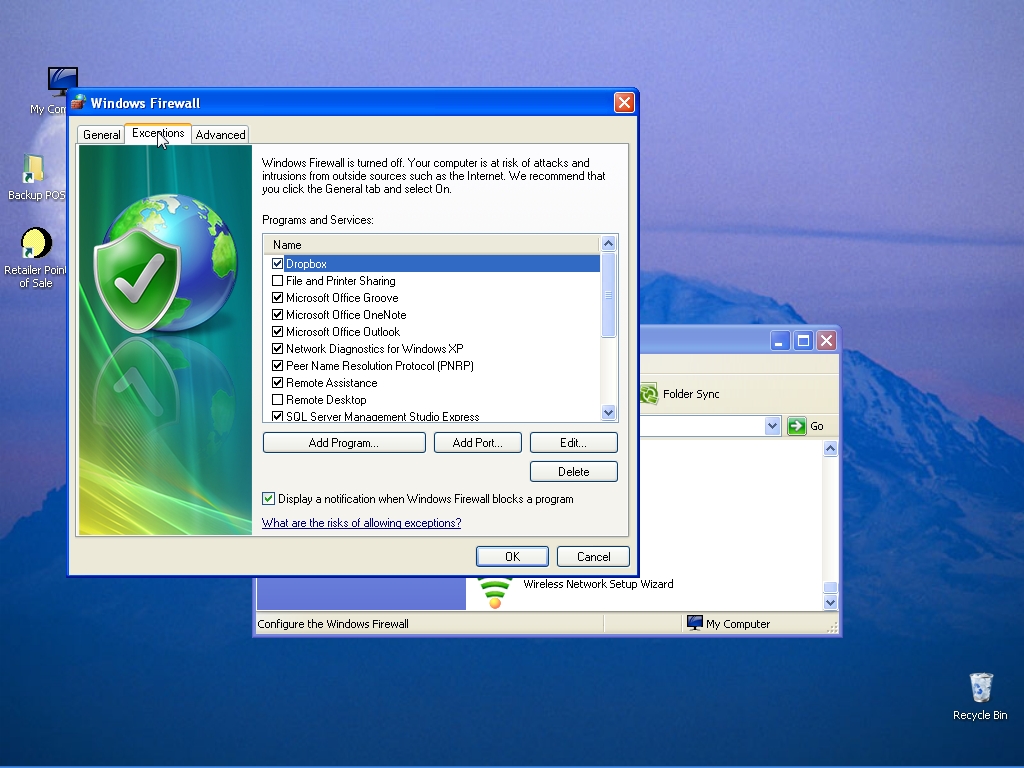
The ticked programs are allowed though the firewall but unticked programs will be denied if it attempt to go through the firewall.
-
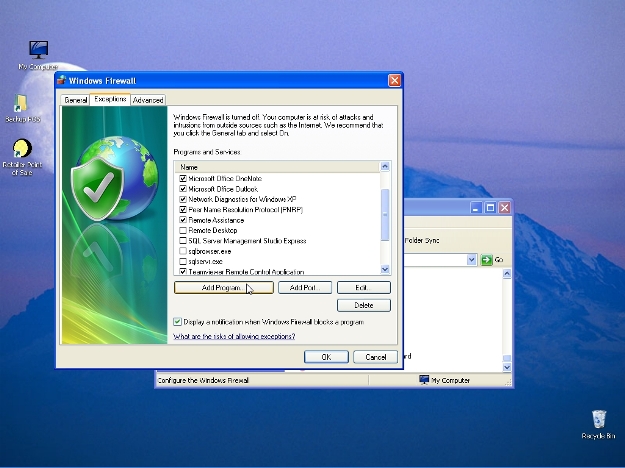
Select “Add Program” to choose the SQL files to be allowed through the firewall.
-
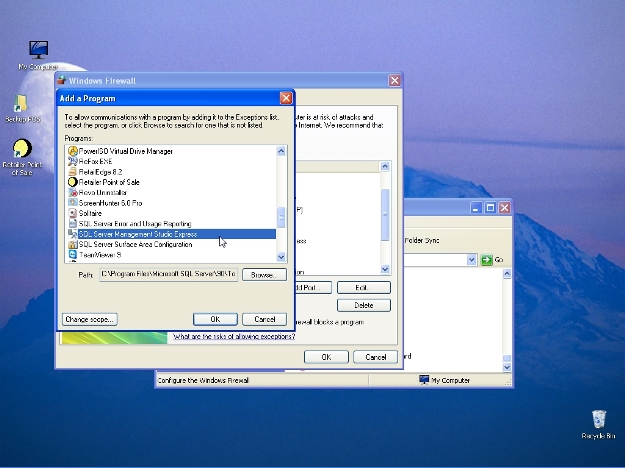
Select “SQL Server Management Studio Express”, and then click “Ok”.
-
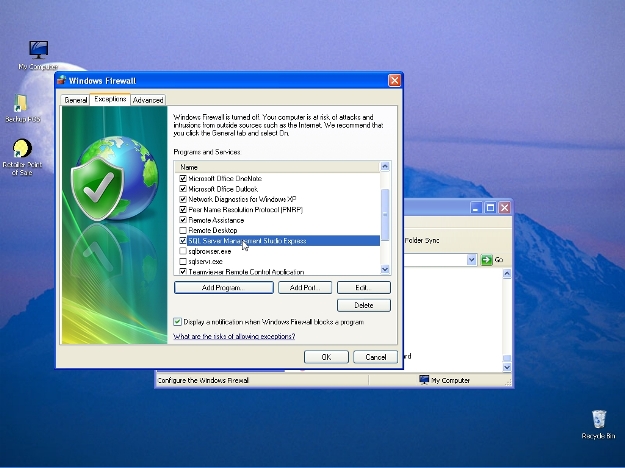
“SQL Server Management Studio Express” is chosen for passage through the firewall. Click “Add Program” to another SQL program.
-
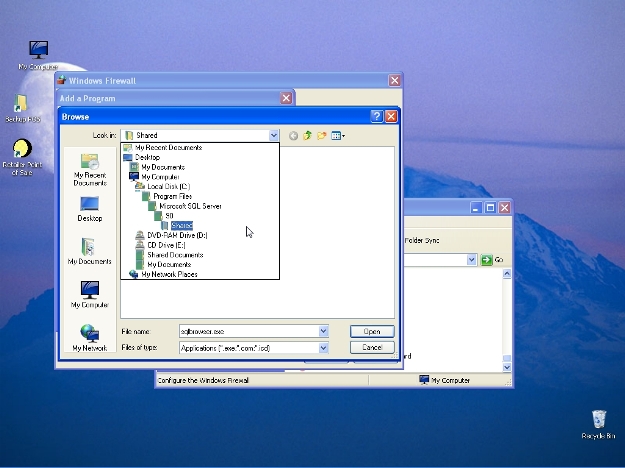
Click “Browse” and then select the folder “C:\Program Files\Microsoft SQL Server\90\Shared”
-
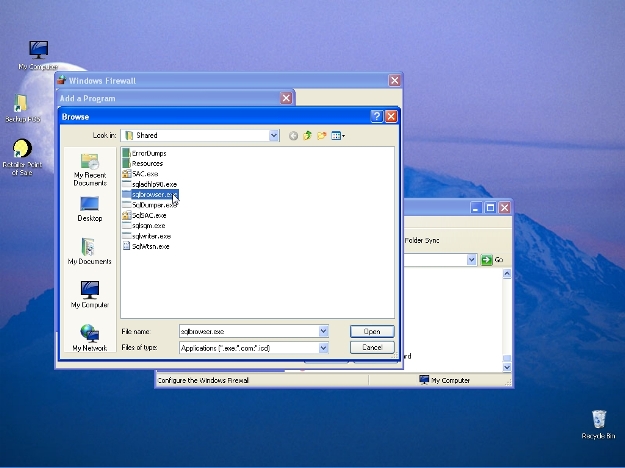
Choose “sqlbrowser.exe” and then click “Open”
-
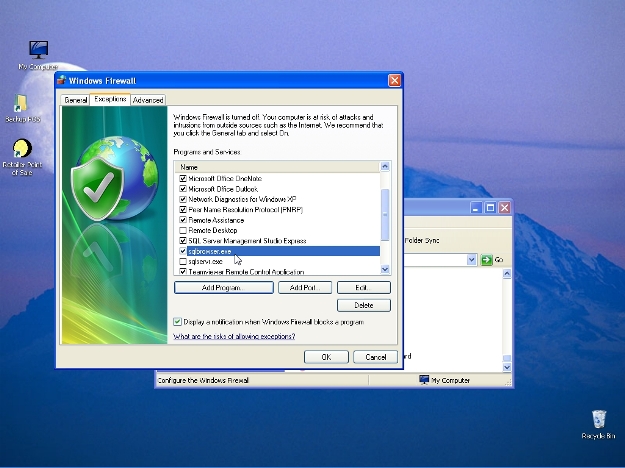
“sqlbrowser.exe” is ticked and will be allowed passage through the firewall. Click “Add Program” to another SQL program.
-

Click “Browse” and then select the folder “C:\Program Files\Microsoft SQL Server\MSSQL.1\MSSQL\Binn”
-
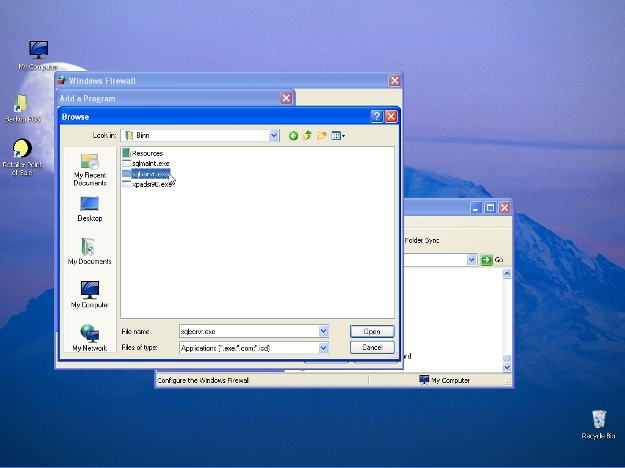
Choose “sqlservr.exe” and then click “Open”
-
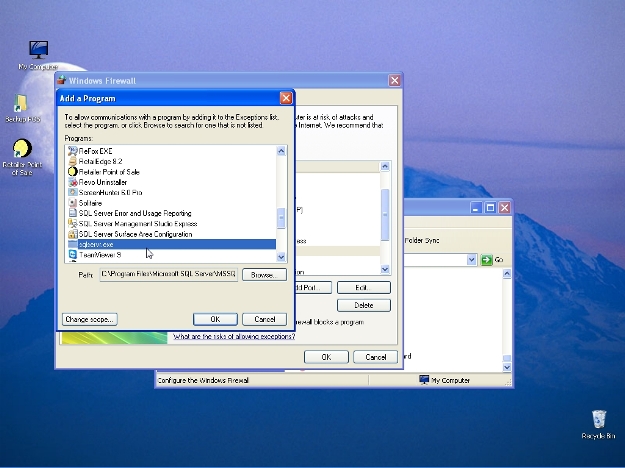
Click “Ok” to select “sqlservr.exe”
-

“sqlservr.exe” is ticked and will be allowed passage through the firewall. Click “Ok” to accept the SQL programs and exit the Windows Firewall program.
-

Close “Control Panel”
-

The SQL programs chosen will now be allowed through the Windows Firewall.
-
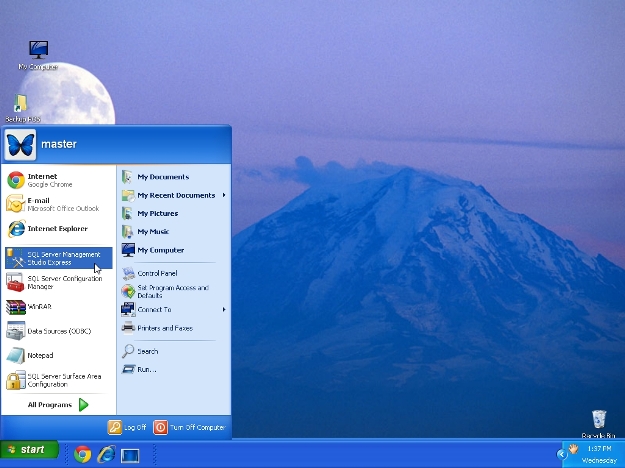
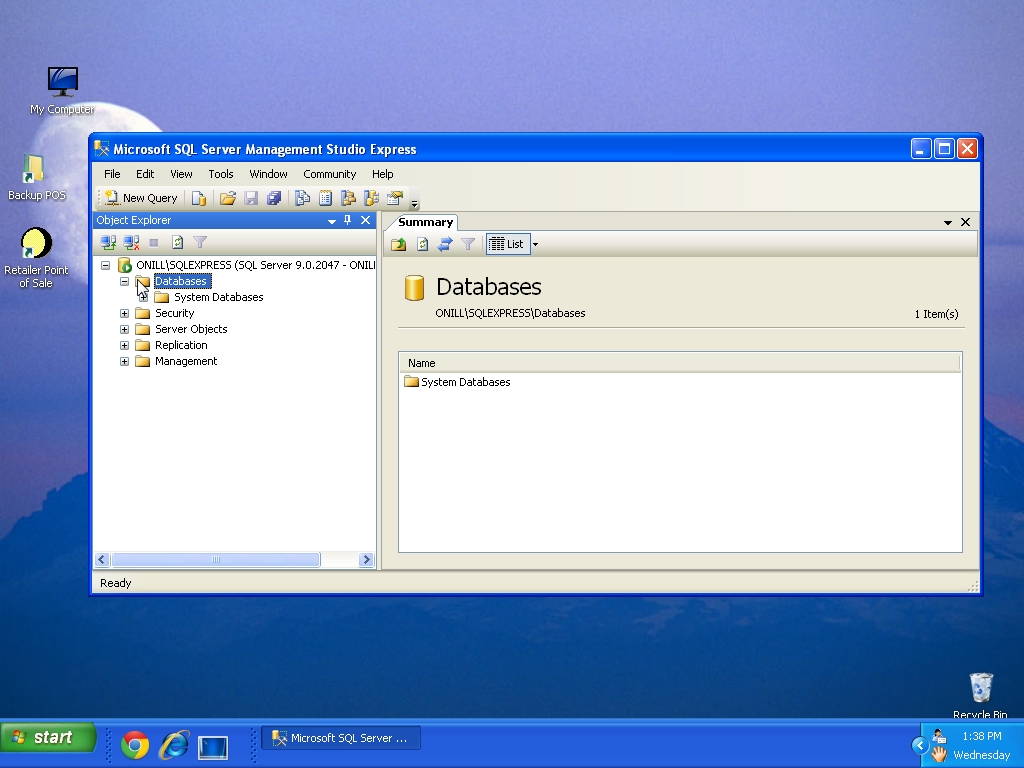
Select “SQL Server Management Studio Express”
-

Click “Connect” to logon to SQL Server.
-

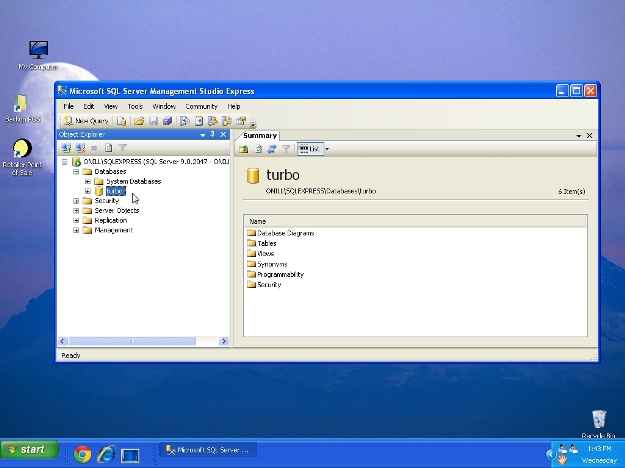
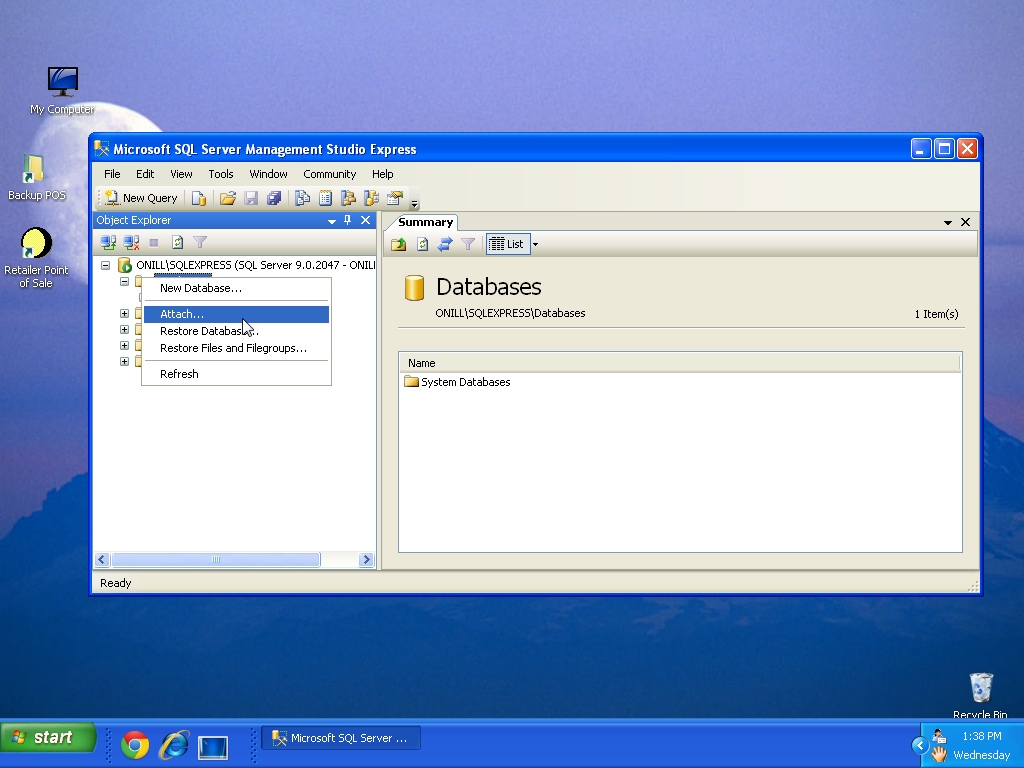
Select “Databases”
-

Right click on “Databases”, and then select “Attach” from the pop-up menu.
-

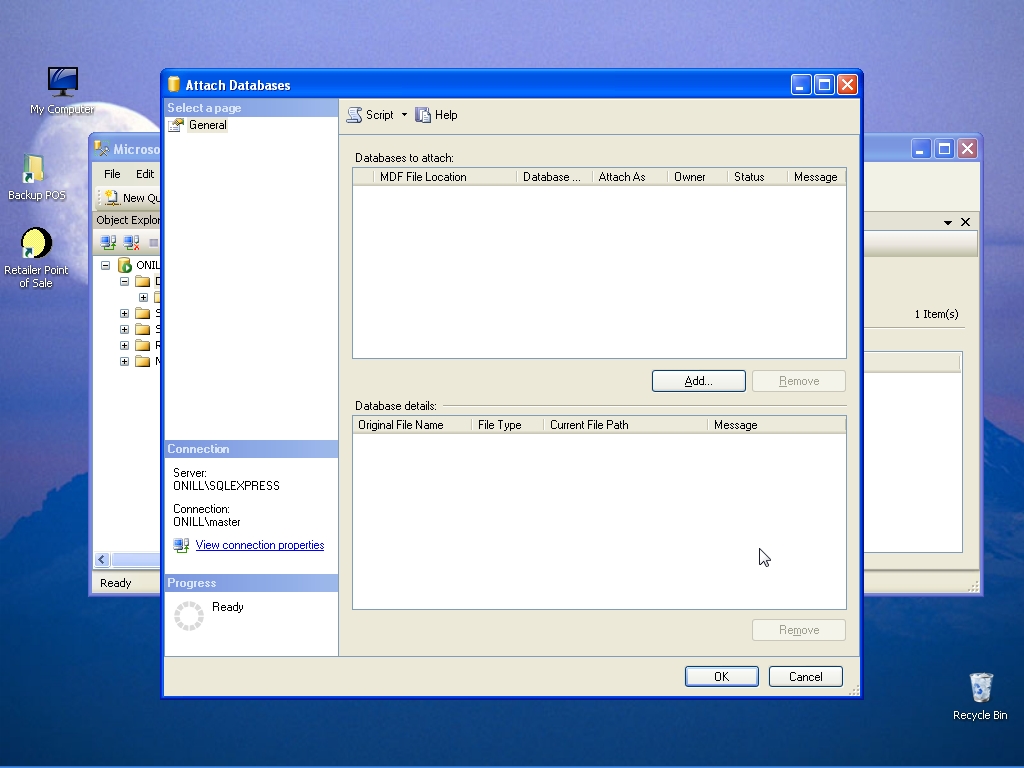
Click “Add” to select your data file.
-

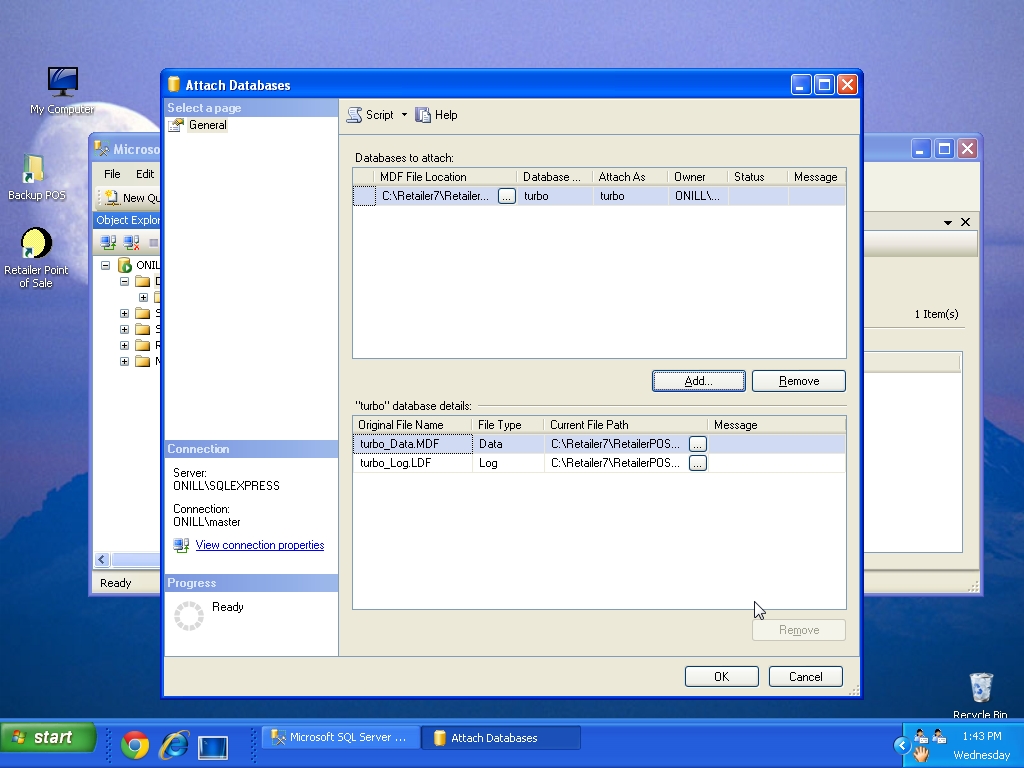
Select the data file “C:\Retailer7\RetailerPOS\RM\data\turbo_Data.MDF”
-

Click “Ok” to attach the data file to the SQL Server.
-
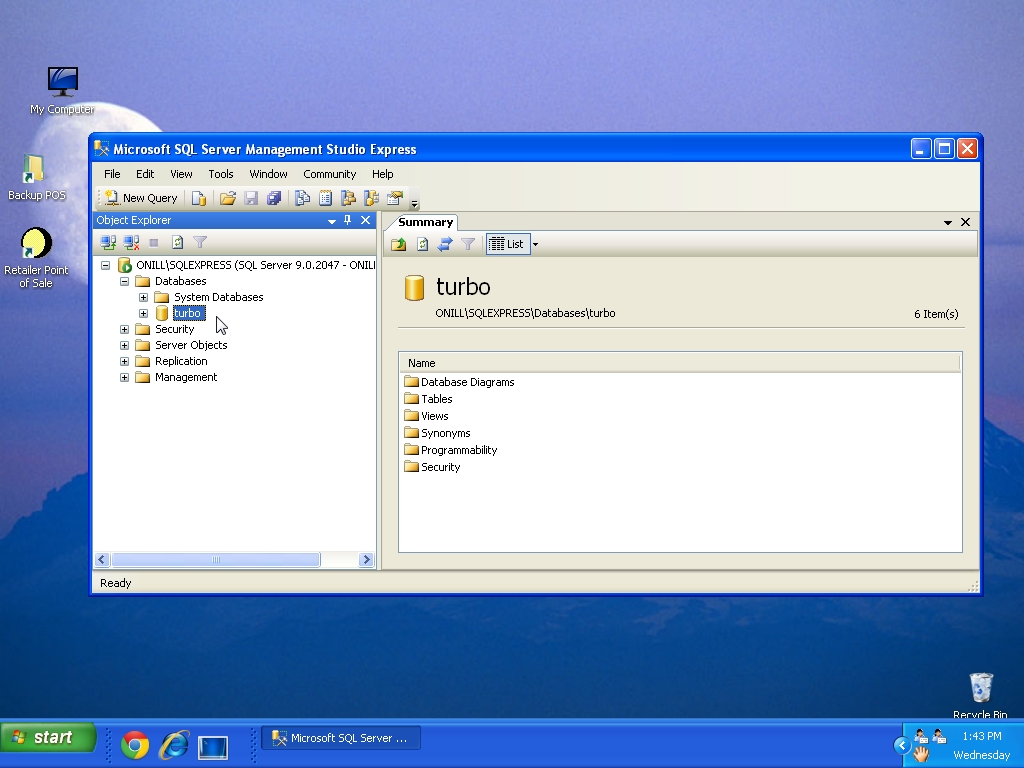
The data file is now ready to be used by the Retailer software. Close the “SQL Server Management Studio”.
The next step is to setup an ODBC connection.
-

The next step is to setup an ODBC connection.
A windows ODBC connection will be used as a bridge for reading and writing information to the SQL data file.
-
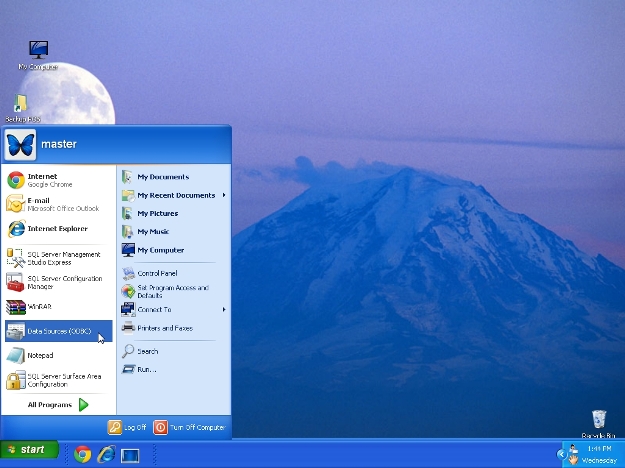
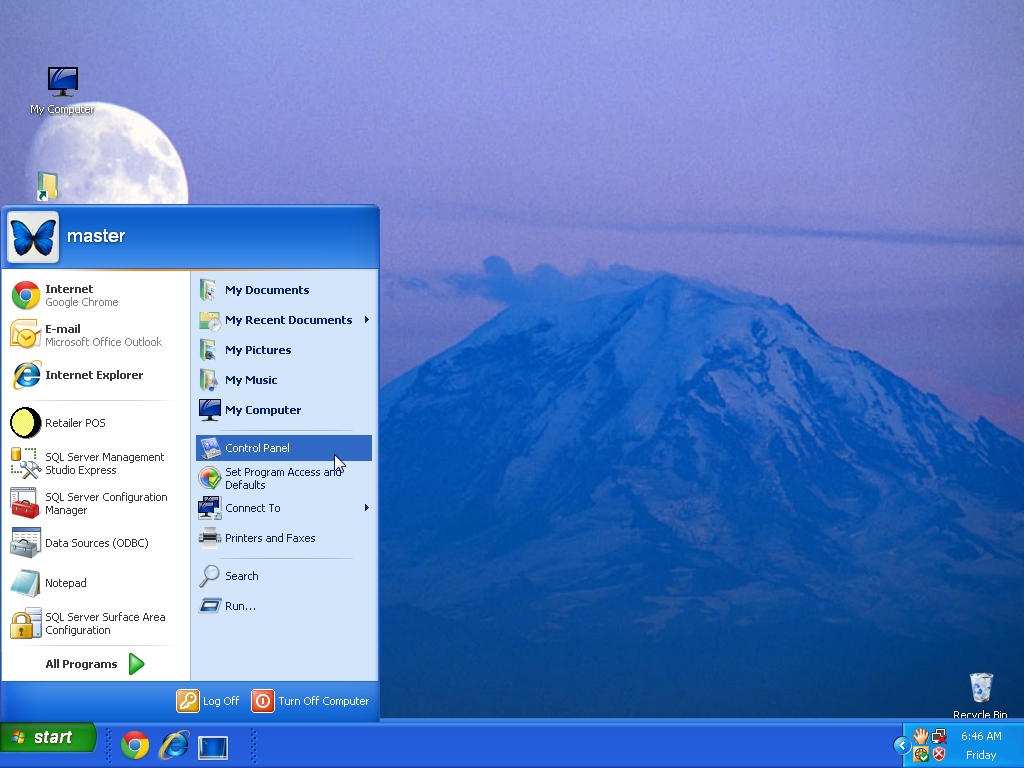
Select “Data Sources (ODBC)”, if this item is available at the “Windows Start” menu. Otherwise select “Control Panel”
-

Select “Control Panel”
-

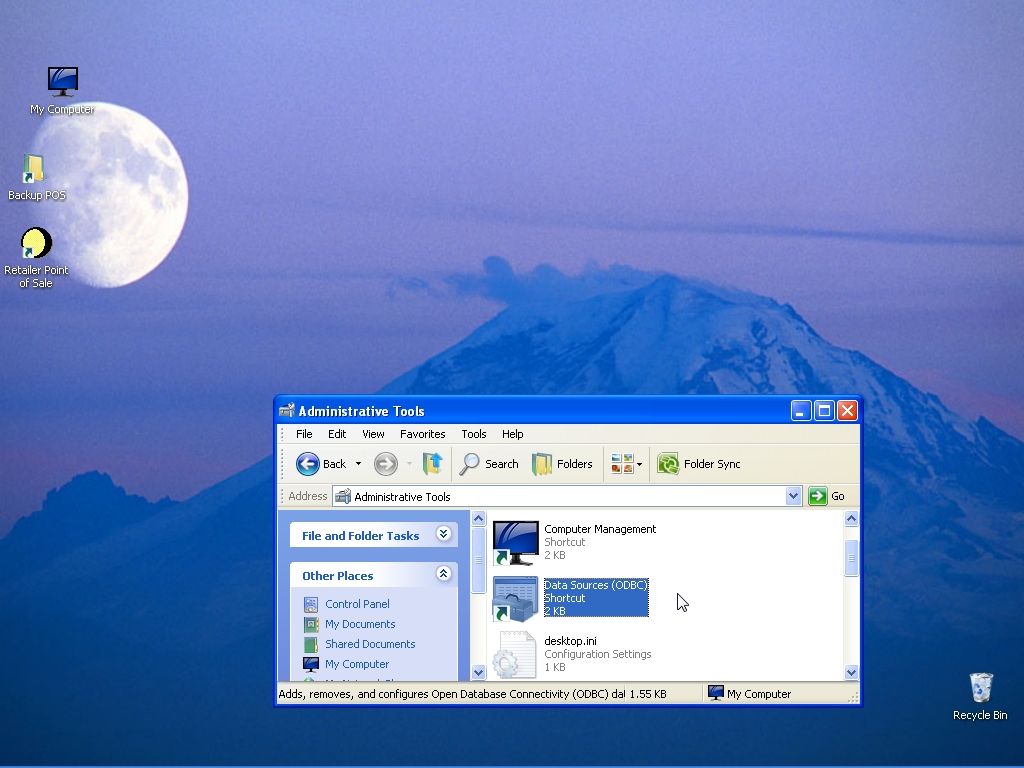
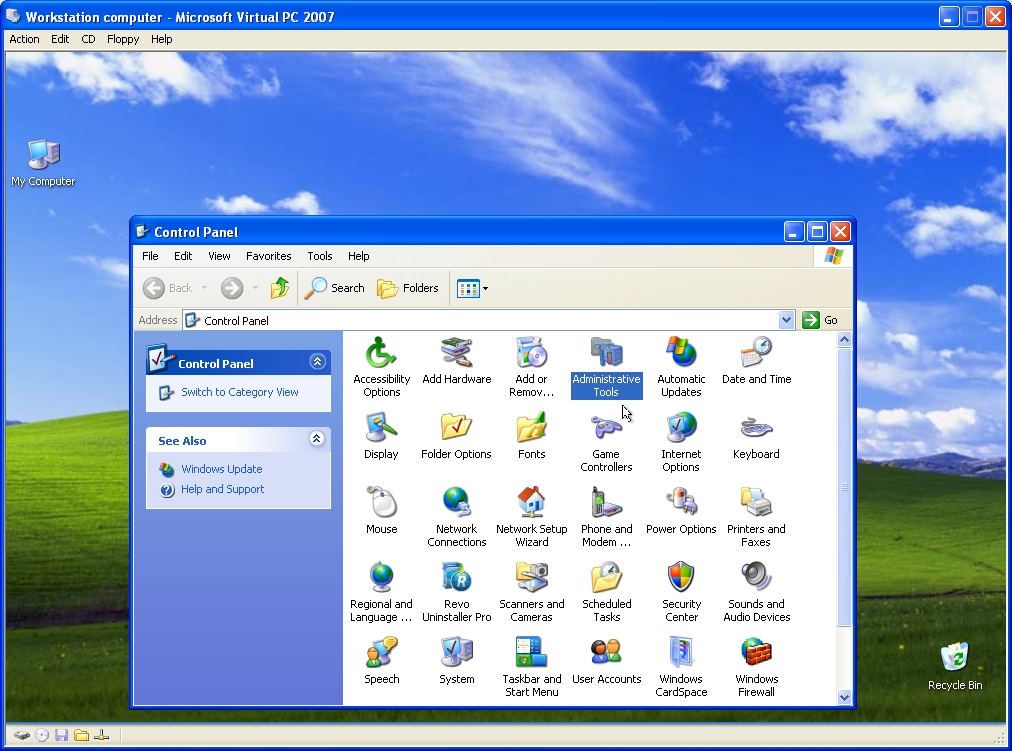
From the control panel, select “Administrative Tasks”.
-

From the Administrative Tasks, select “Data Sources (ODBC)”
-
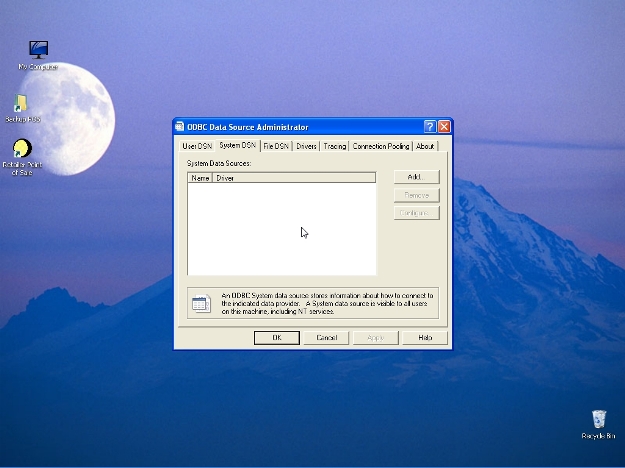
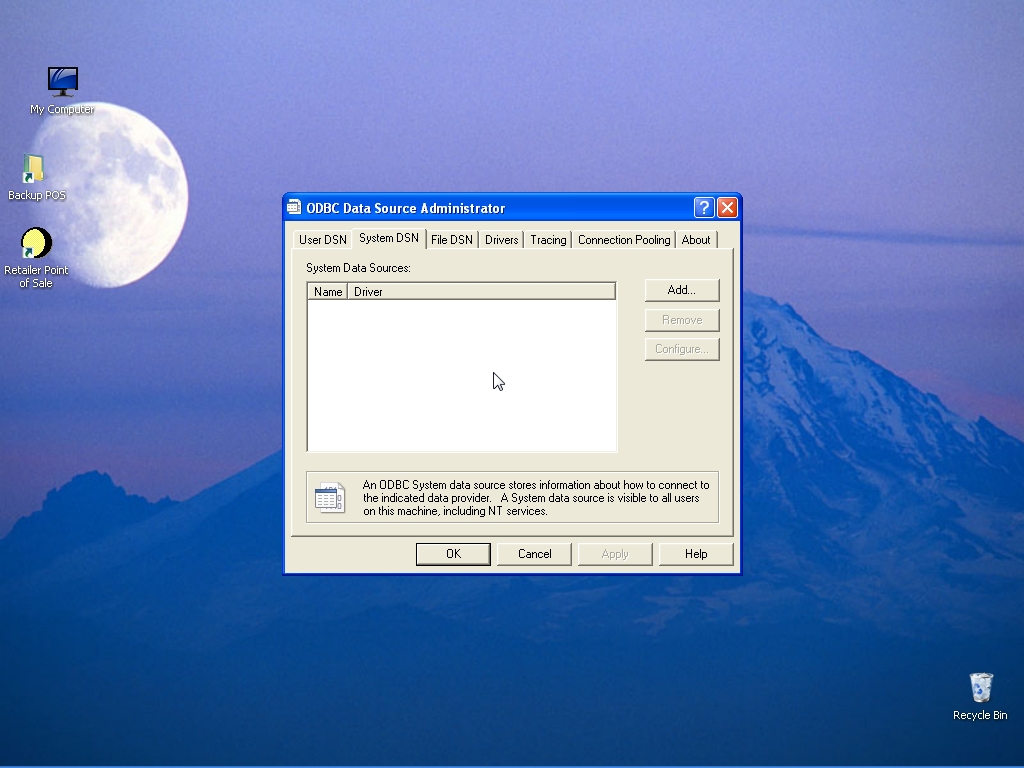
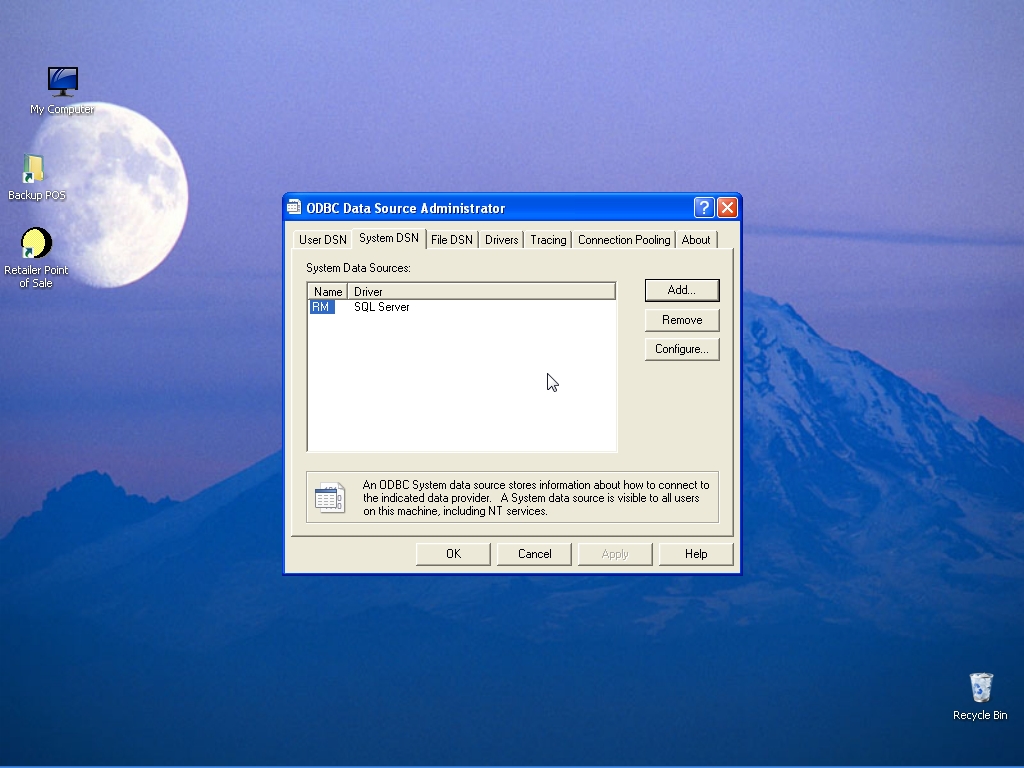
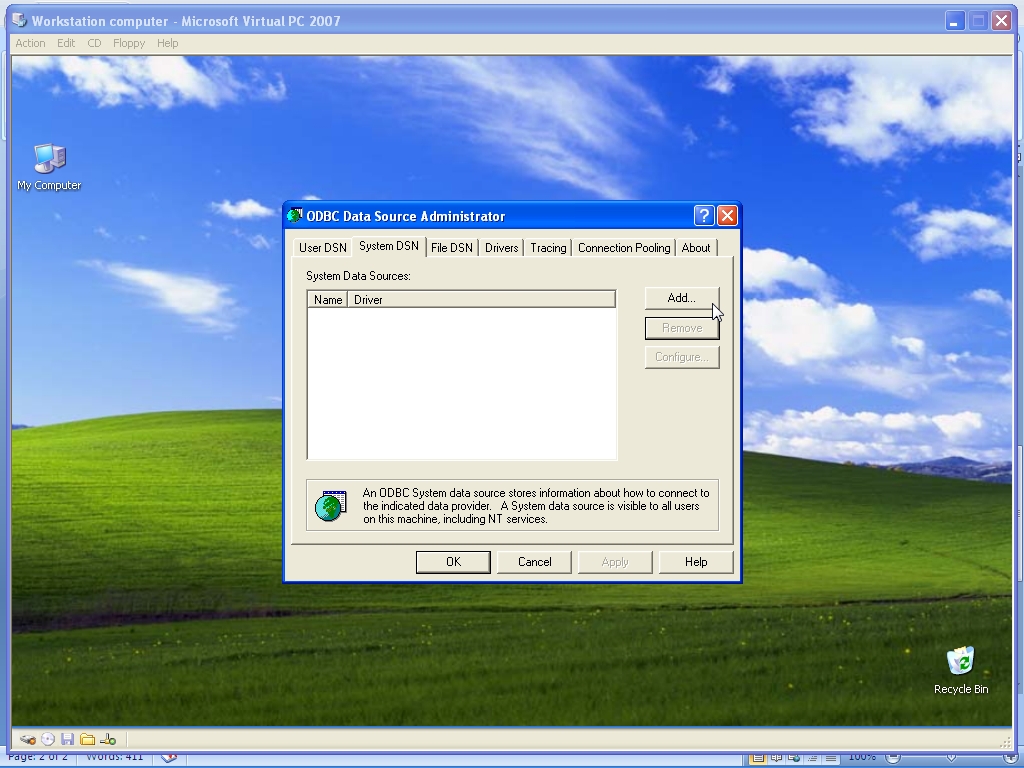
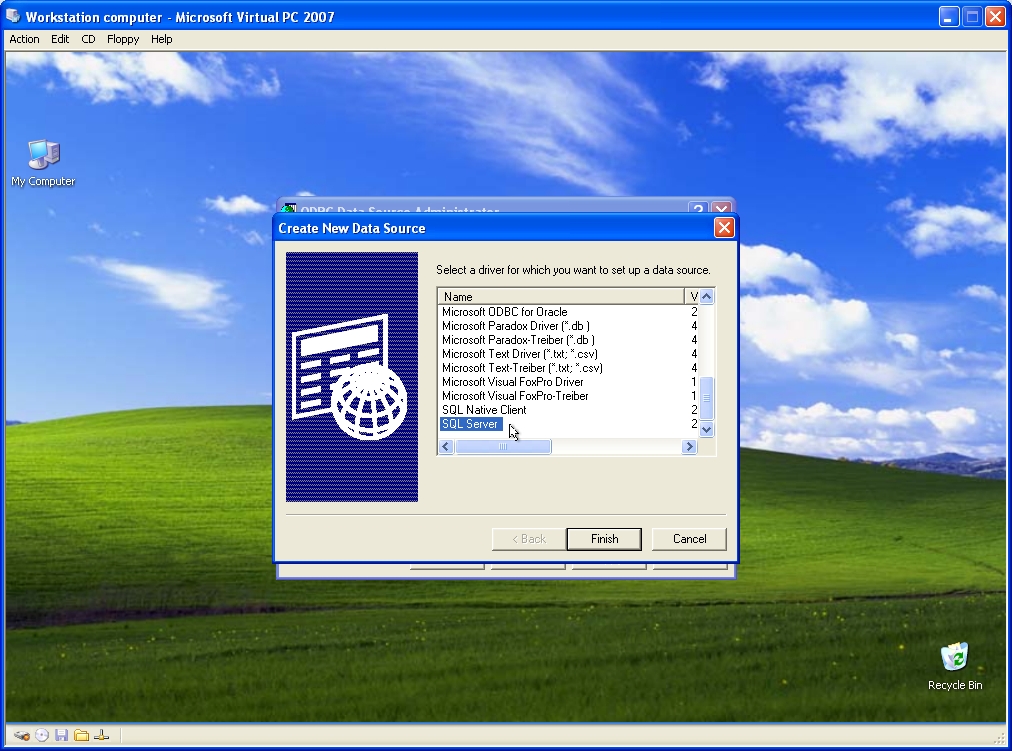
From the “ODBC Data Source Administrator”,
select the “System DSN” page, and then click “Add” to create a new ODBC connection.
-
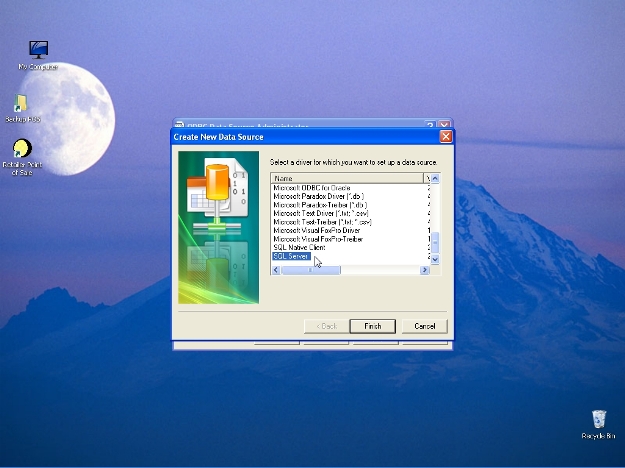
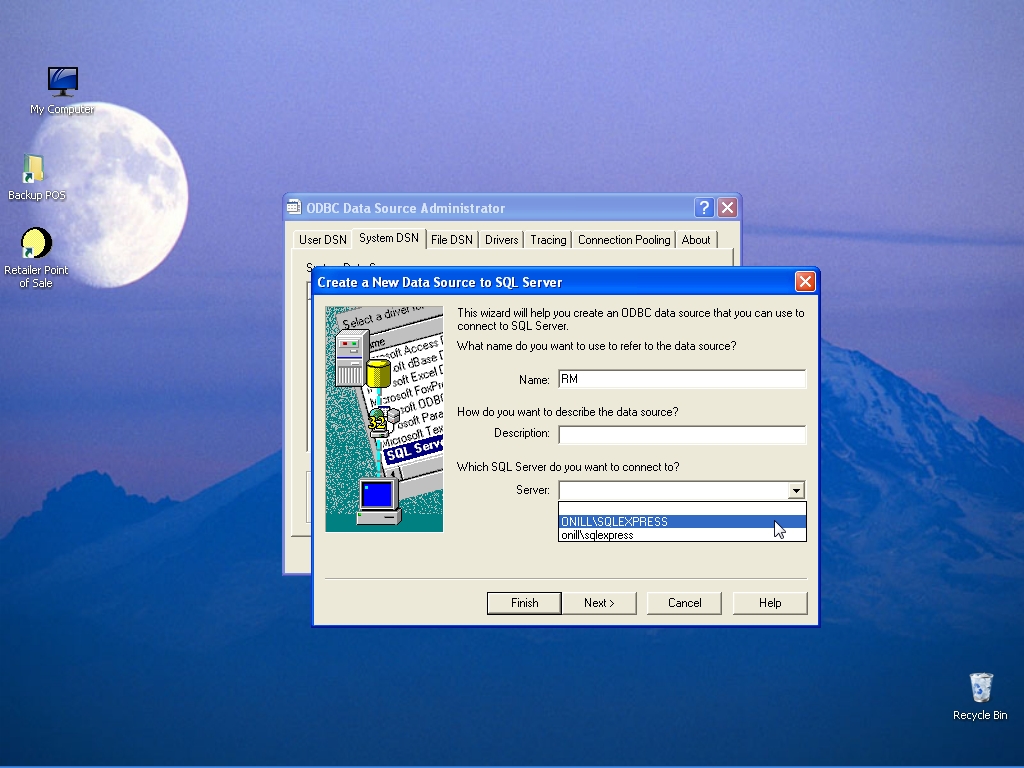
Scroll to the bottom of the list, select “SQL Server” and then click “Finish”
-

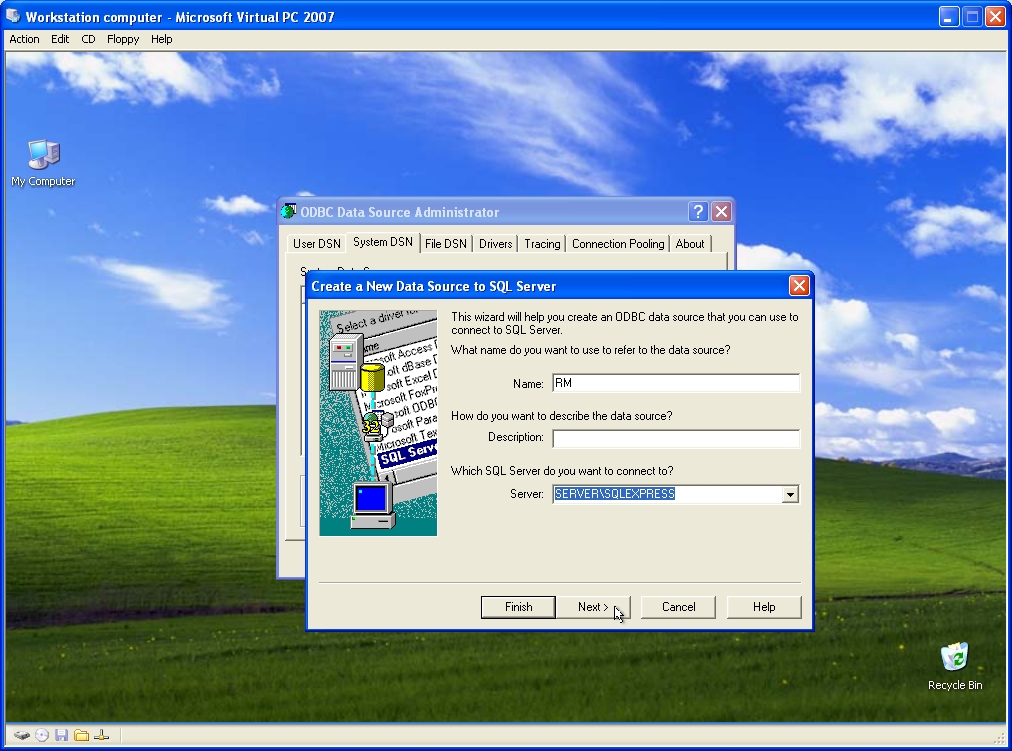
Type “RM” in the Name field, and then select the SQL Server as shown in the picture. If the SQL Server is not in the drop-down list, then follow the steps of “Configure SQL” (Step 5), and then return here.
-
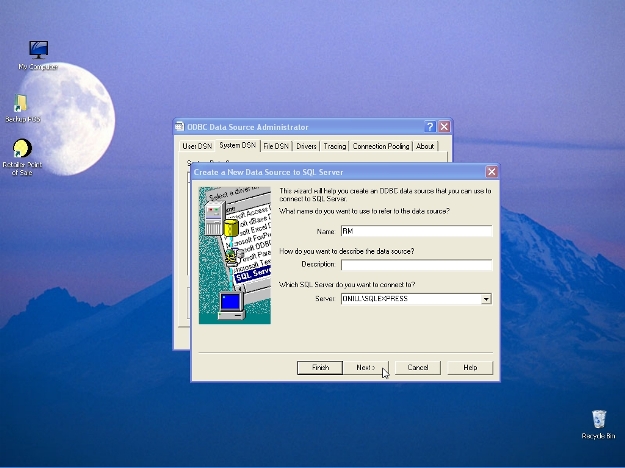
After the SQL Server is chosen click next to continue.
-
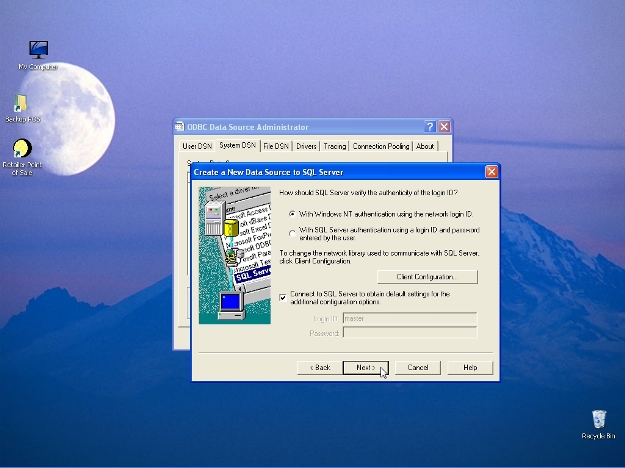
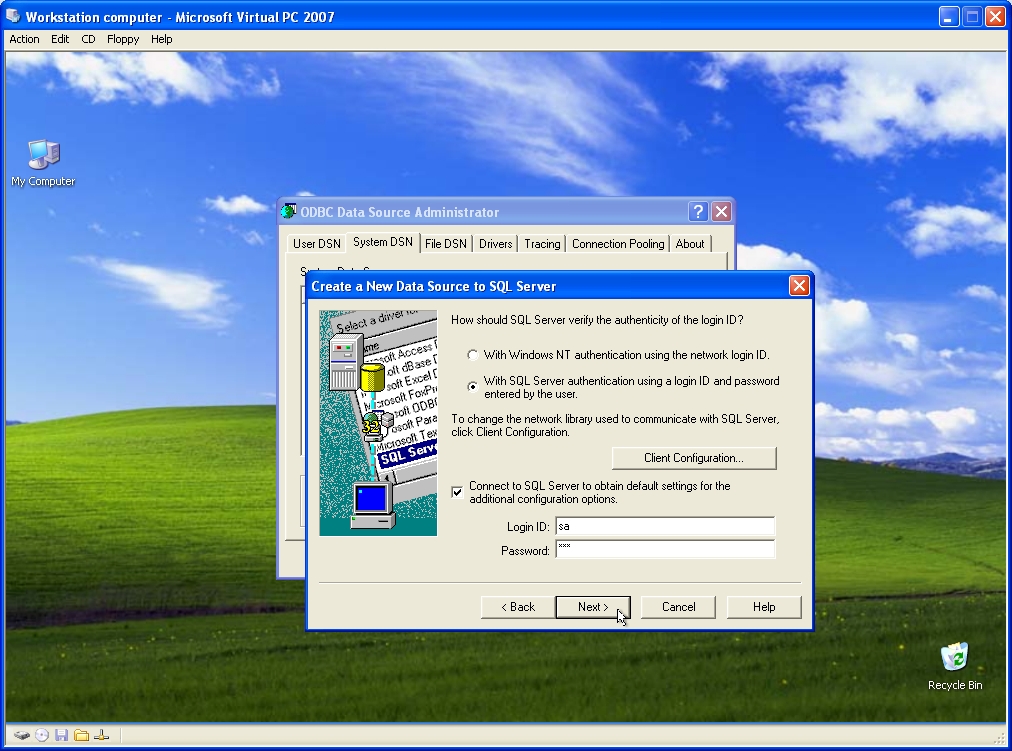
Select “Windows NT authentication” and then click next to continue.
-

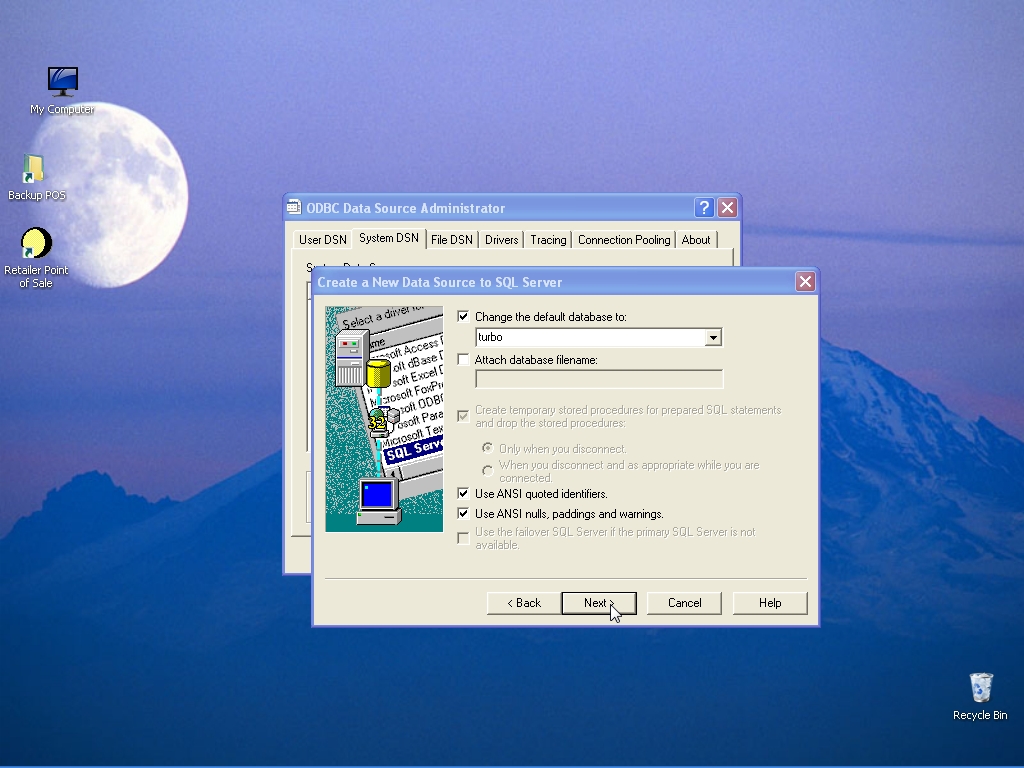
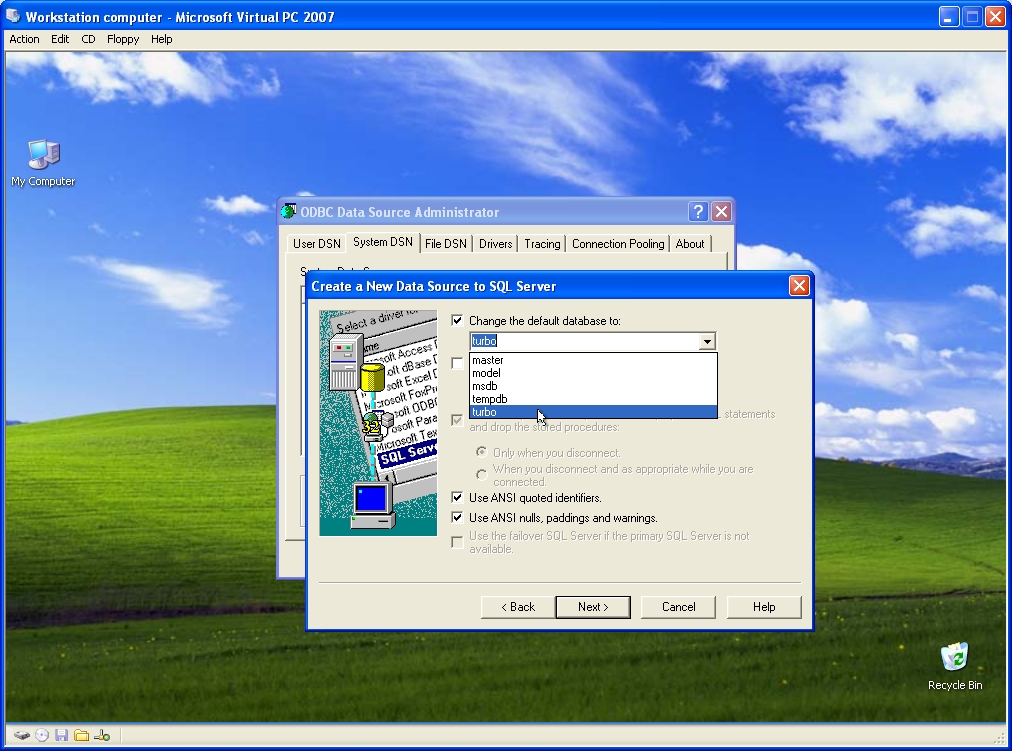
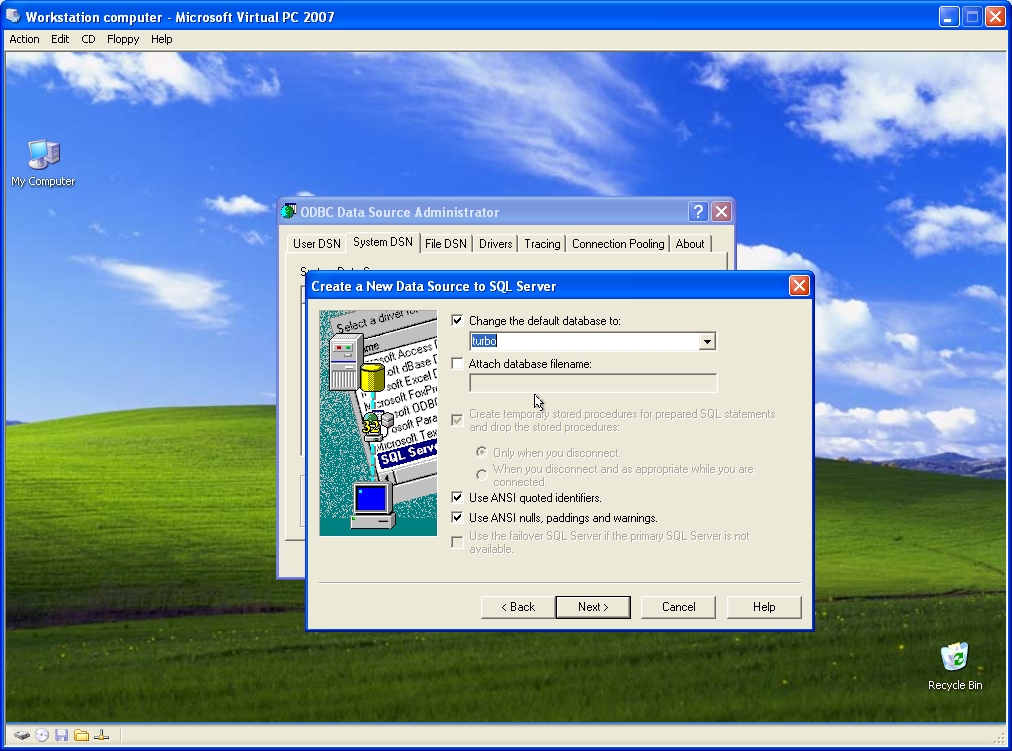
Tick “Change the default database” and select “turbo” (the SQL data file) from the drop-down list. If this file is not in the drop-down list re-do “Attach your data files to SQL server” (Step 7a), and then return here.
-

After the SQL data file is chosen click next to continue.
-
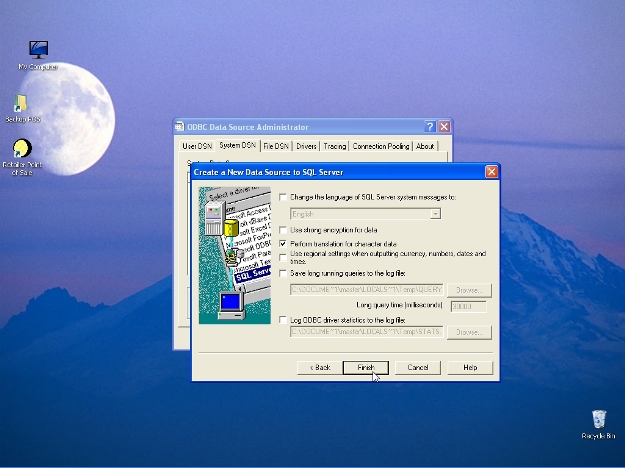
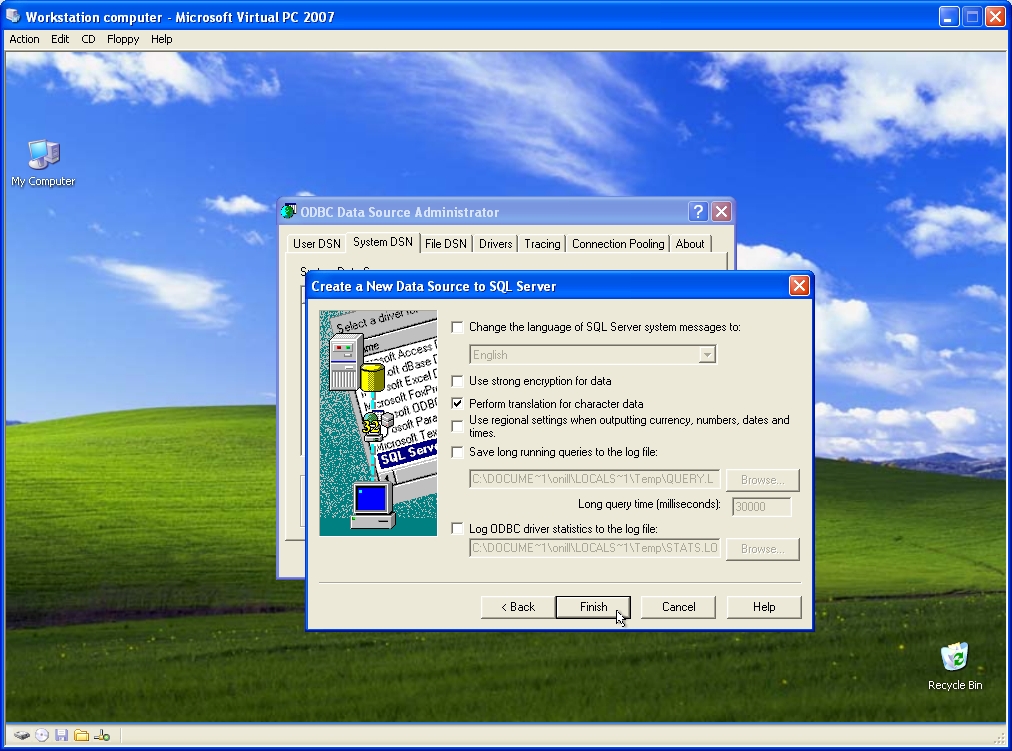
Click “Finish” to continue.
-
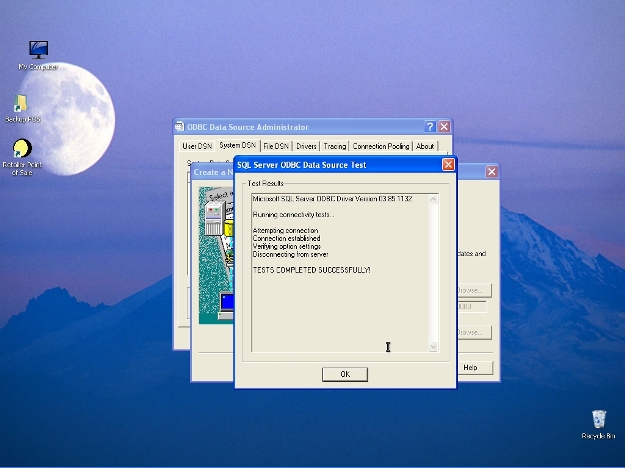
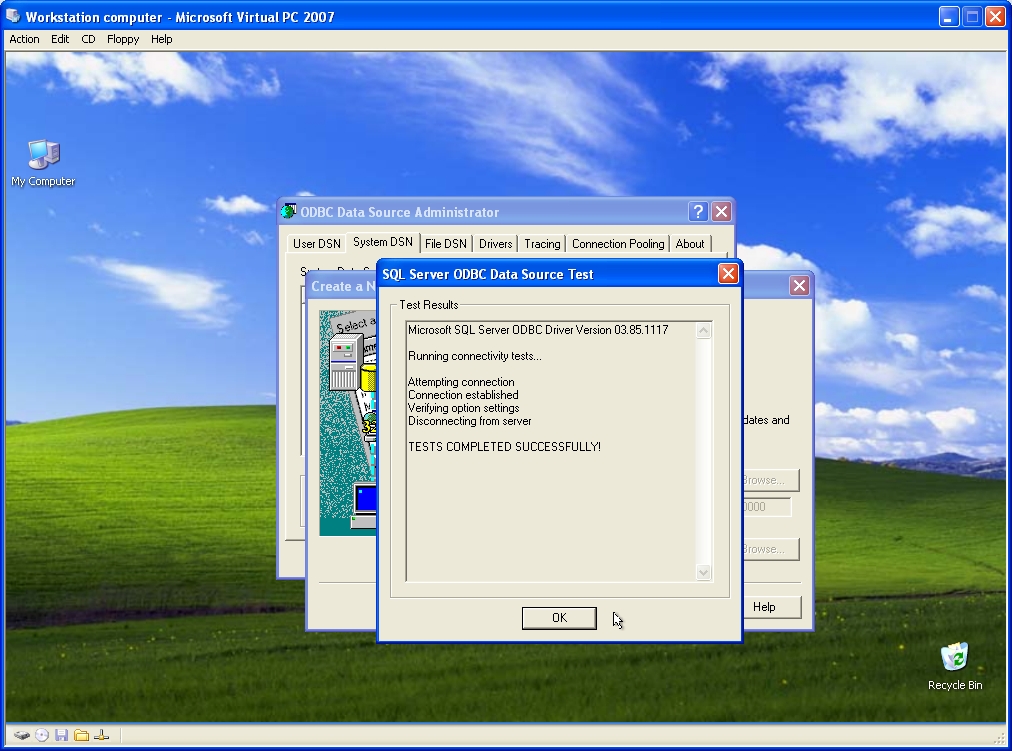
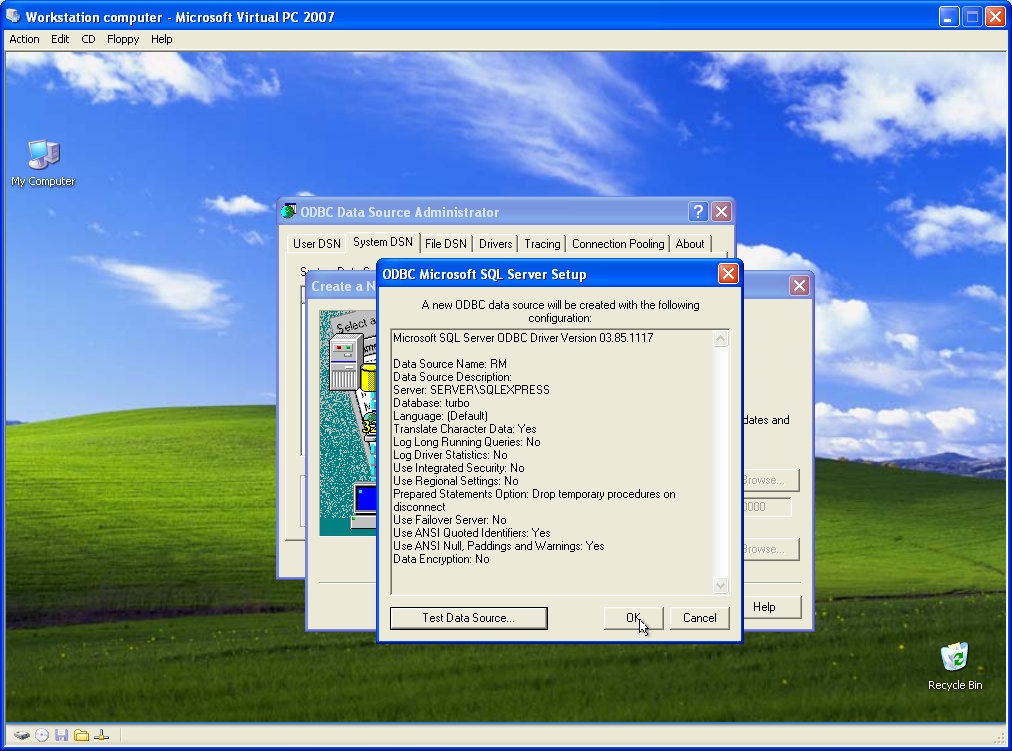
Click “Test Data Source” to verify that the Retailer software can access the SQL data file with this ODBC bridge. Click “Ok” to close the test window and then click “Ok” to close “ODBC Microsoft SQL Server Setup”.
If the test failed then the Retailer software may not be able to access the SQL data file and you should restart at Step 6a or Step 8a.
-
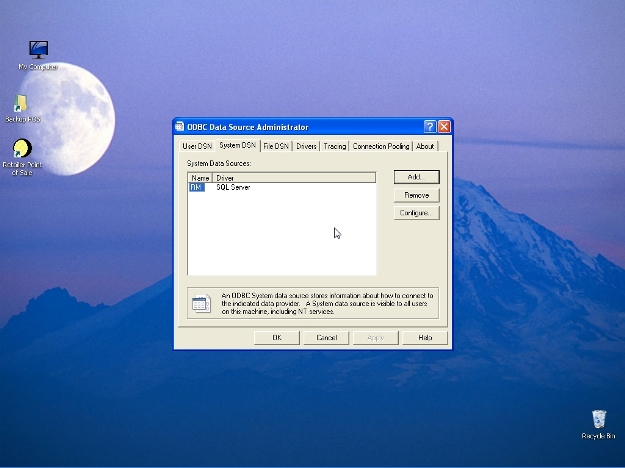
Retailer software is now ready to access the SQL data file with the ODBC bridge. Click “Ok” to exit “ODBC Data Source Administrator”.
-

Retailer software is now ready to be used. Logon and use the password 123
-

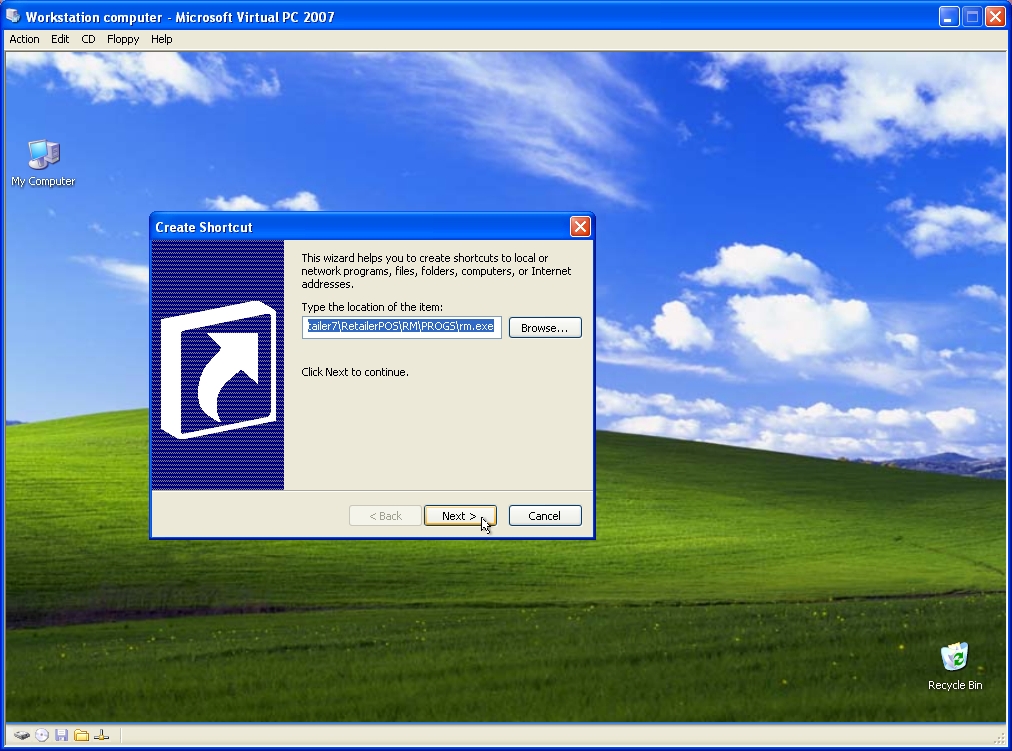
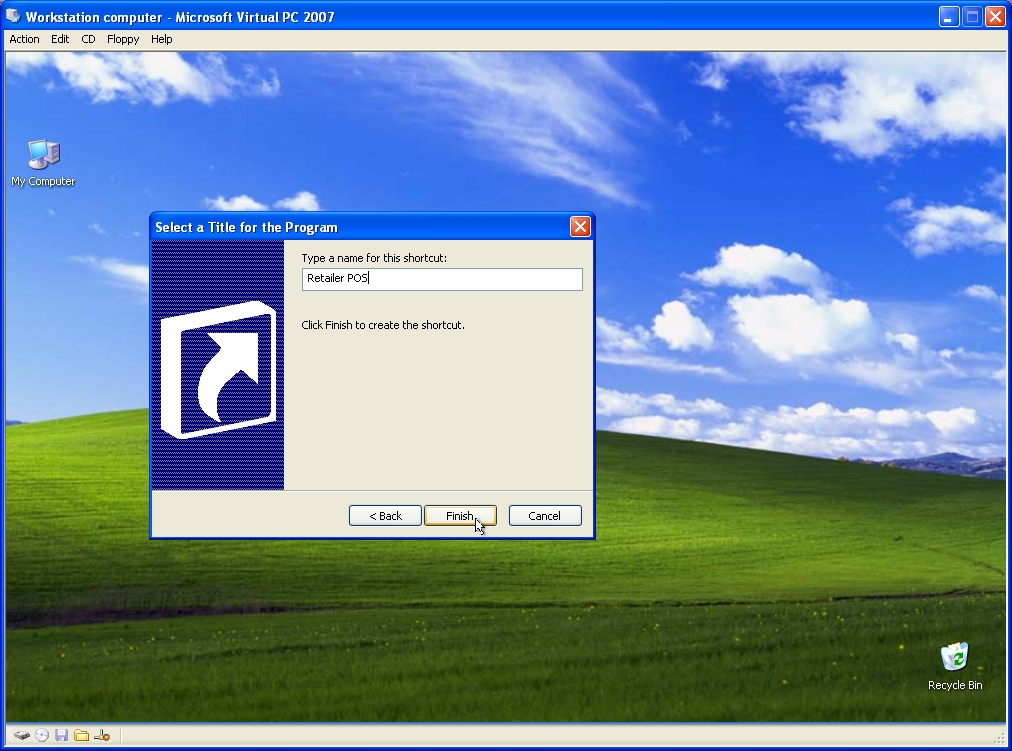
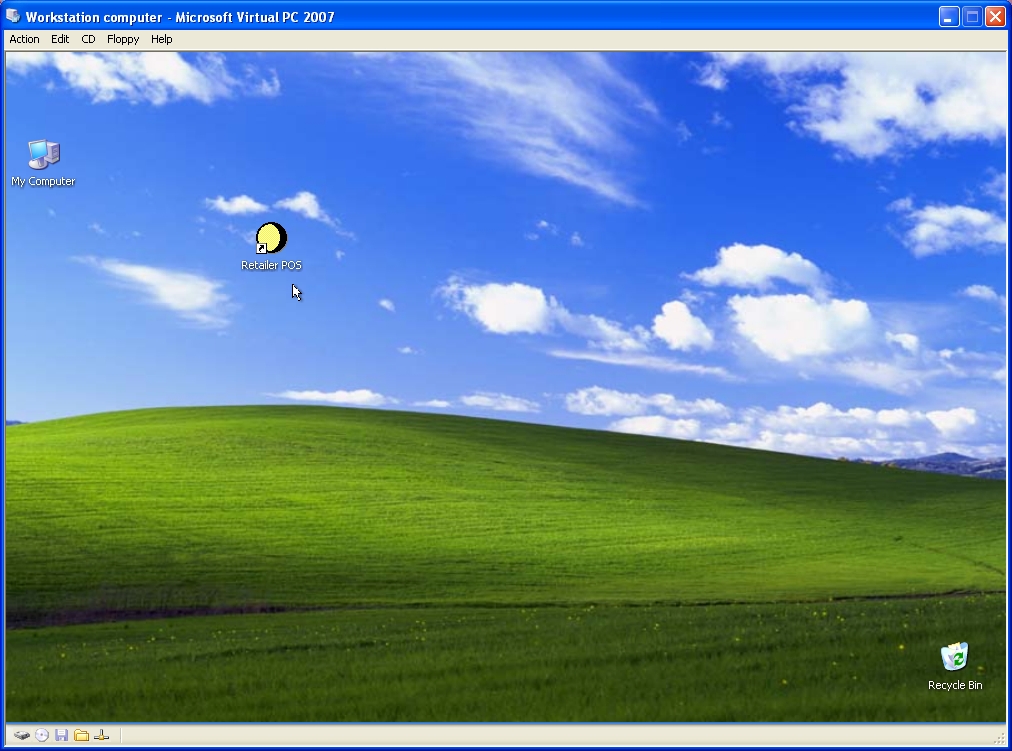
Open the Retailer software.
-

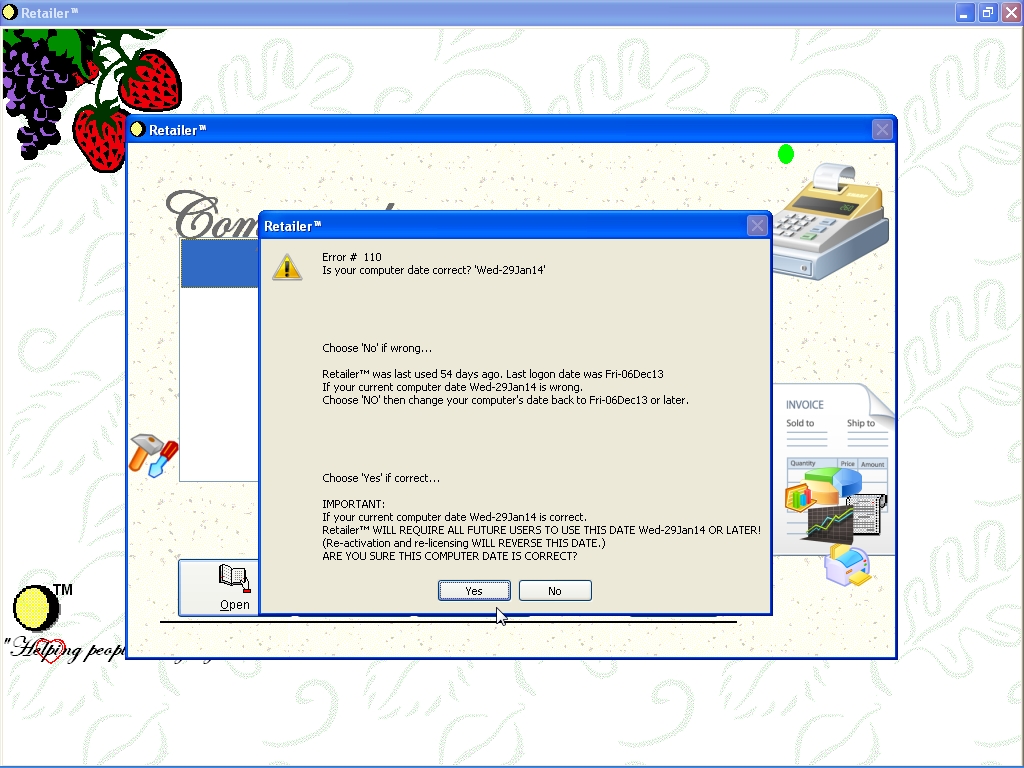
Licensed users will be asked to confirm their logon date.
-

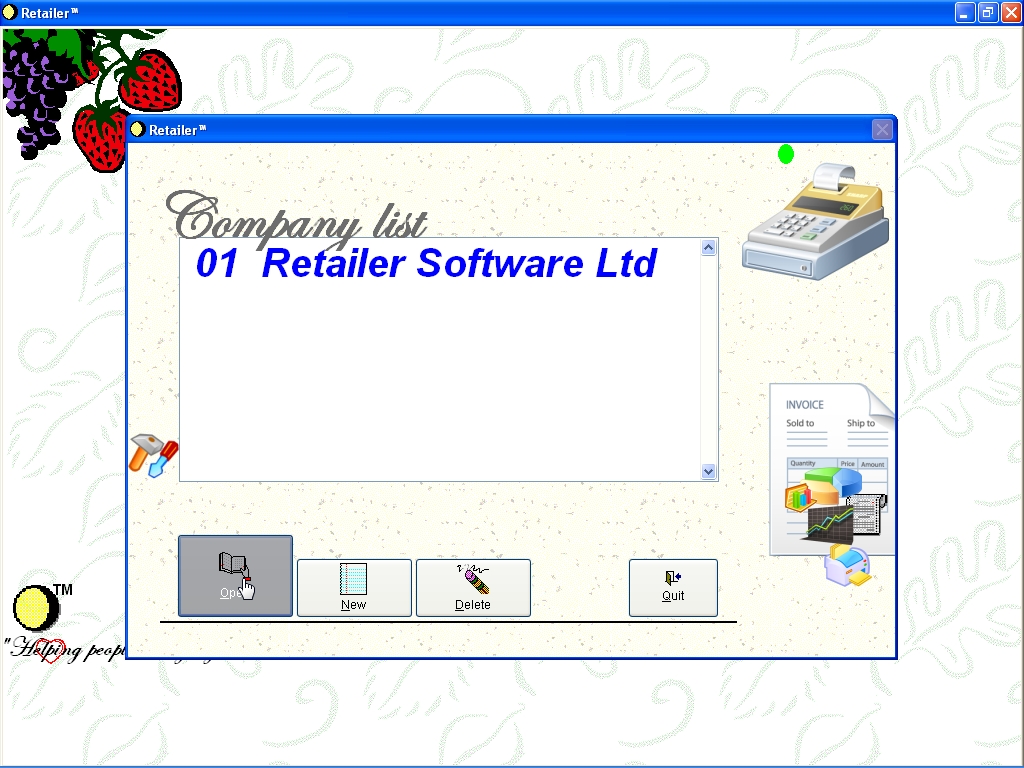
Licensed users will see a screen similar to the picture shown. Click “Open” to login to the company.
-

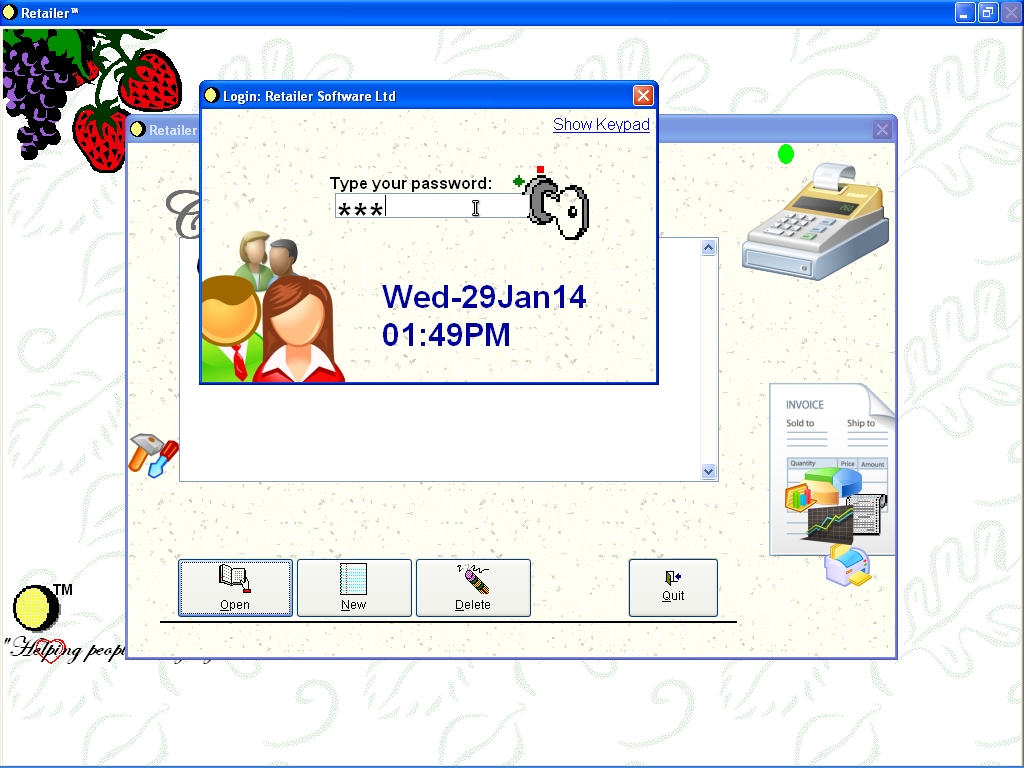
Licensed users will see a screen similar to the picture shown. Type “123” as the password or your own password and press enter to continue.
-

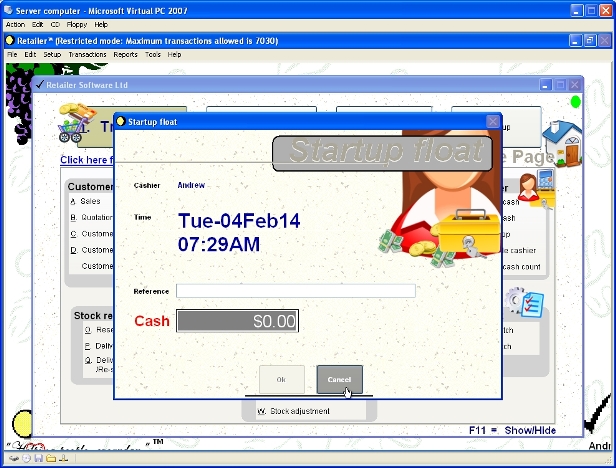
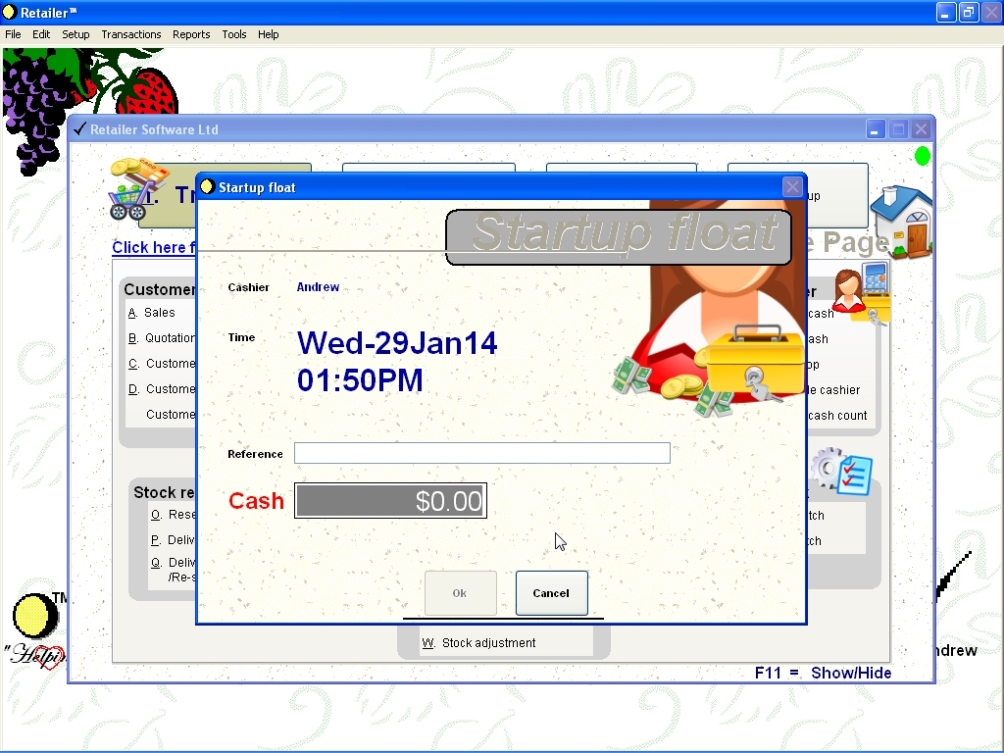
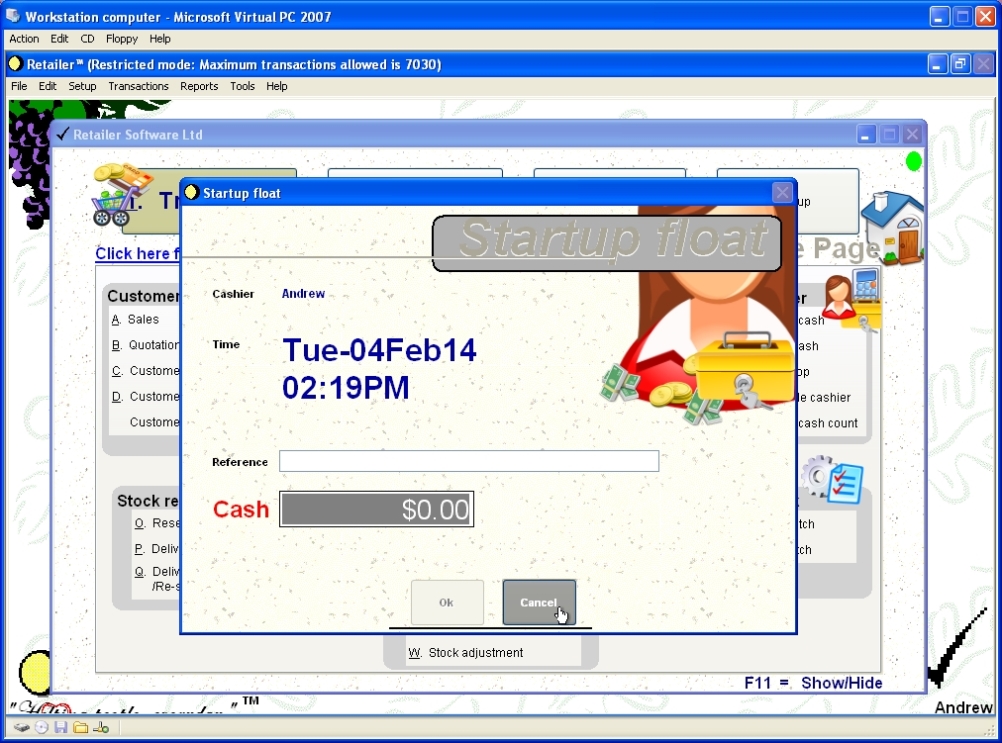
Licensed users will see a screen similar to the picture shown. If this password is configured to accept a start-up float, this screen will be shown.
-
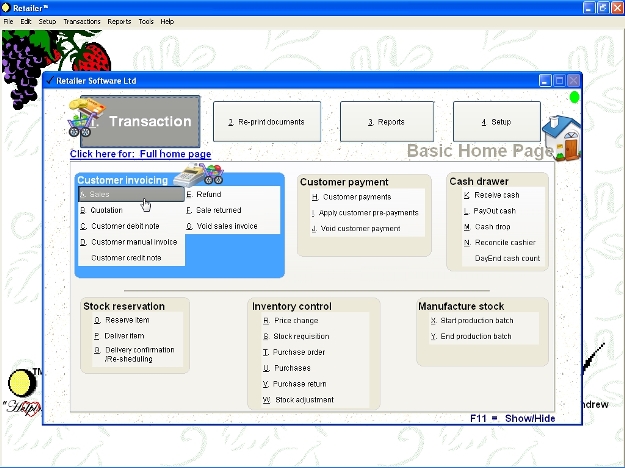
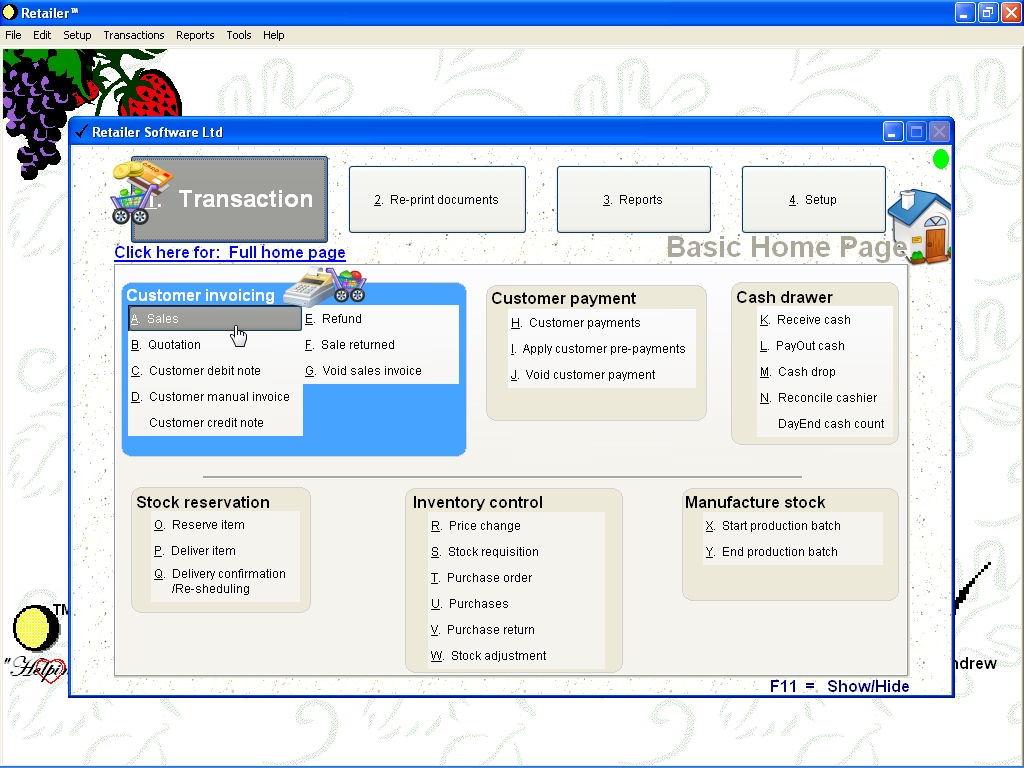
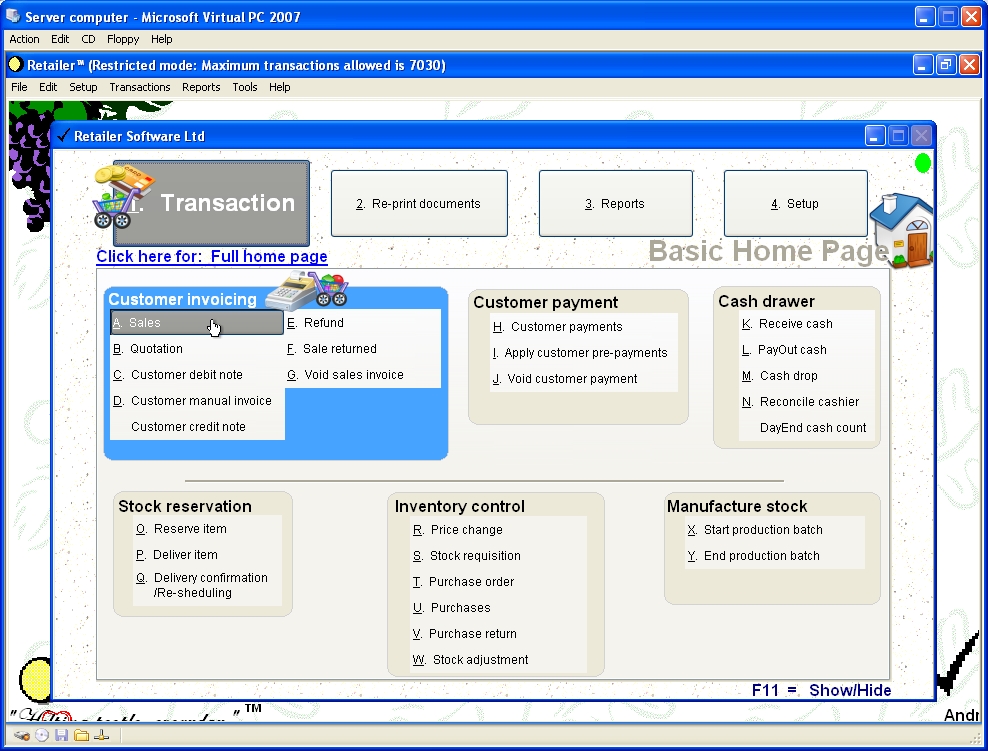
Licensed users will see a screen similar to the picture shown. The Retailer software is ready to enter your sales, print information, and so on.
-
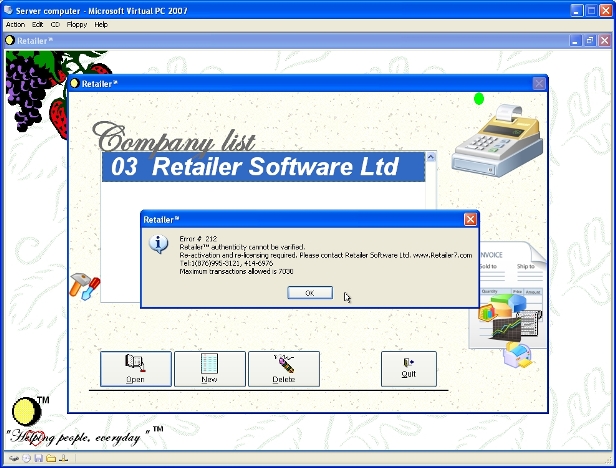
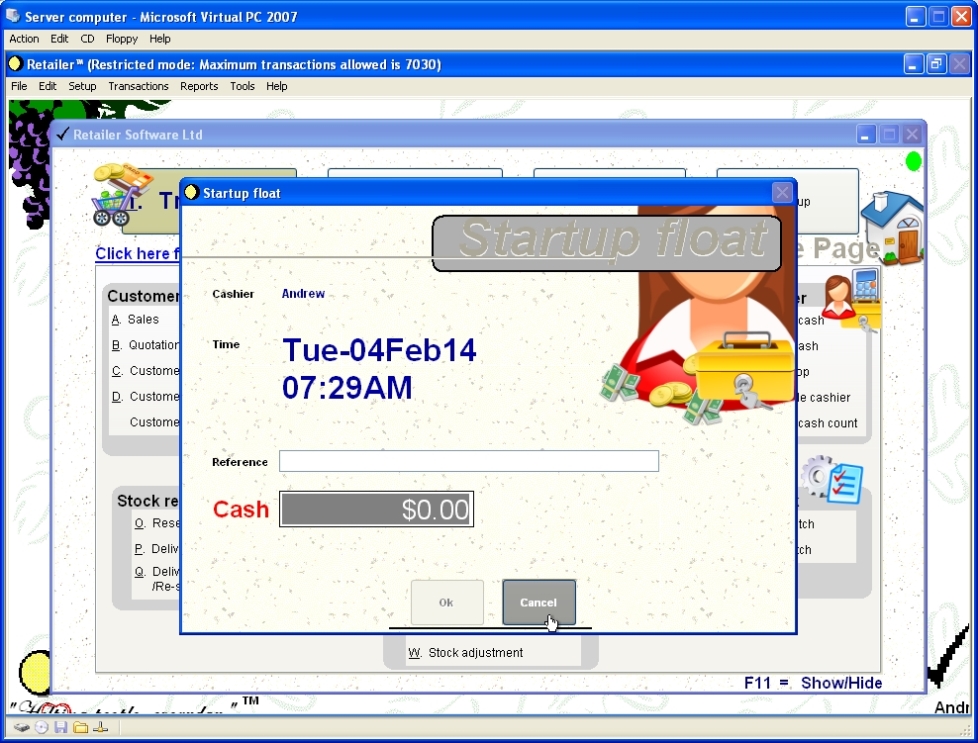
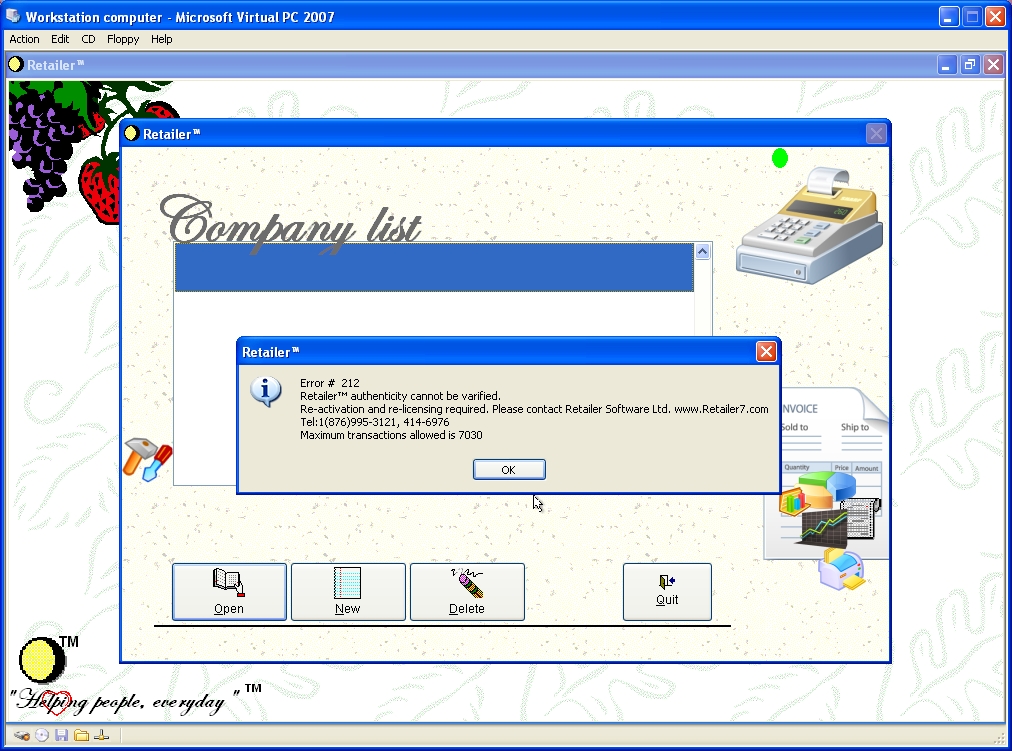
Users of the Free Edition or Trial Edition or unlicensed users will see a screen similar to the picture shown. Click “Ok” to continue
-
Users of the Free Edition or Trial Edition or unlicensed users will see a screen similar to the picture shown. Click “Open” to login to the company.
-
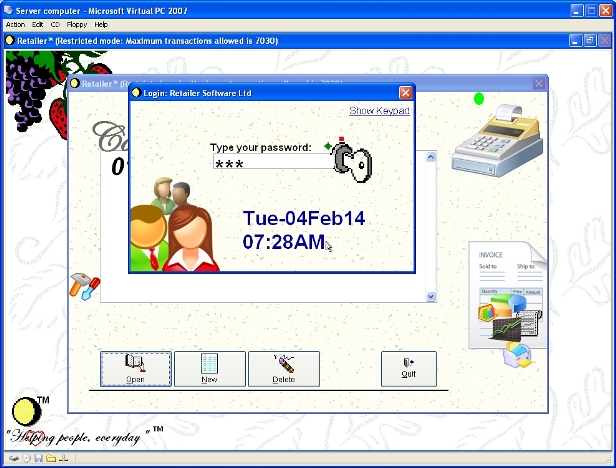
Users of the Free Edition or Trial Edition or unlicensed users will see a screen similar to the picture shown. Type “123” as the password or your own password and press enter to continue.
-
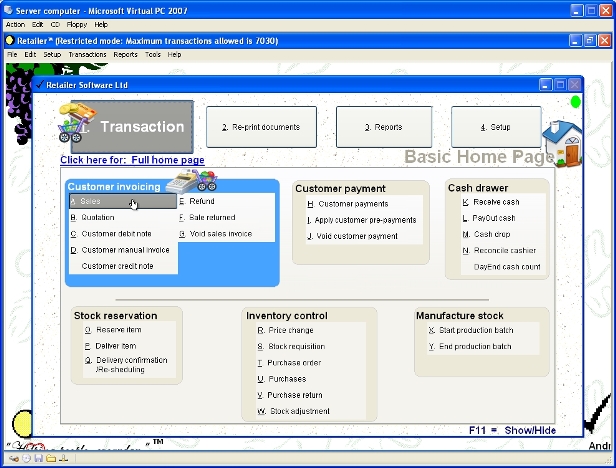
Users of the Free Edition or Trial Edition or unlicensed users will see a screen similar to the picture shown. The Retailer software is ready to enter your sales, print information, and so on.


