-

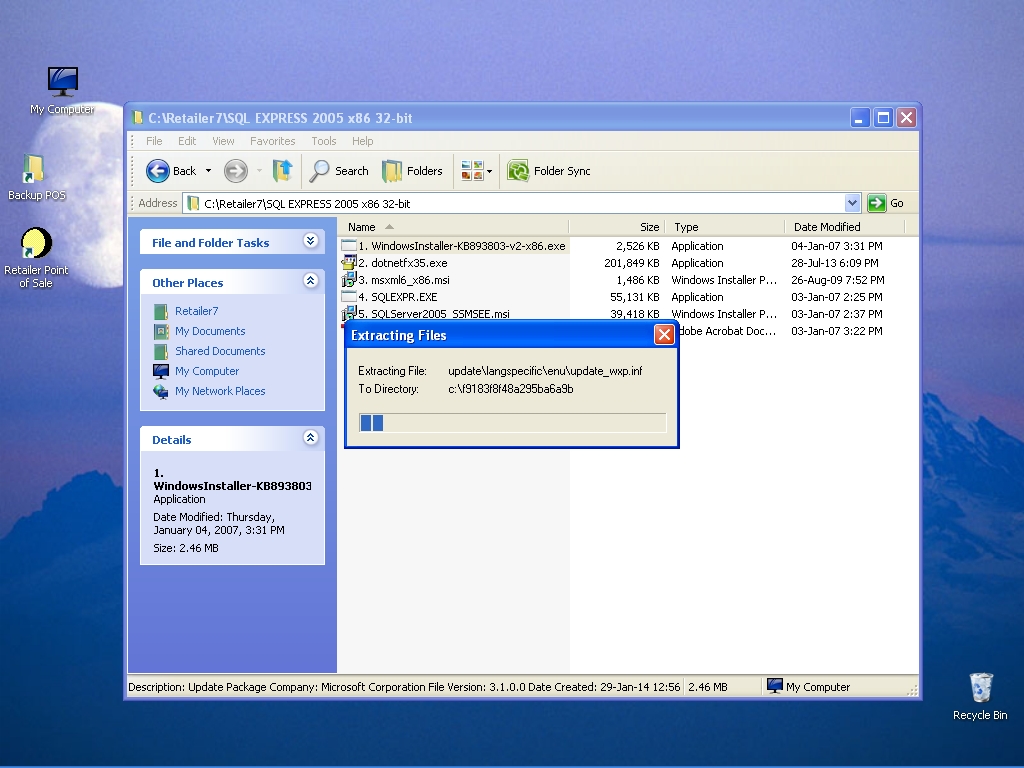
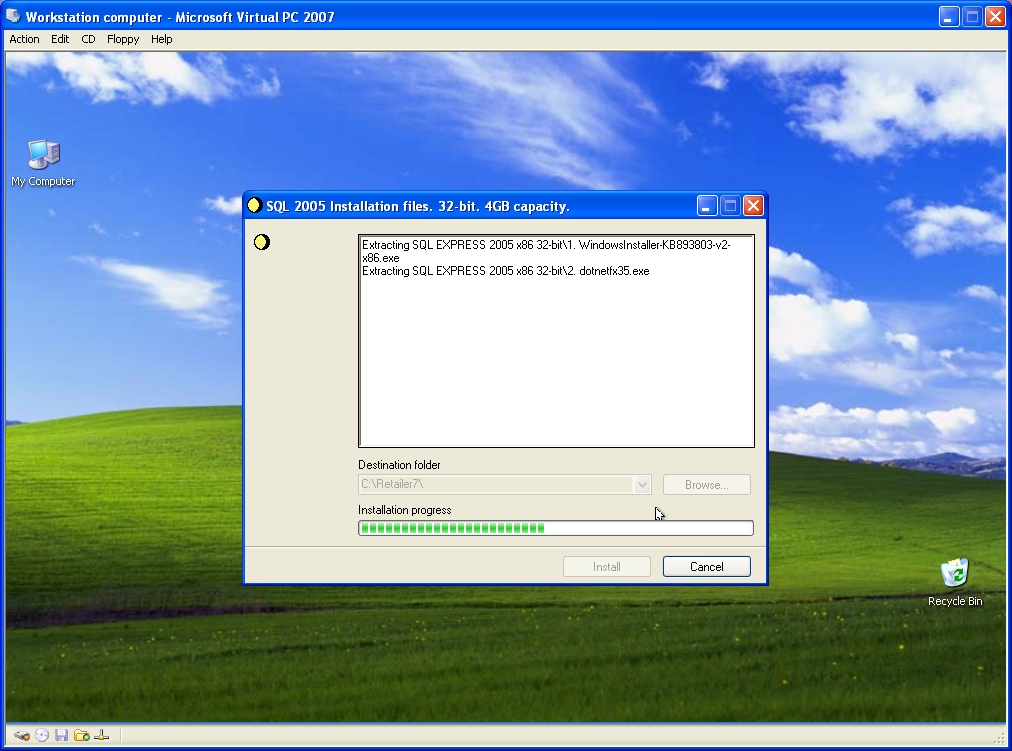
Press Install to copy SQL files unto your computer.
-
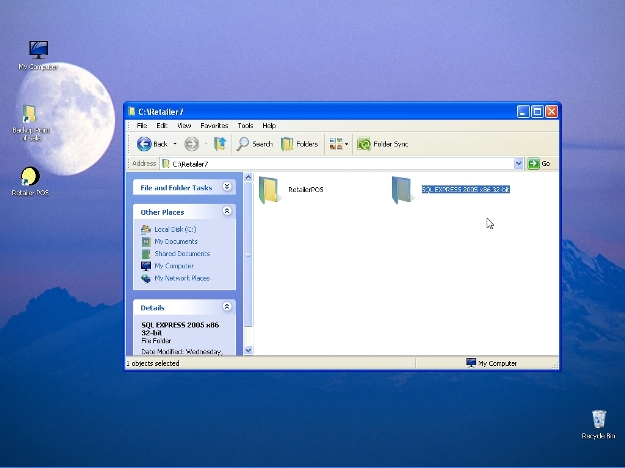
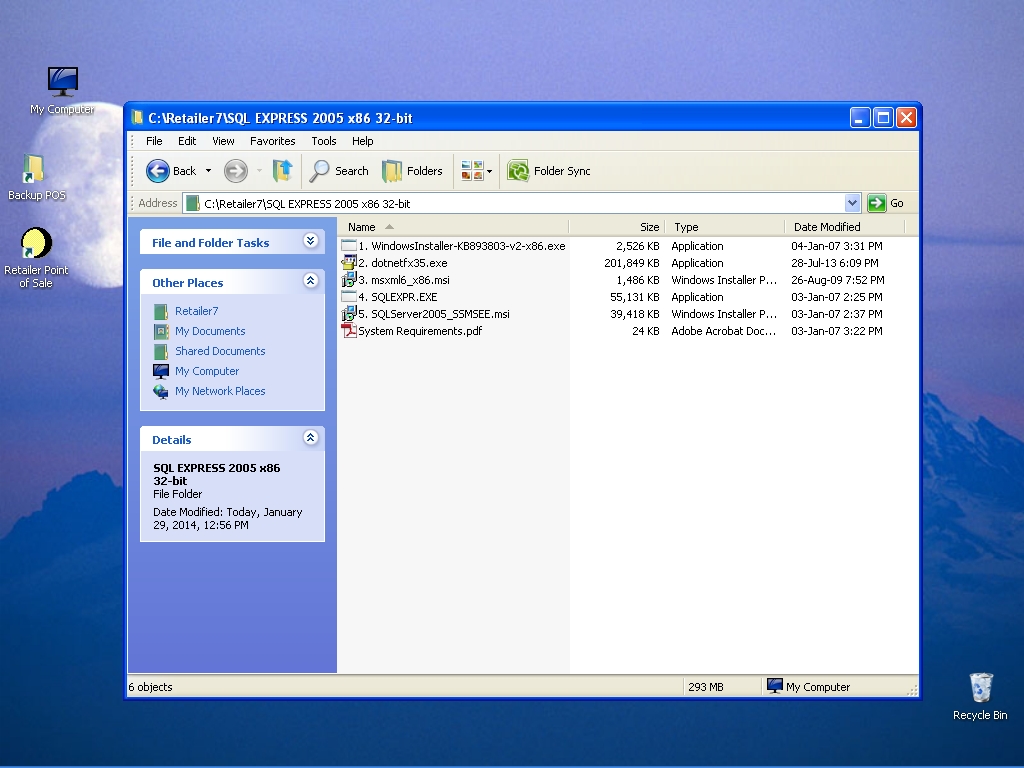
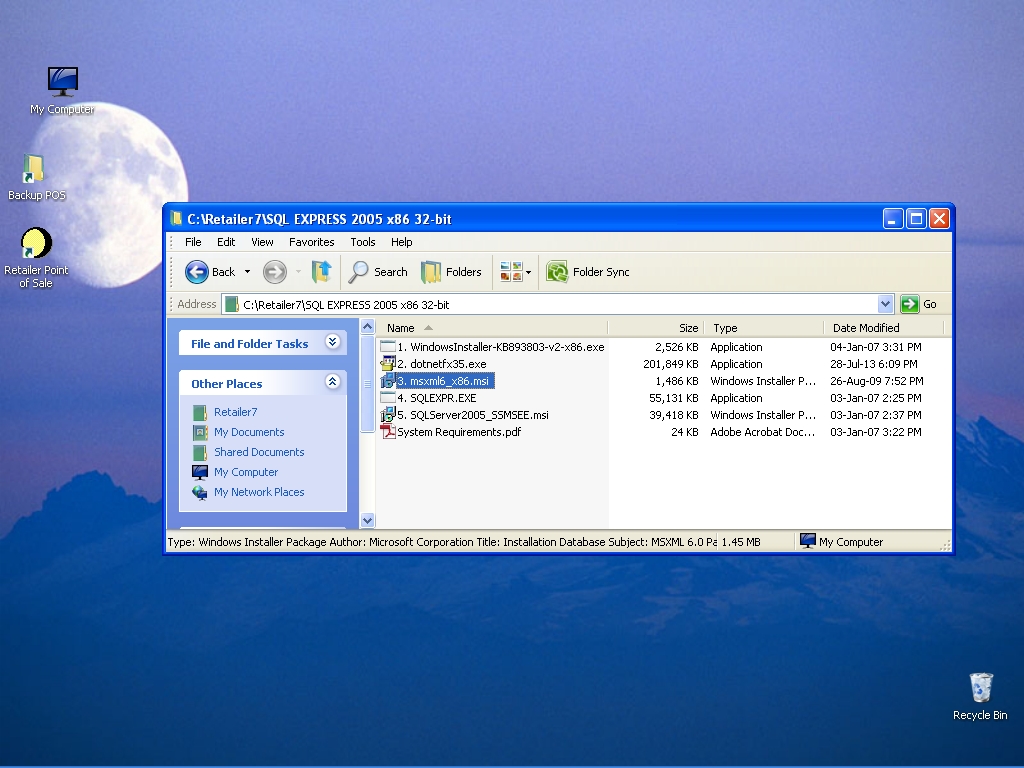
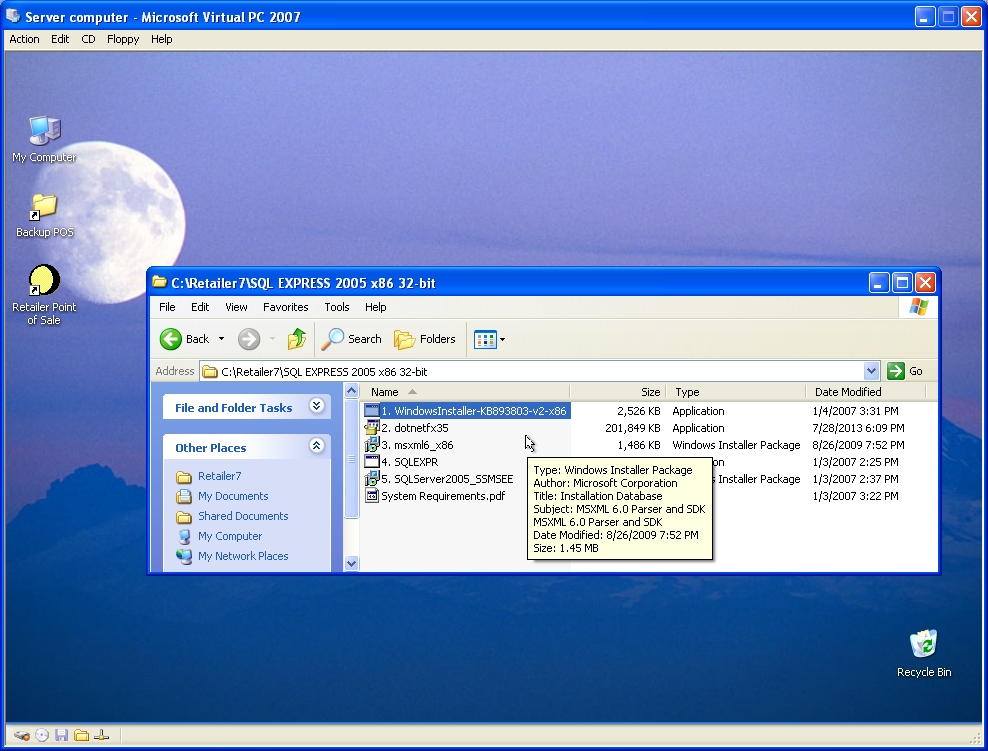
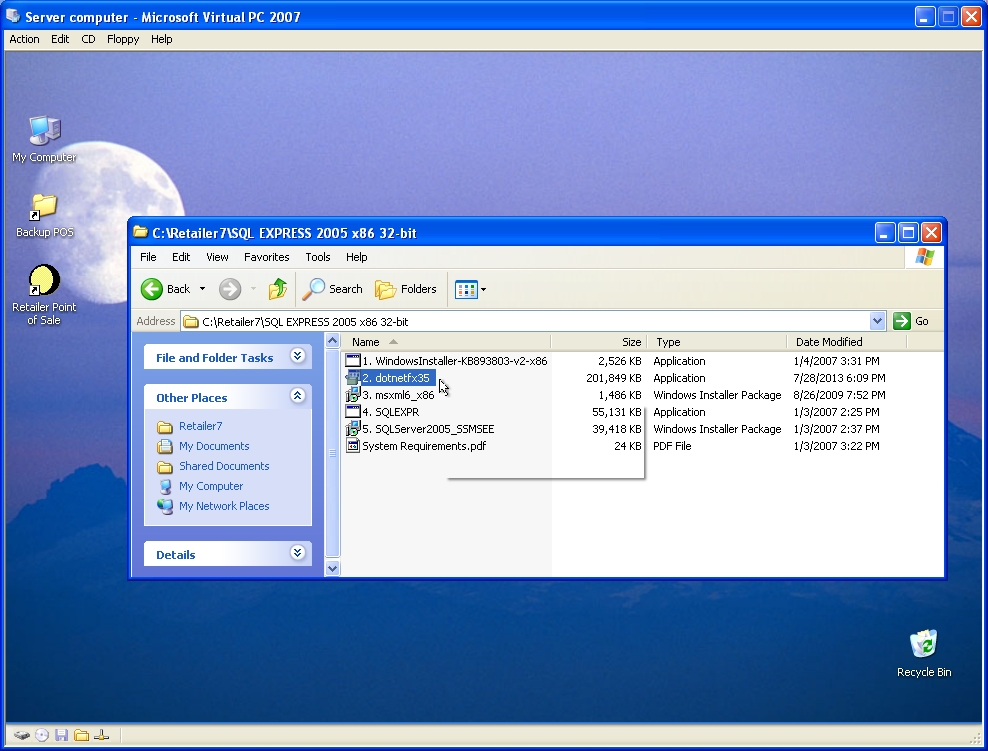
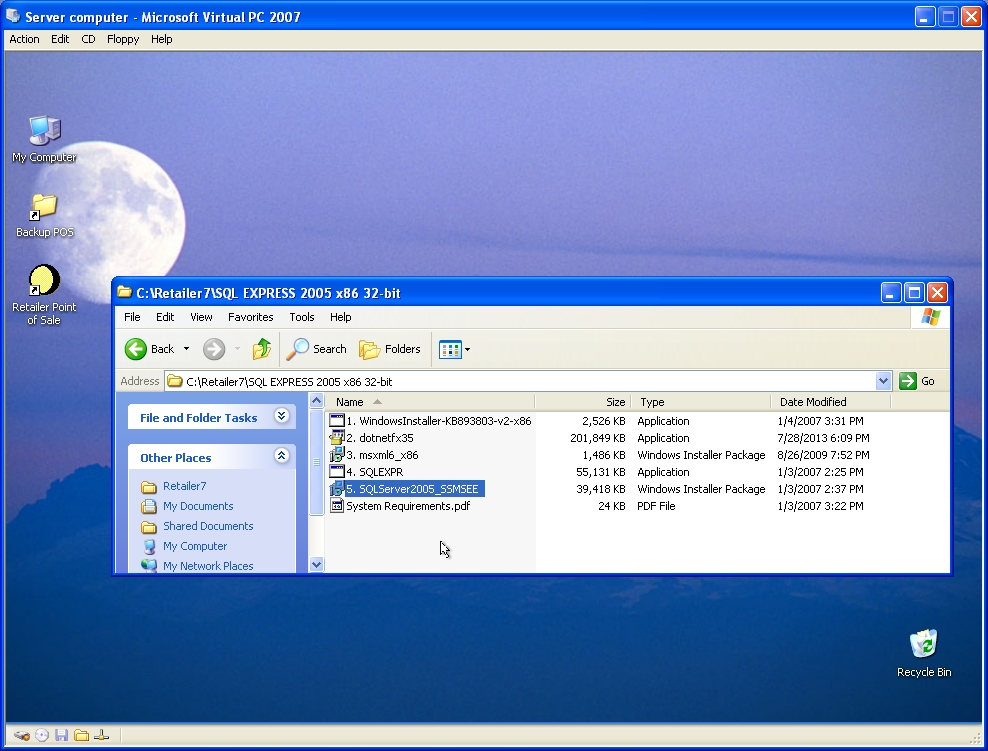
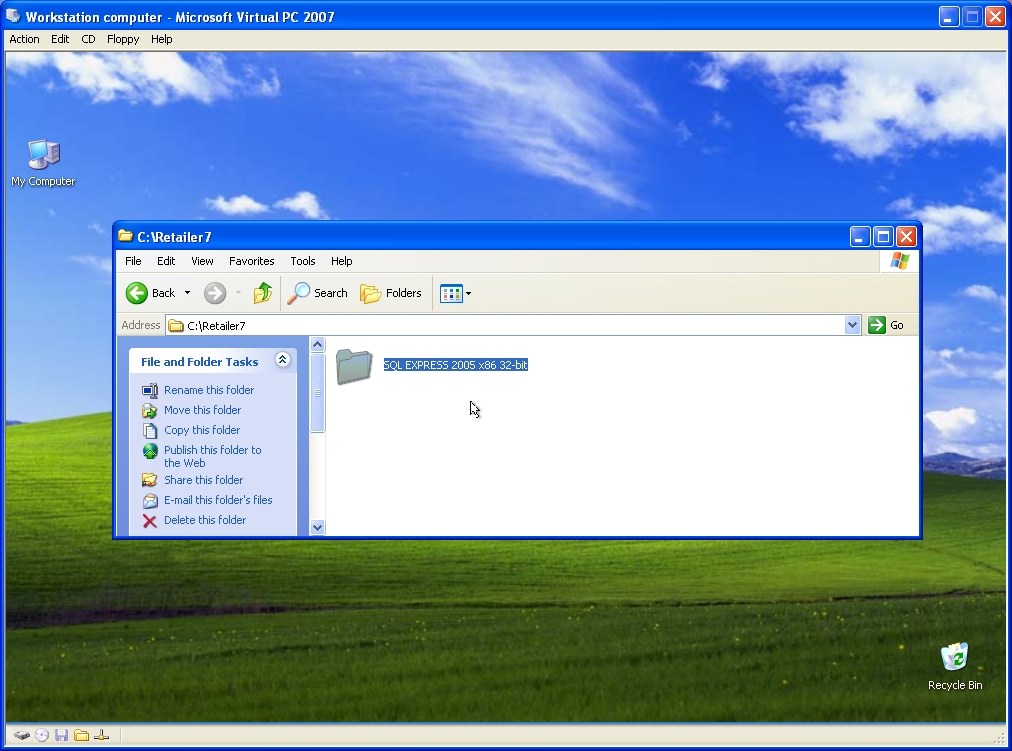
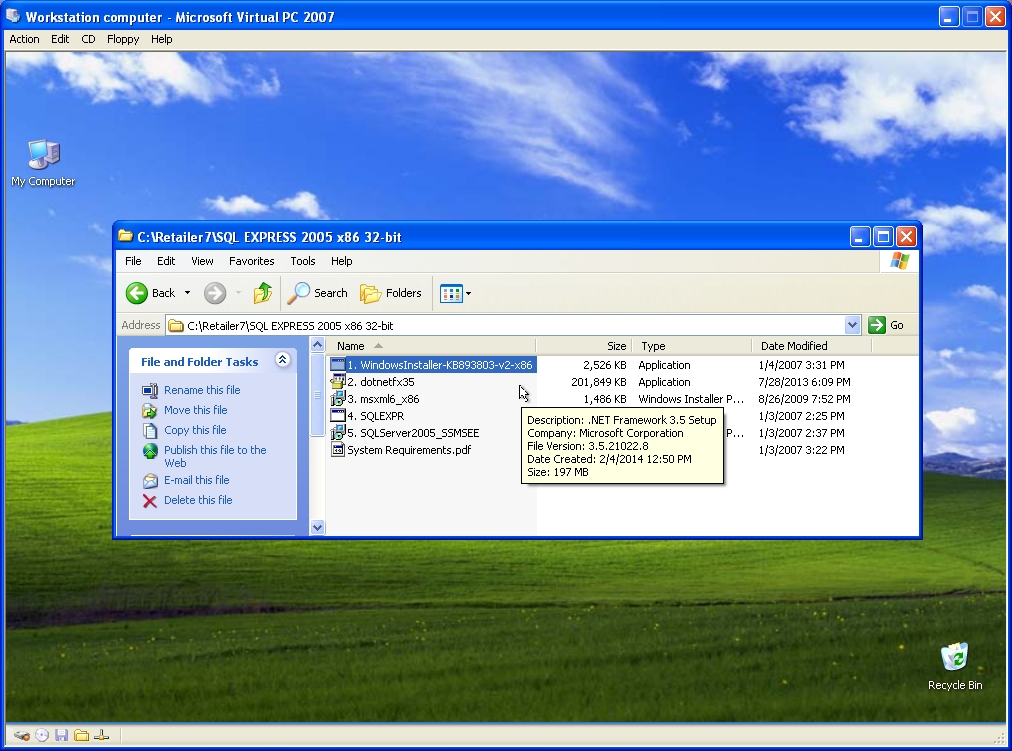
Go to the “SQL Express 2005 x86 32-bit” folder.
-
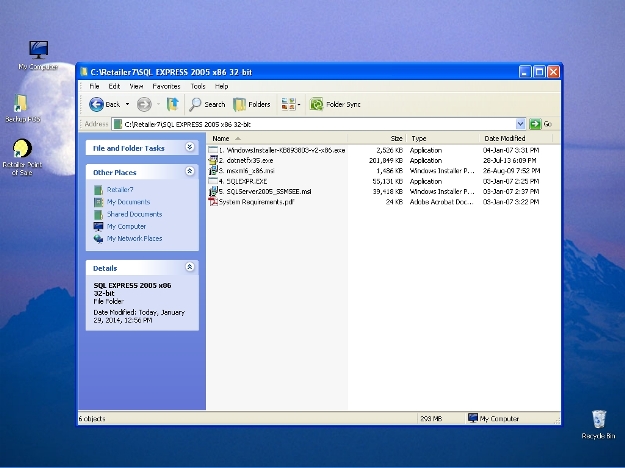
The files are to be installed in the same order shown.
-
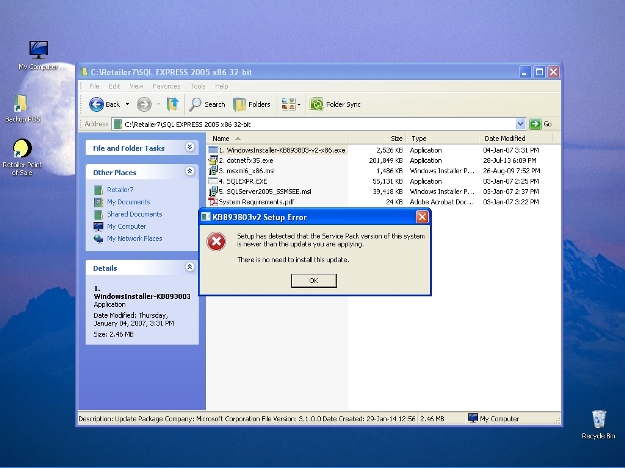
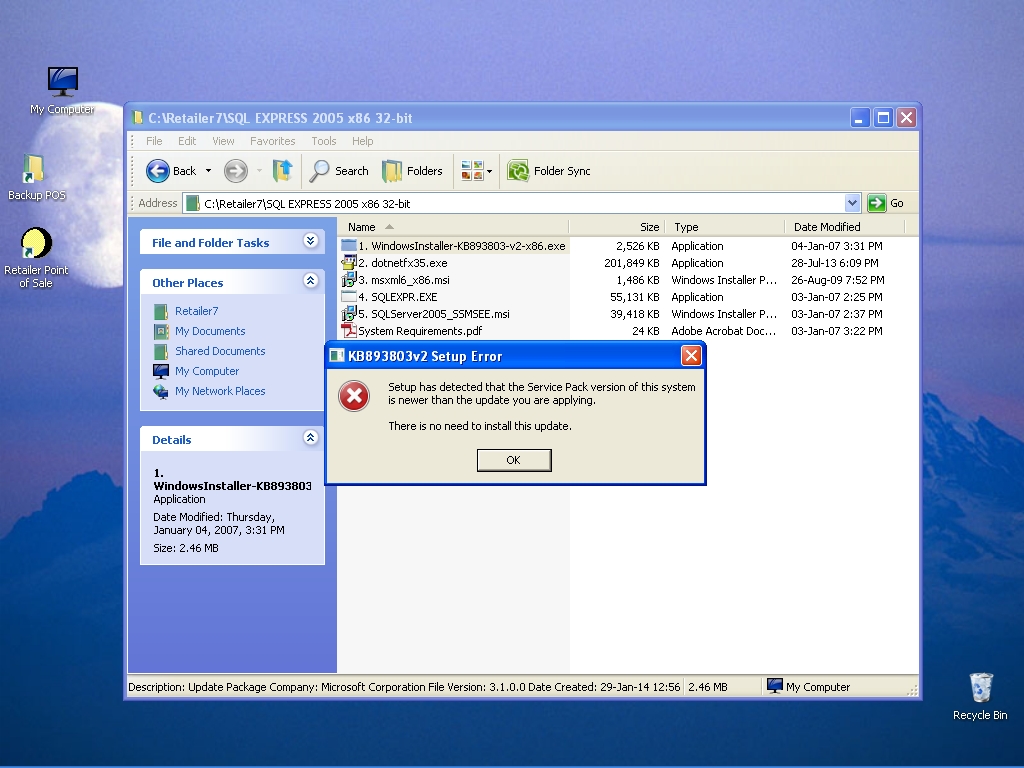
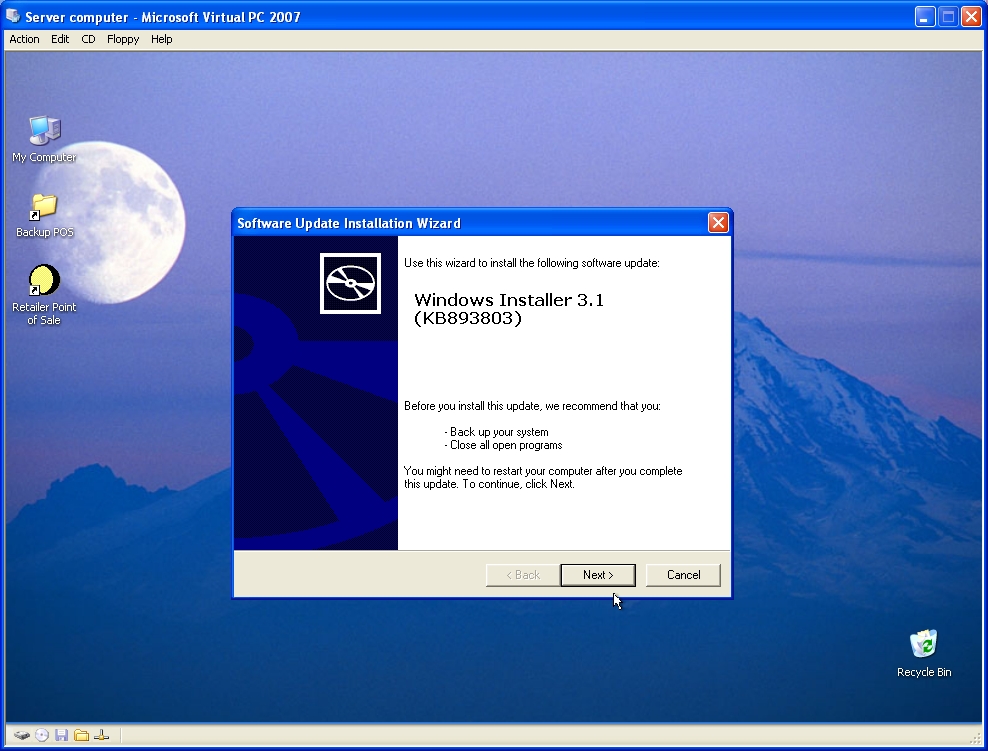
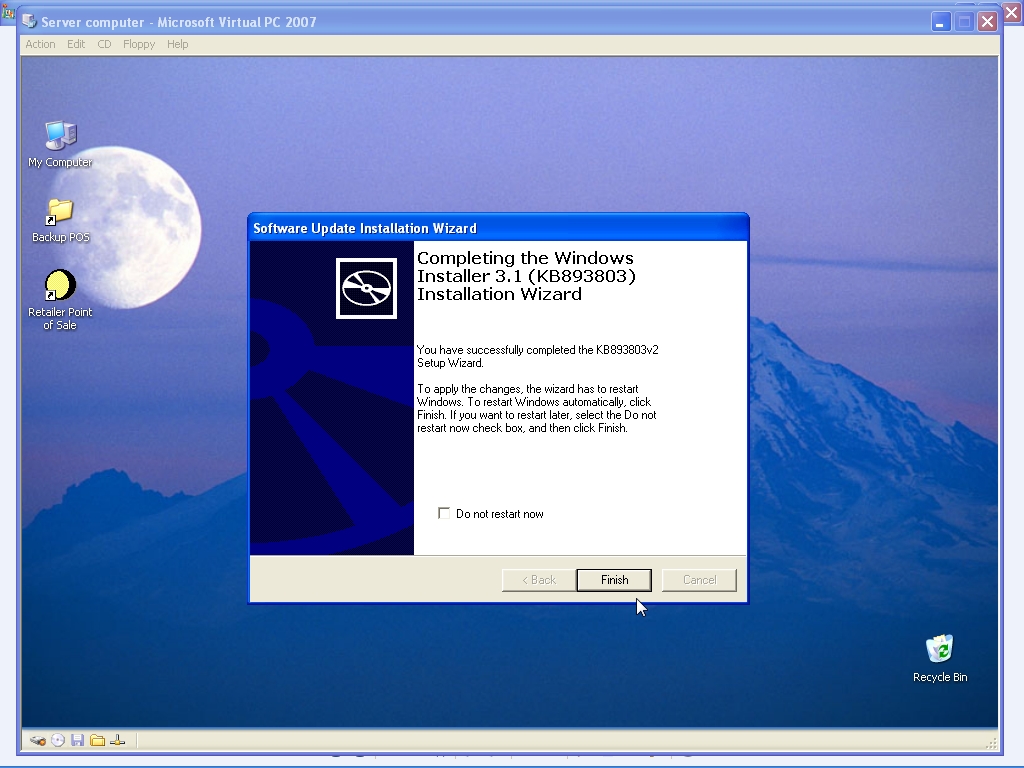
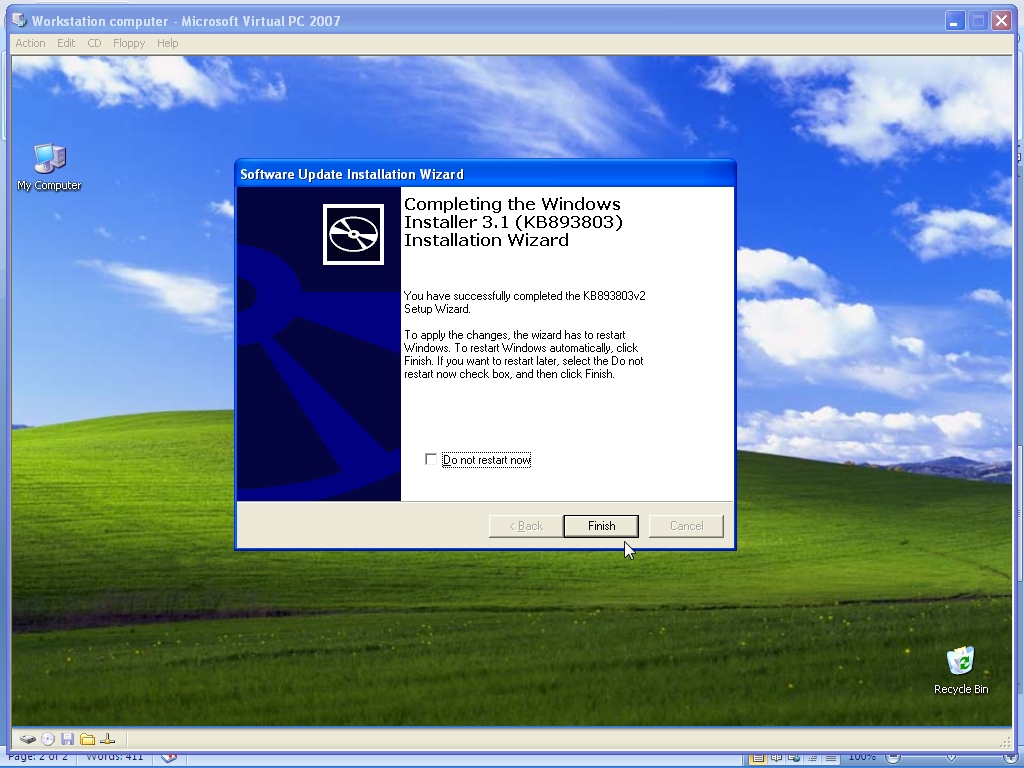
If the 1st file “Windows Installer” is already installed, you may see this message, otherwise continue and install the “Windows Installer” program.
-
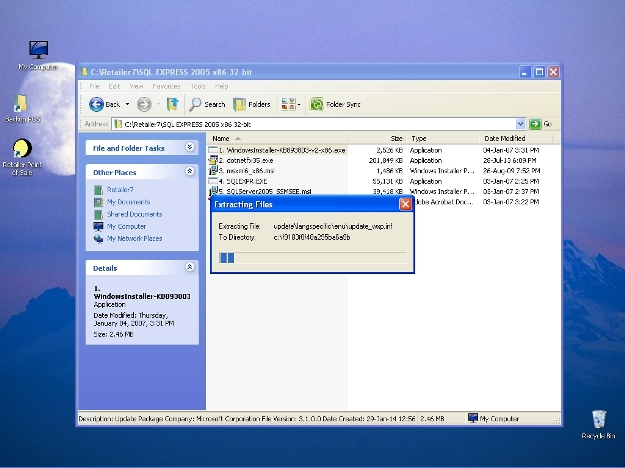
If the 1st file “Windows Installer” is already installed, you may see this message, otherwise continue and install the “Windows Installer” program.
-

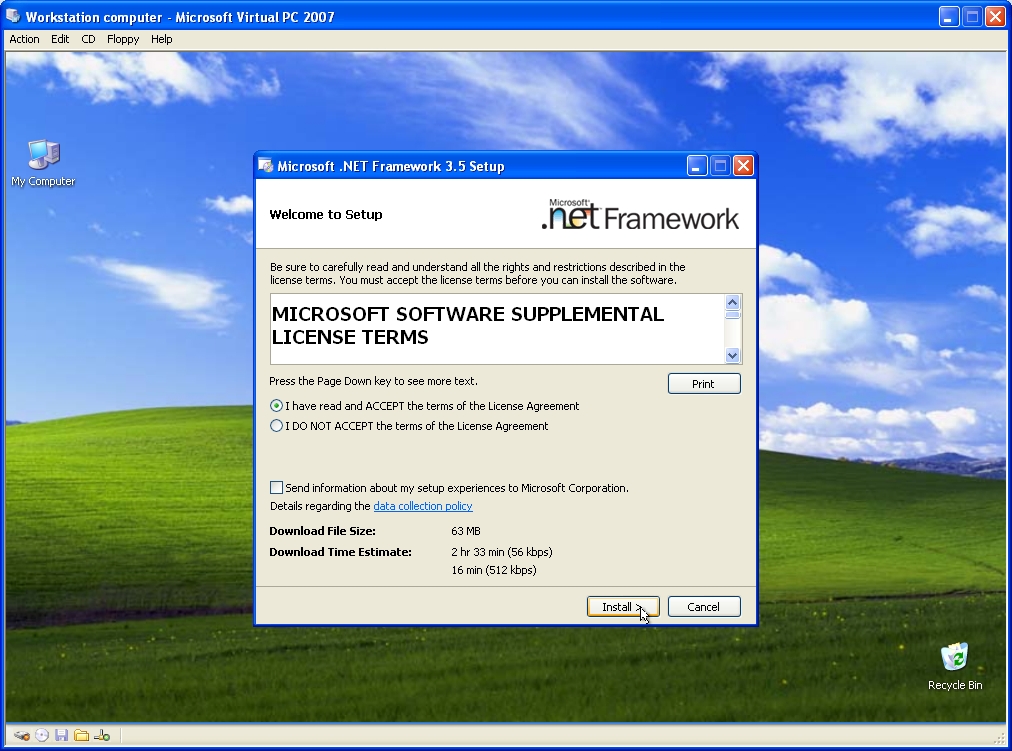
Choose the 2nd file “dotnetfx35.exe”, and then install the “dotnet 3.5 Framework”.
-
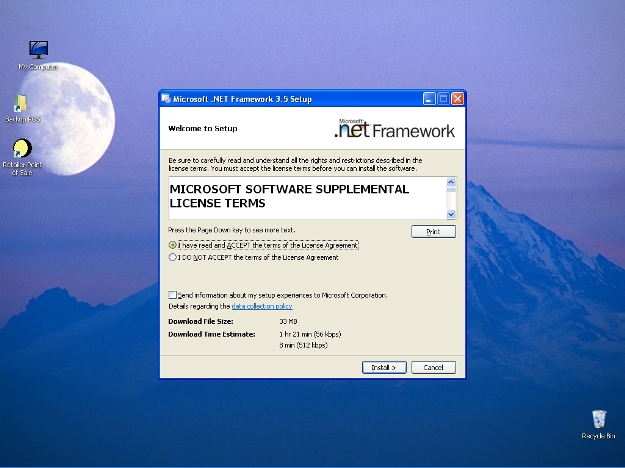
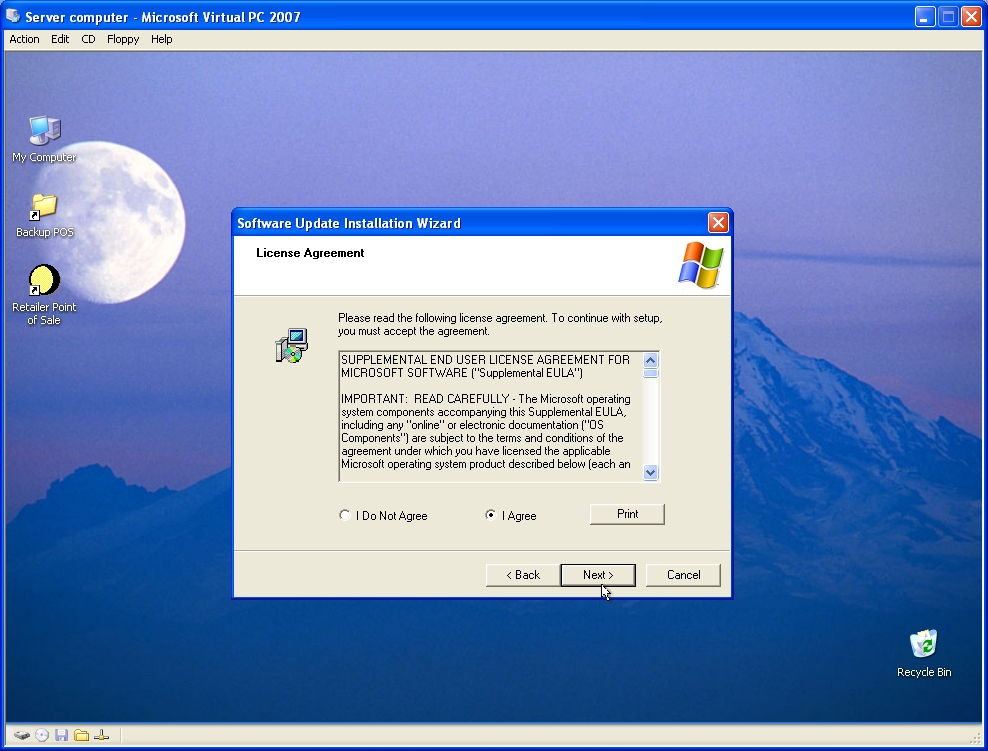
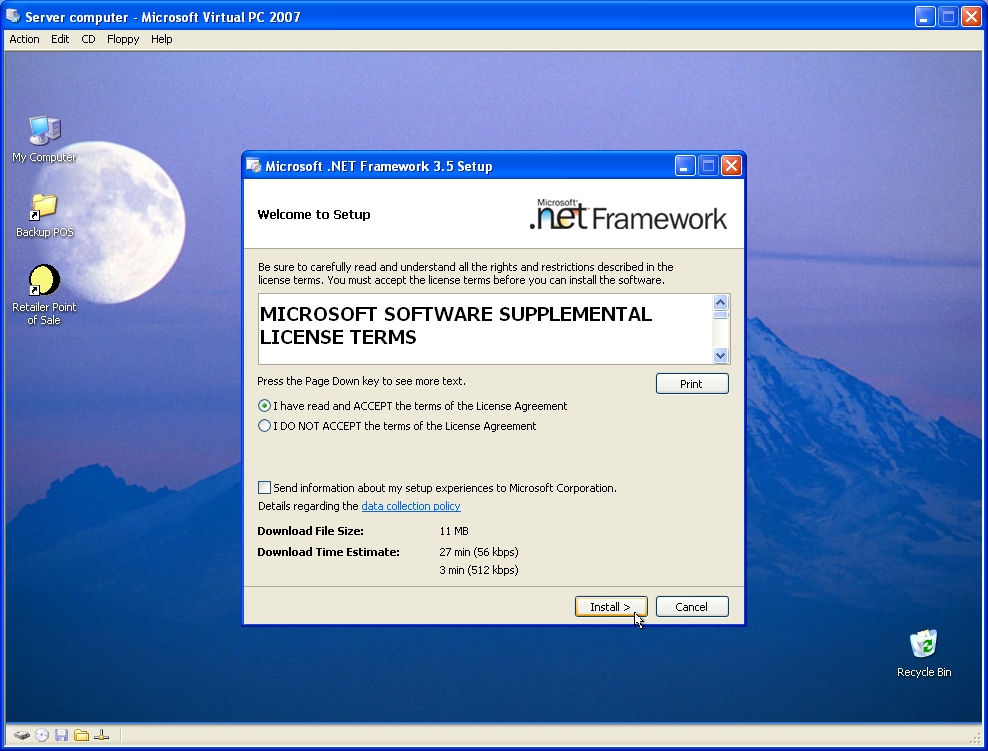
If you Accept license terms, then click Install to continue.
-
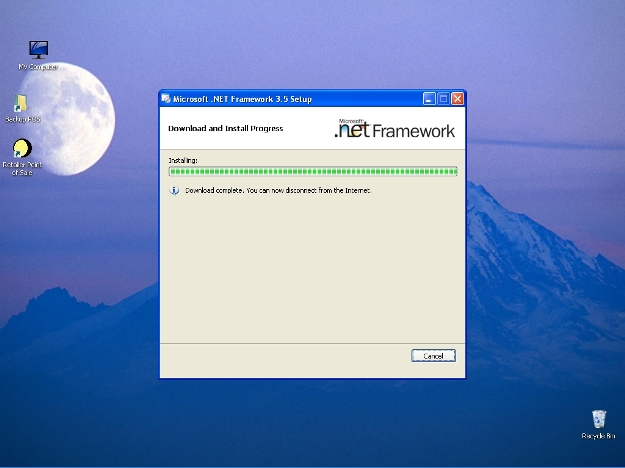
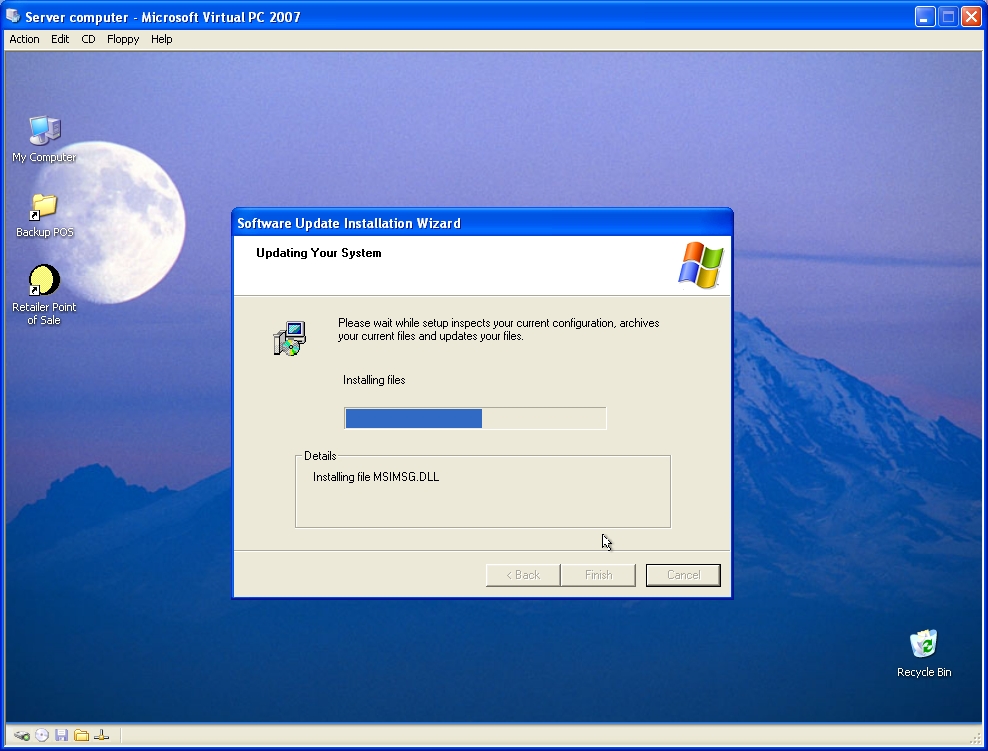
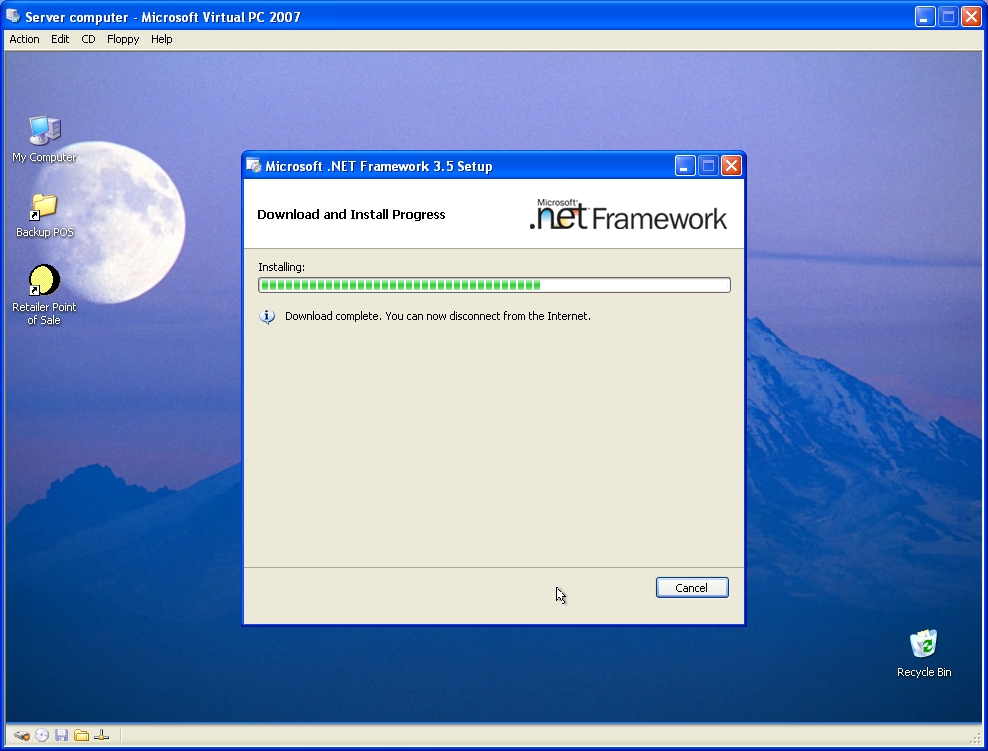
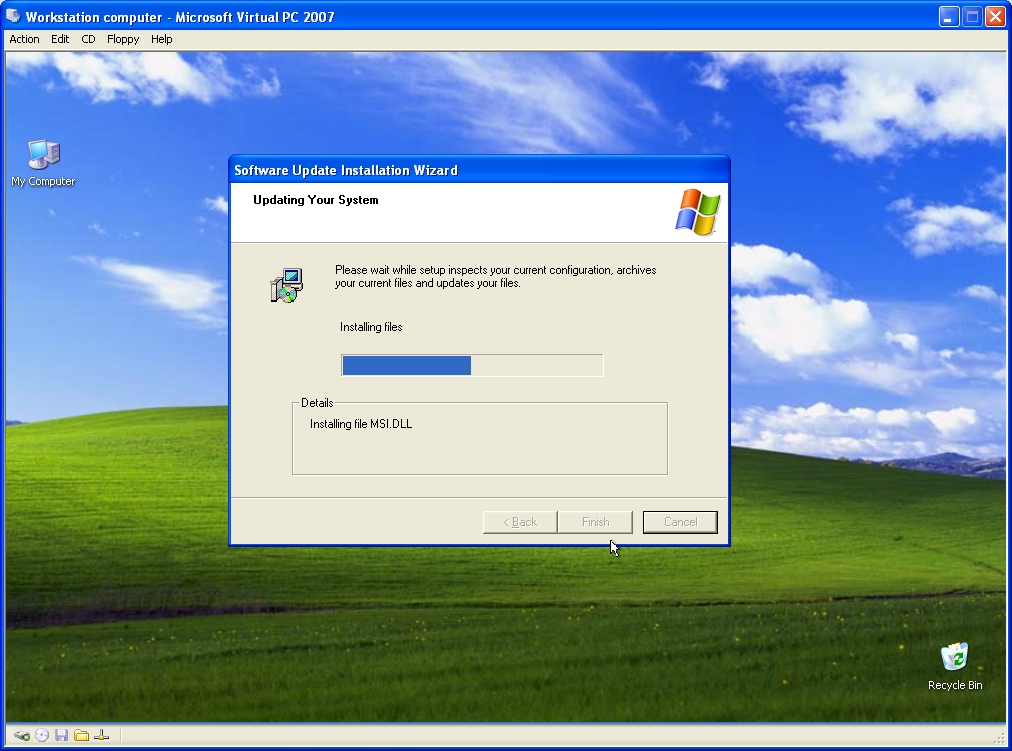
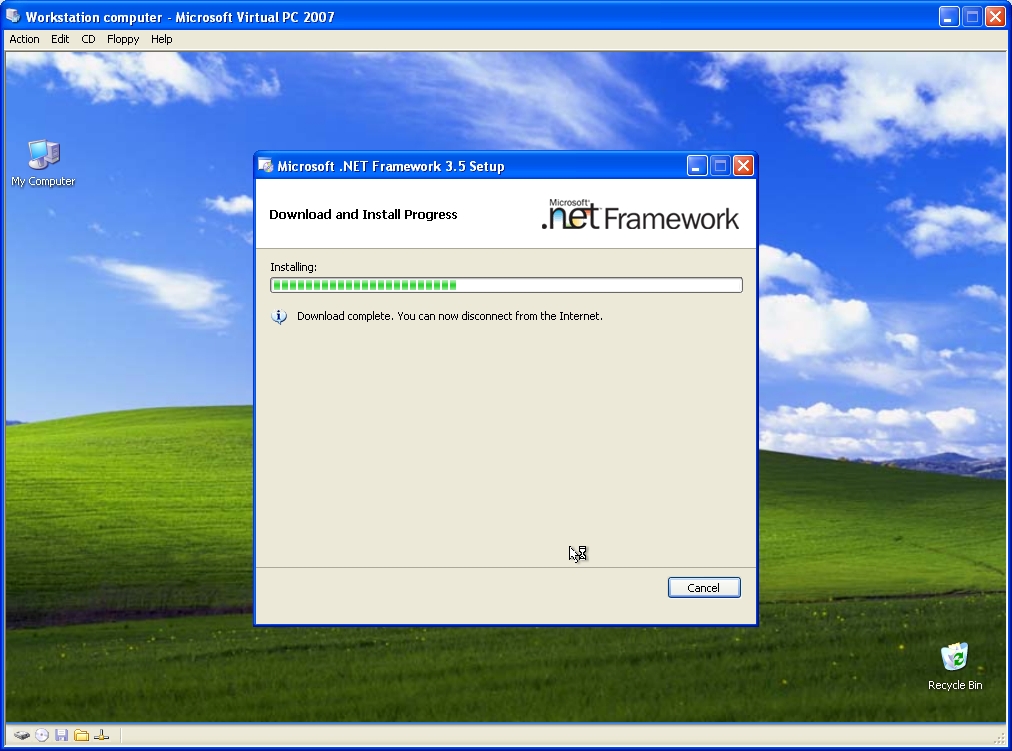
The “dotnet 3.5 Framework” installation is in progress.
-
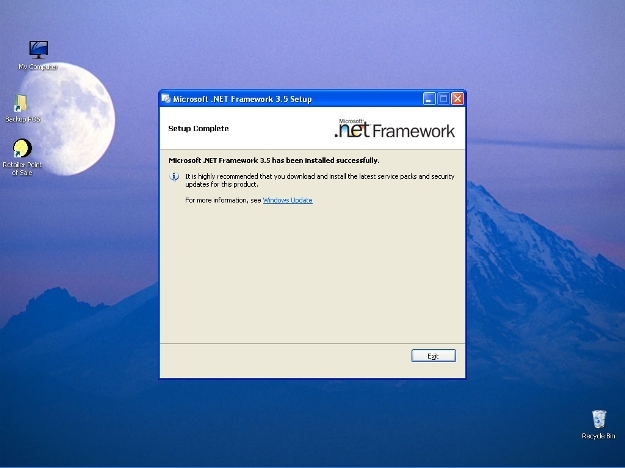
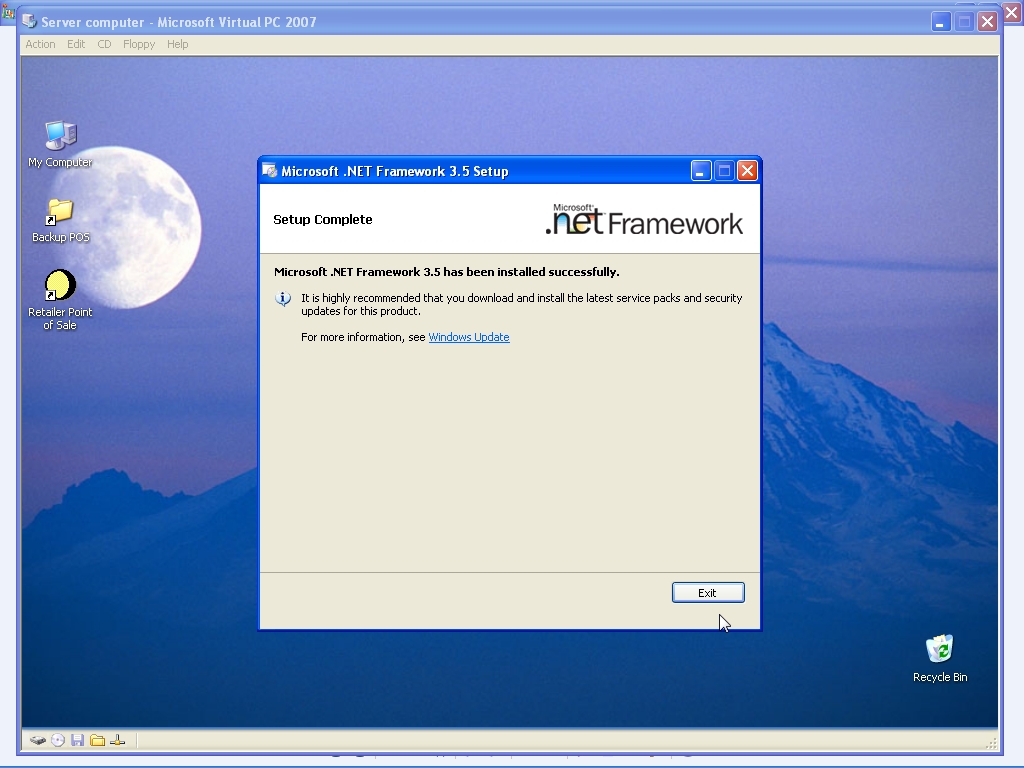
The “dotnet 3.5 Framework” installation is complete.
-

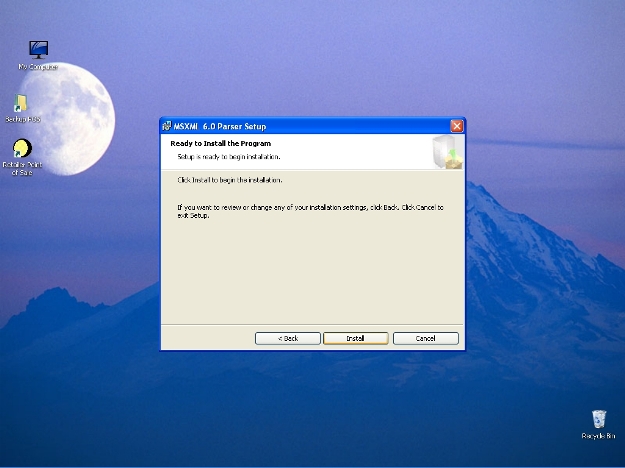
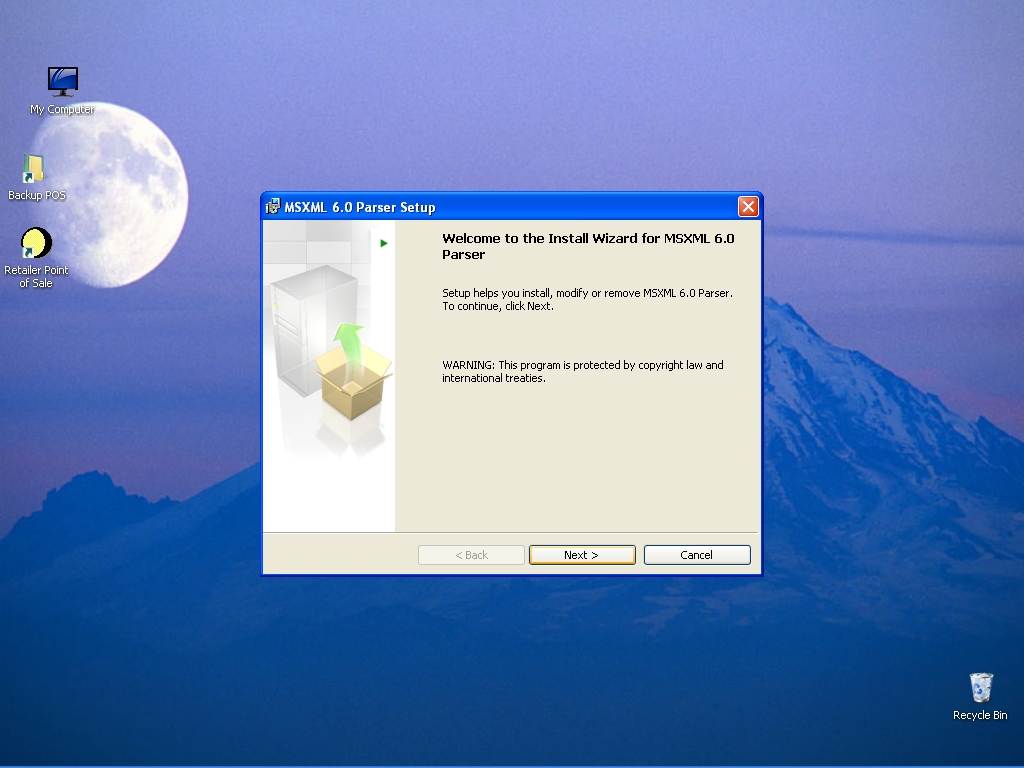
Choose the 3rd file “msxml6_x86.msi”, and then install the “MSXML 6.0 Parser” program.
-

The “MSXML 6.0 Parser” is ready to be installed. Click next to continue the installation.
-

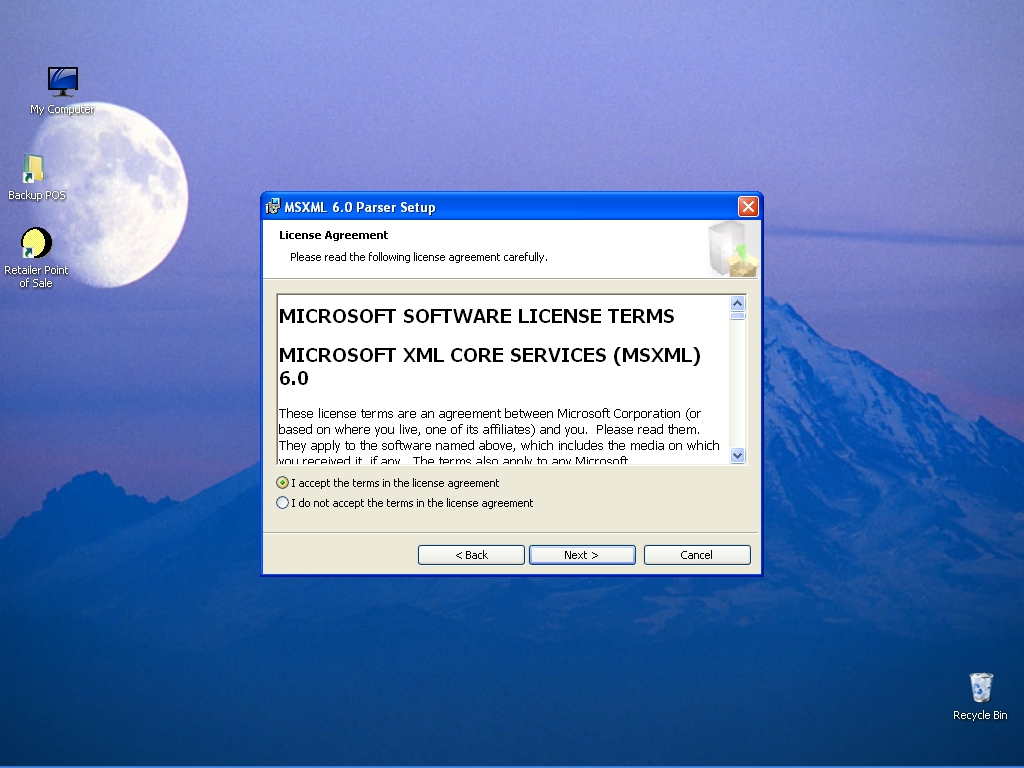
If you Accept license terms, then click next to continue.
-

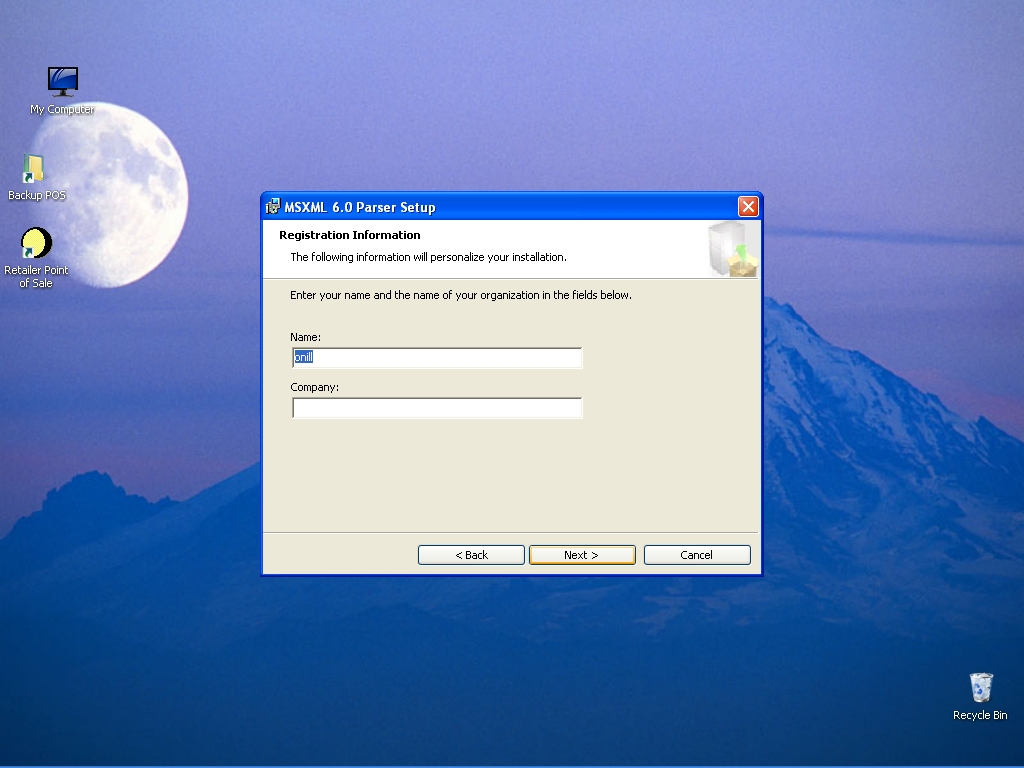
Fill-in the blank fields, and then click next to continue.
-
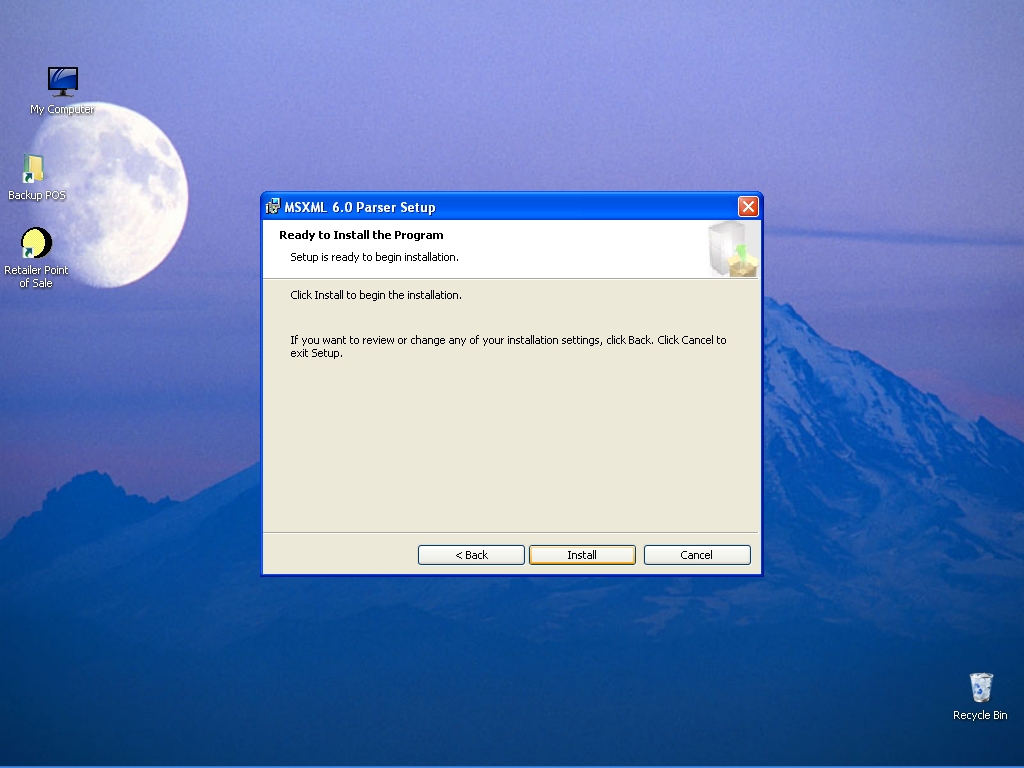
The program is now ready to be installed. Click Install to continue.
-

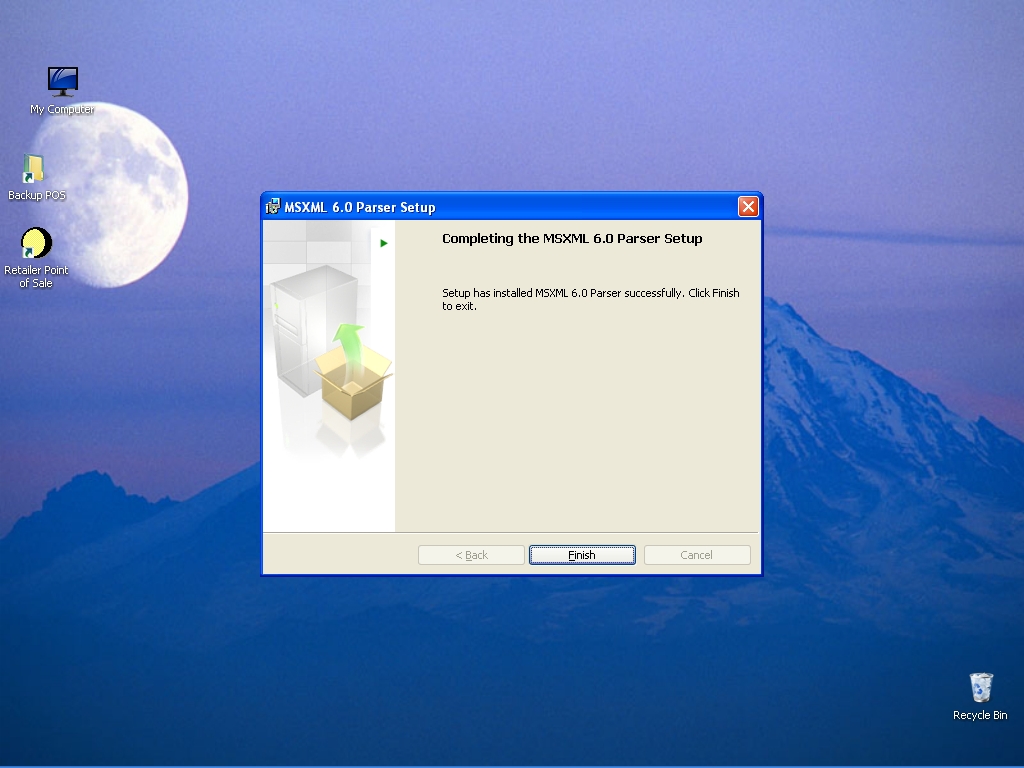
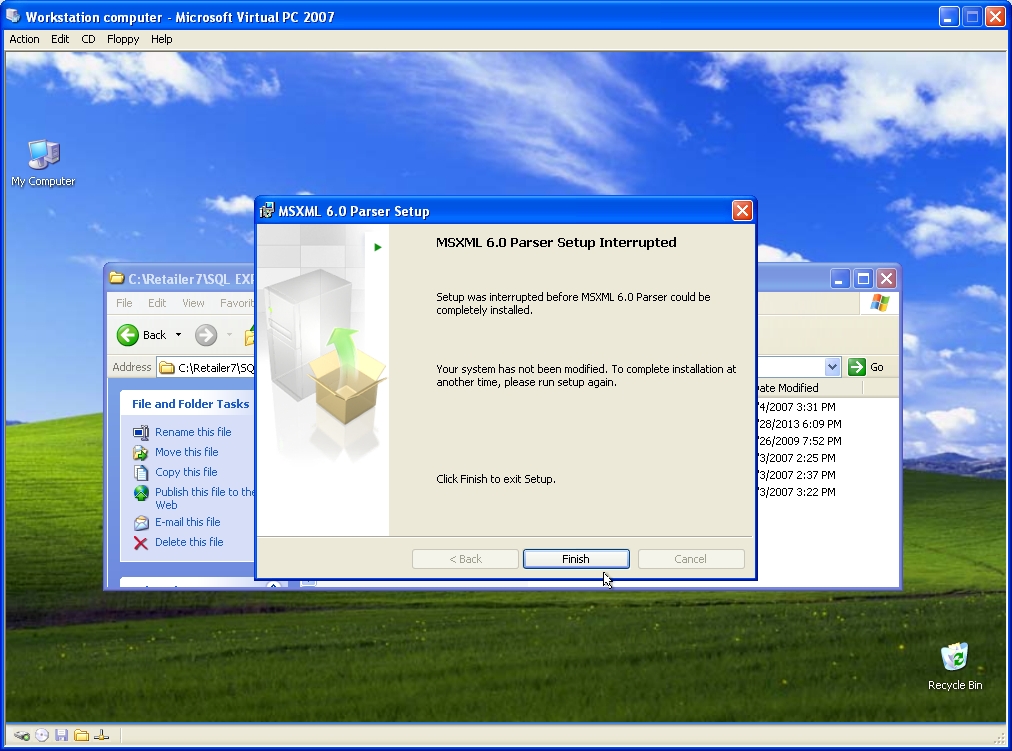
The “MSXML 6.0 Parser” installation is complete.
-

Choose the 4th file “sqlexpr.exe”, and then install the “Microsoft SQL Server 2005 Express” program.
-
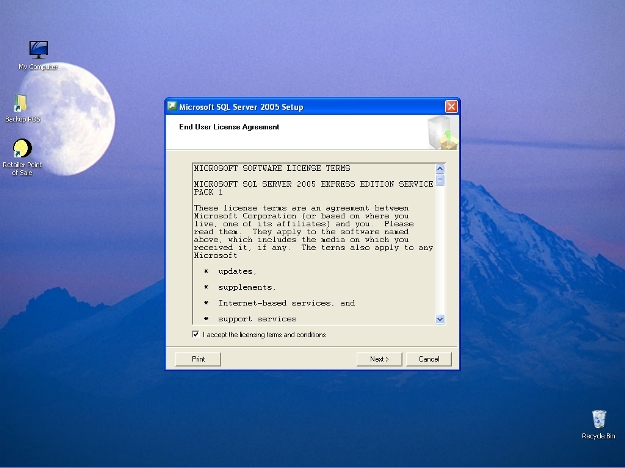
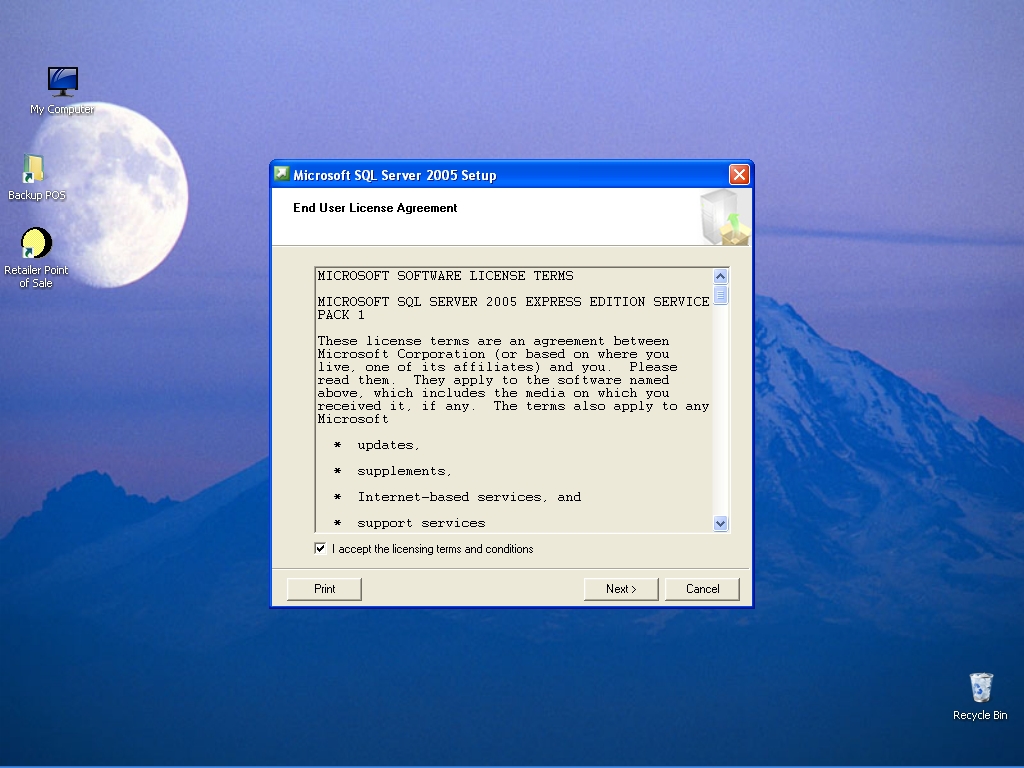
If you Accept license terms, then click next to continue.
-
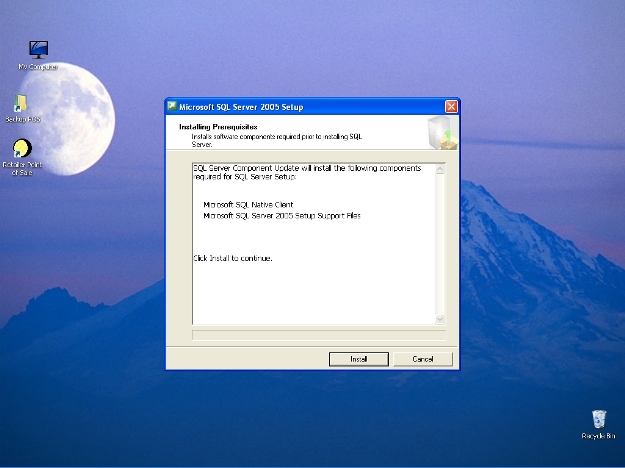
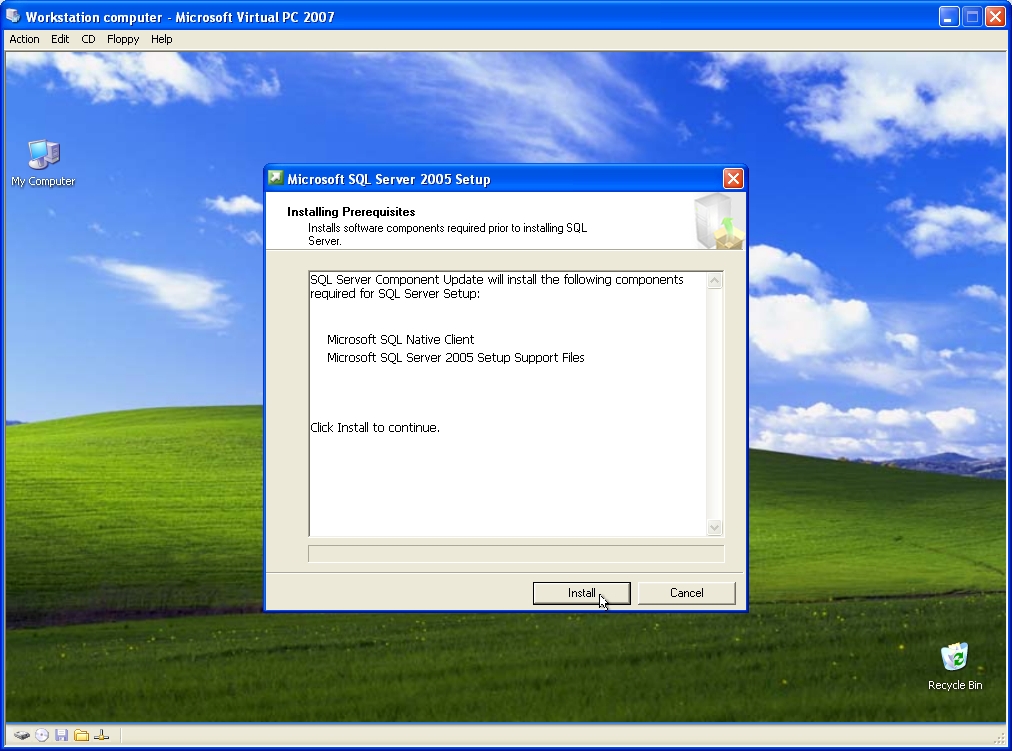
The program is now ready to be installed. Click Install to continue.
-
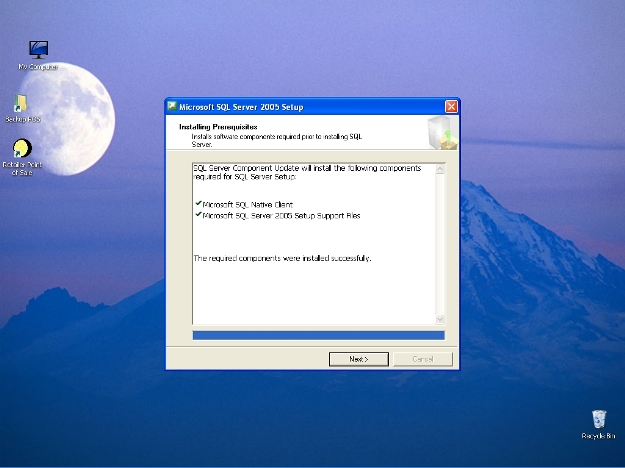
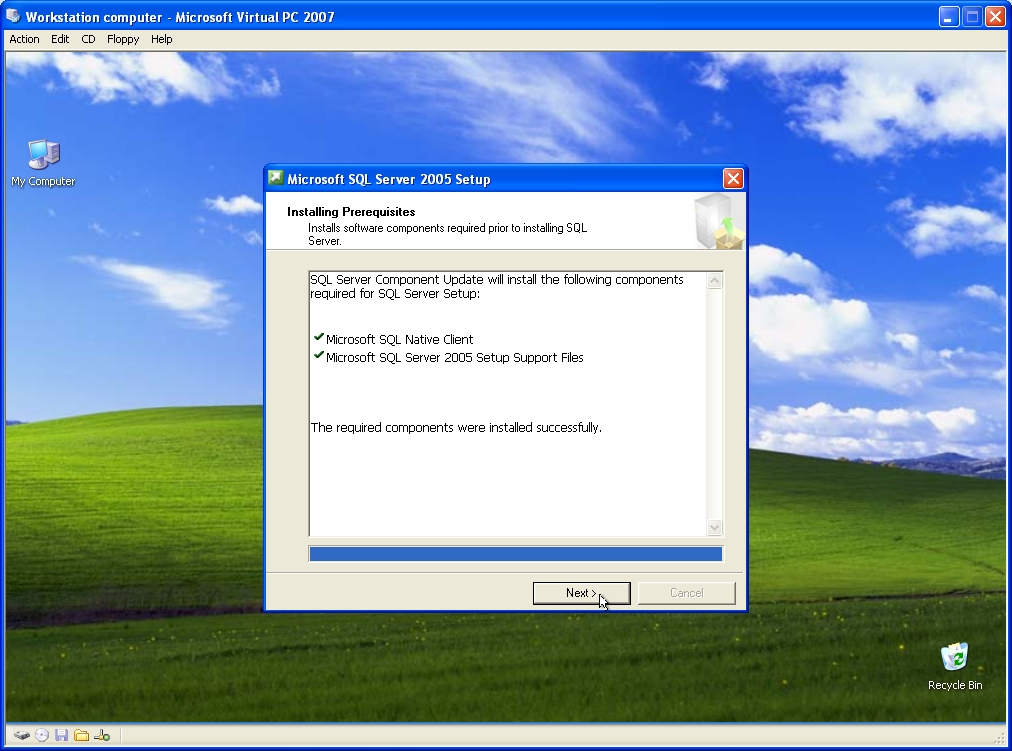
The SQL prerequisites have been installed. Click next to continue the installation.
-

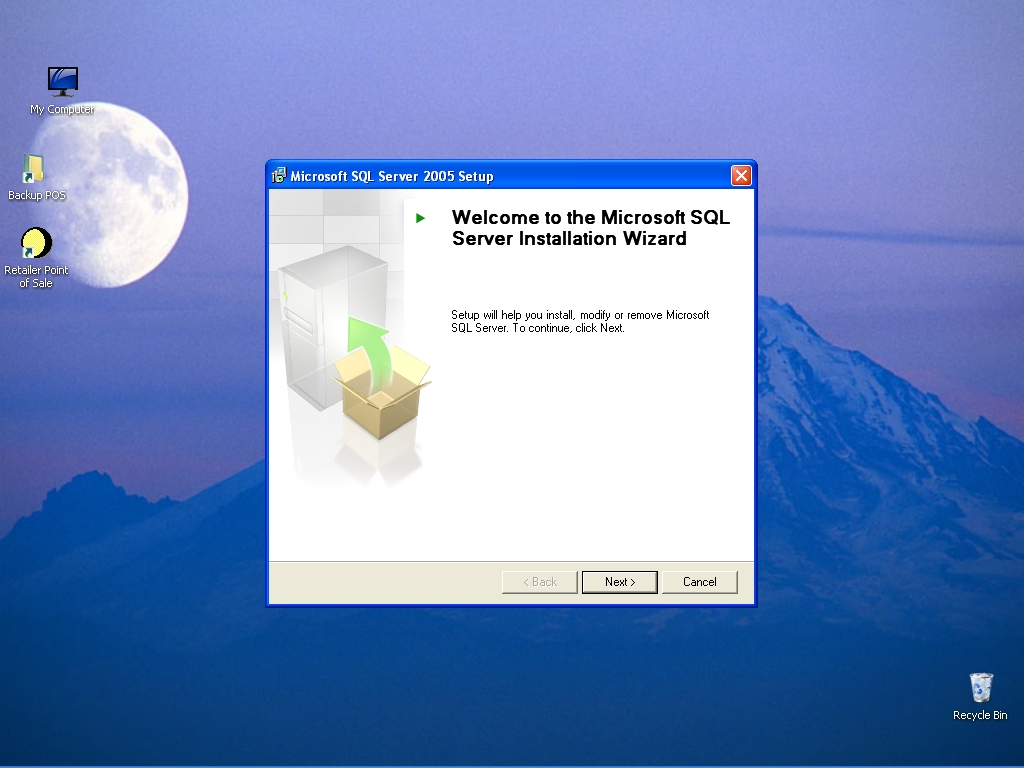
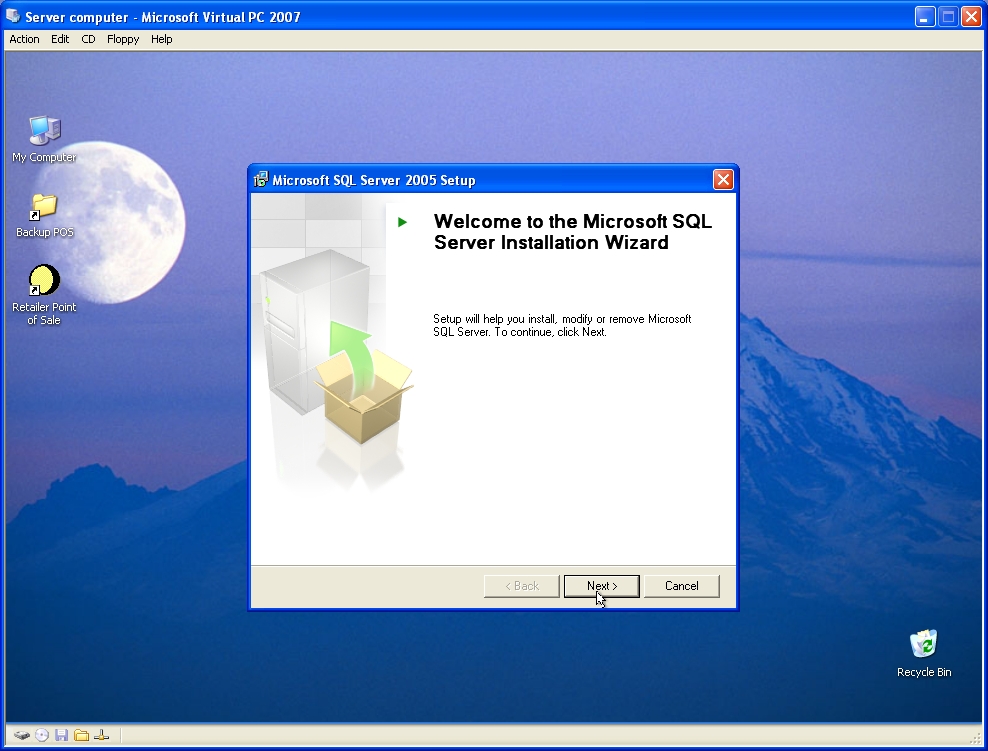
The program is now ready to install “Microsoft SQL Server 2005 Express”. Click next to continue.
-

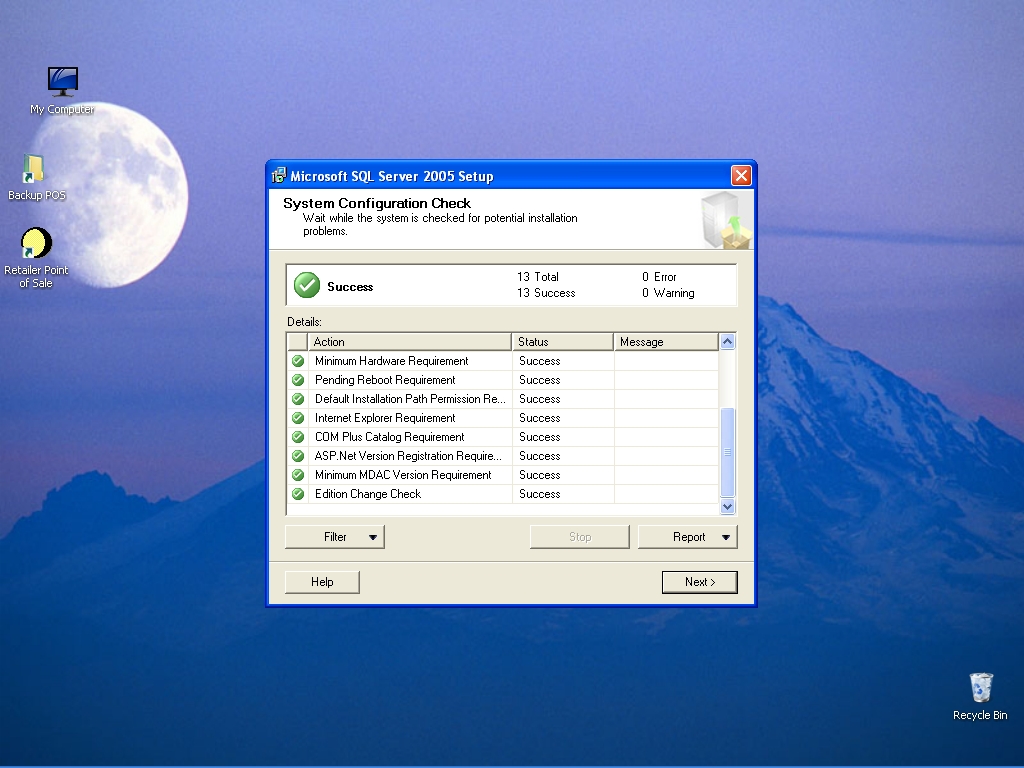
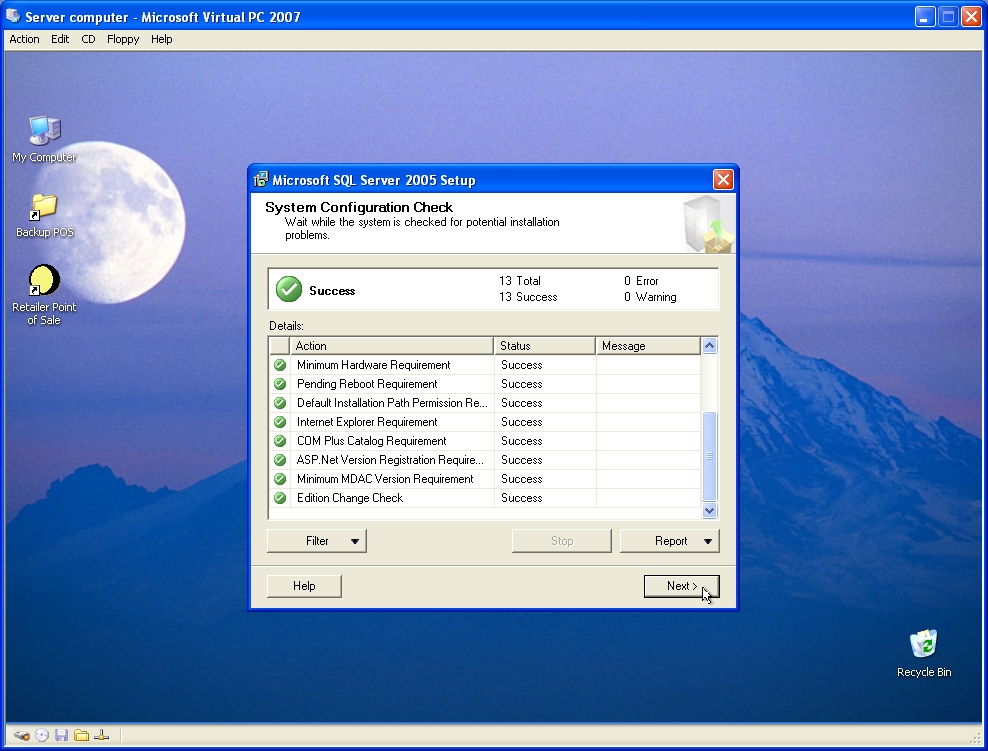
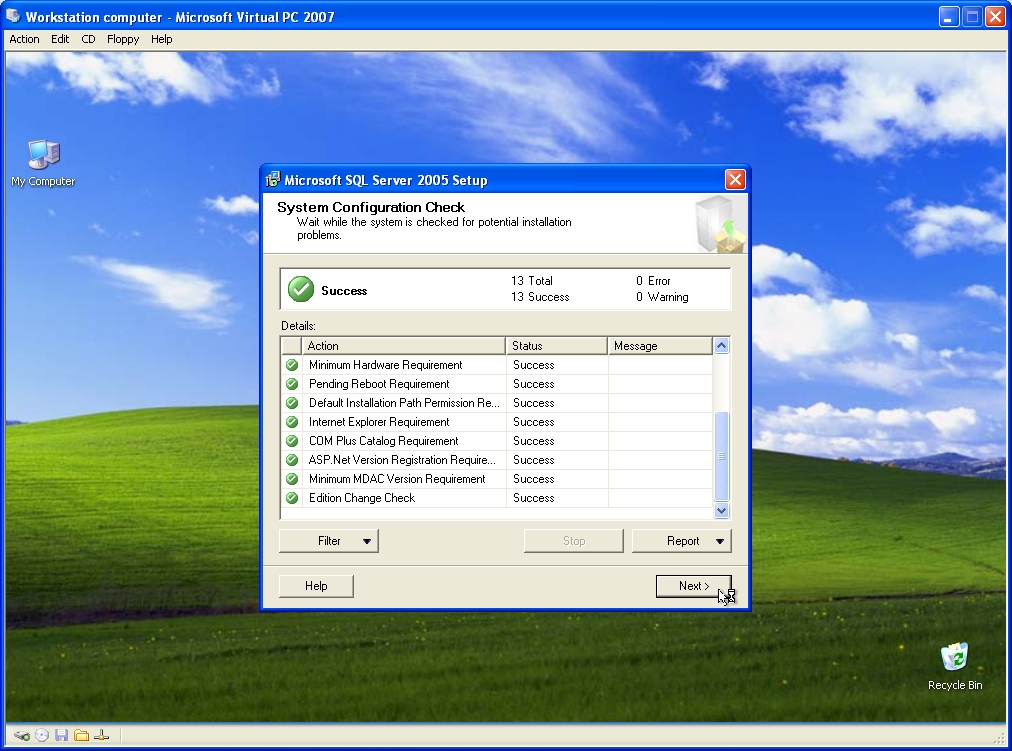
The computer has passed the hardware and software configuration check. Click next to continue.
If the configuration check reported any error or warning you should stop the installation, fix the problem, and then return to this installation program.
-

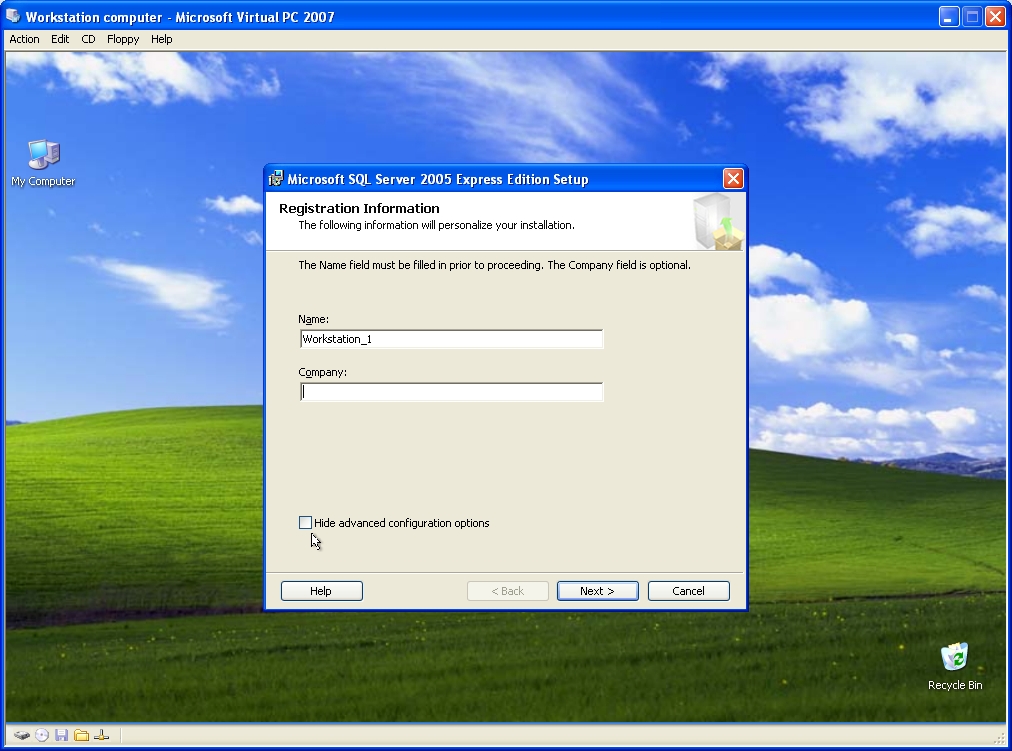
Fill-in the blank fields, and untick the “Hide advanced configuration options”, and then click next to continue.
-
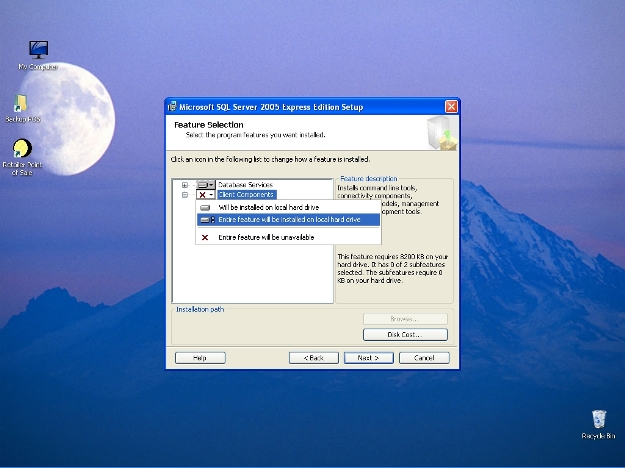
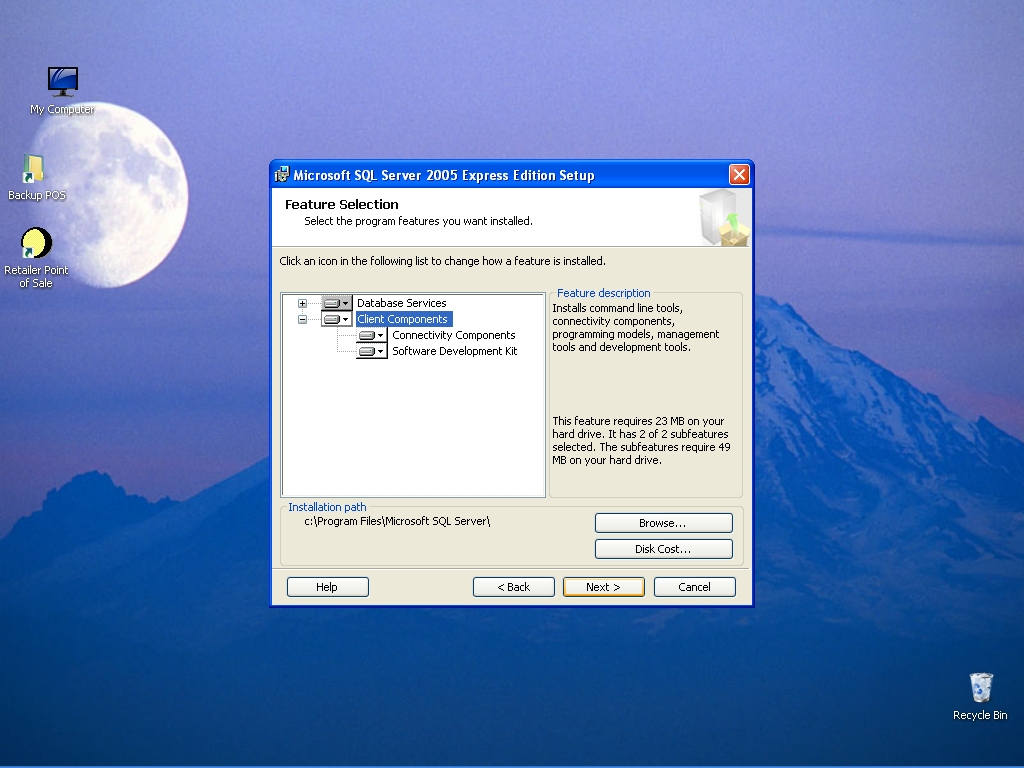
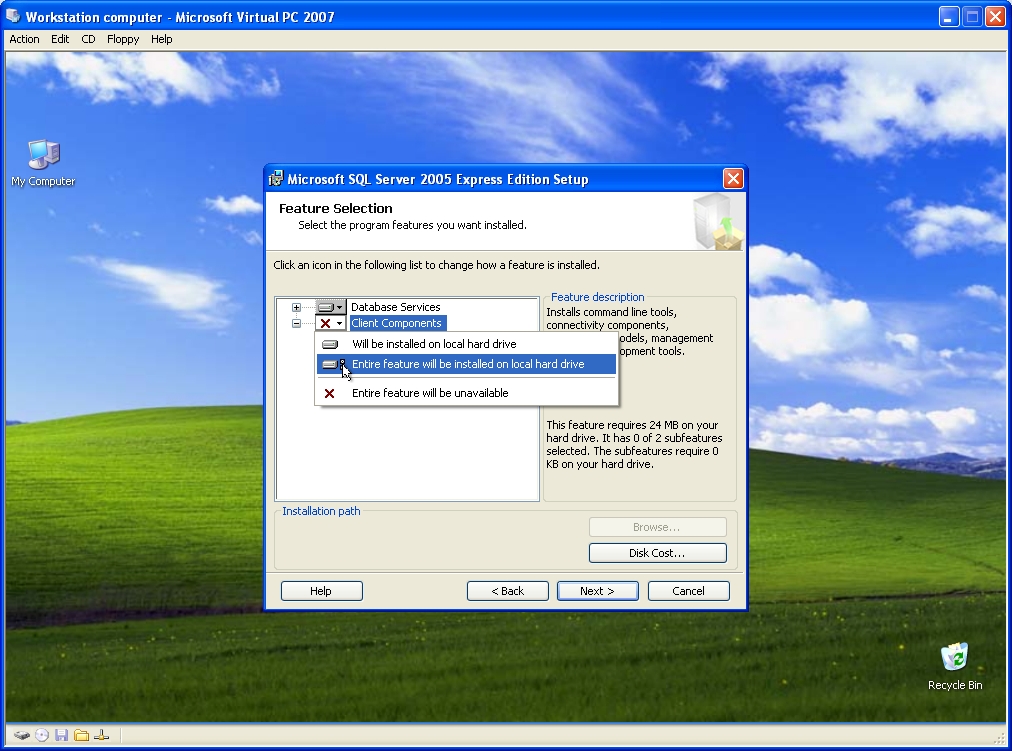
Select “Client components”, then select “Entire feature will be installed…”, and then click next to continue.
-
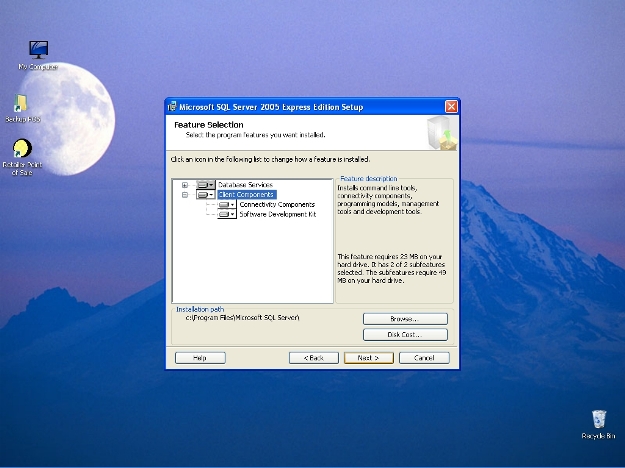
All features are chosen for installation, click next to continue.
-

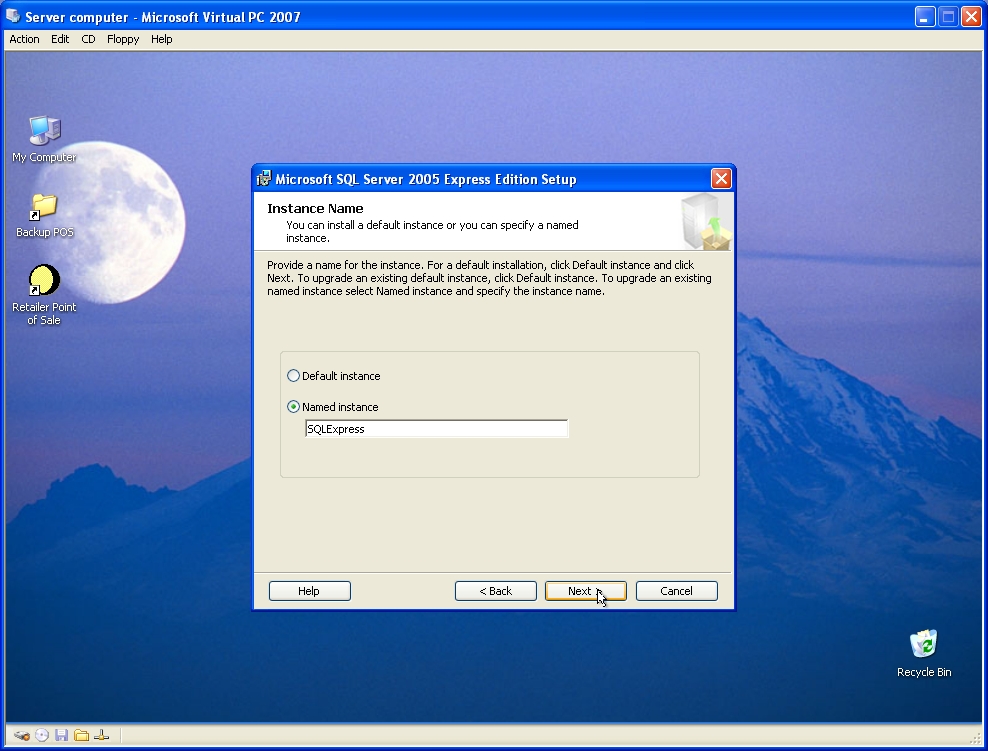
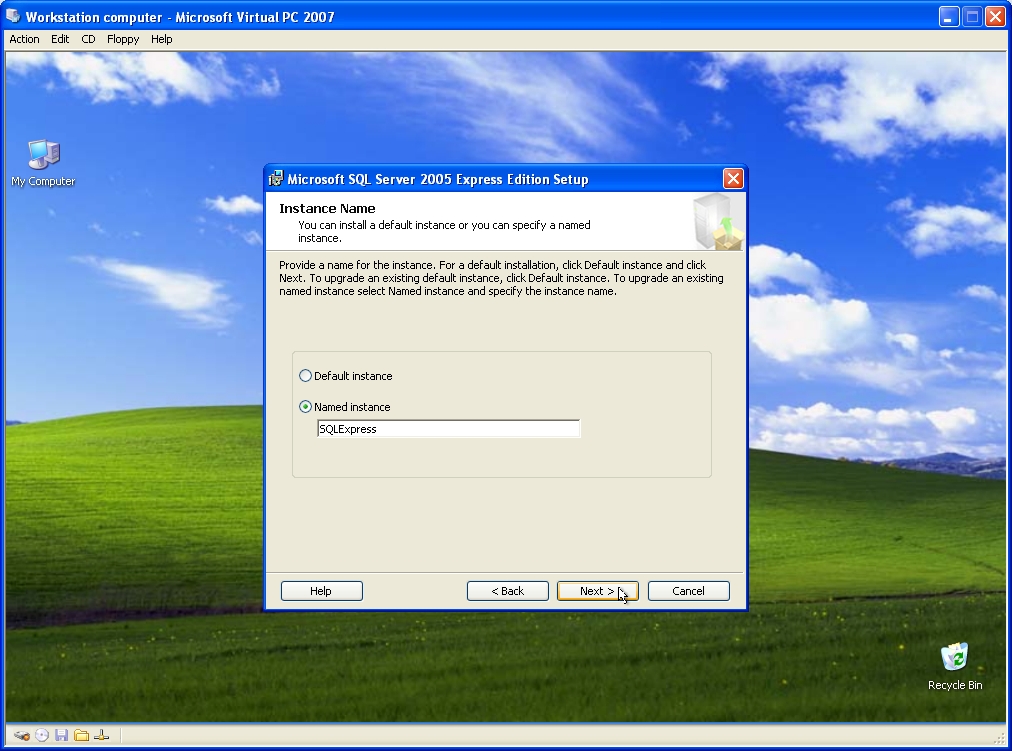
Select “Named instance” as shown in the picture, and then click next to continue.
-

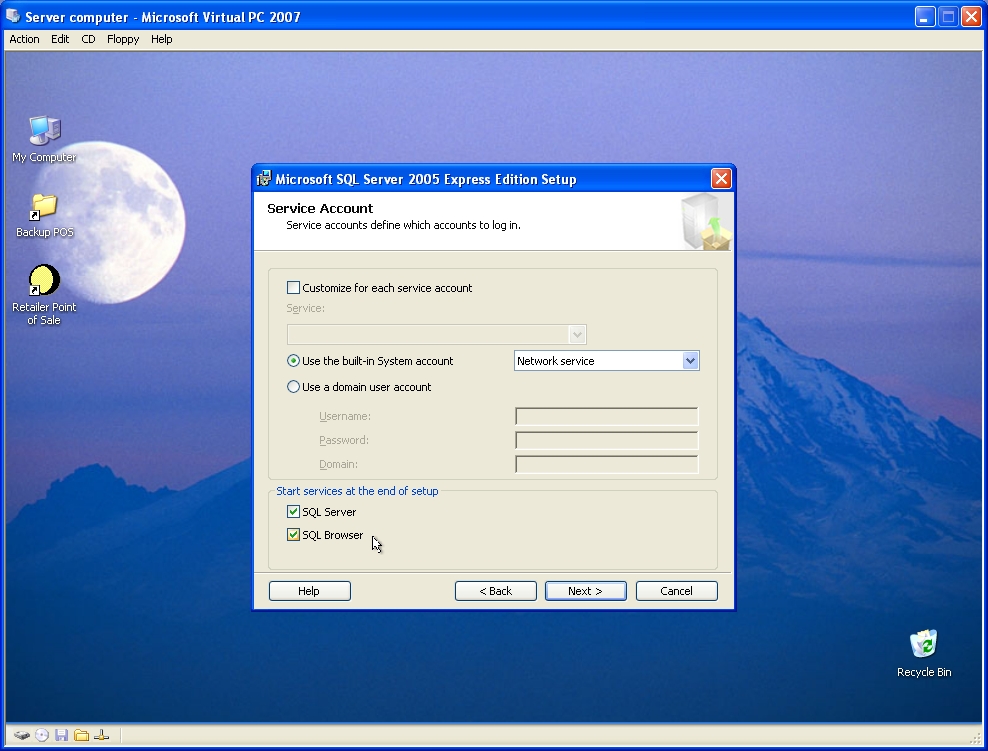
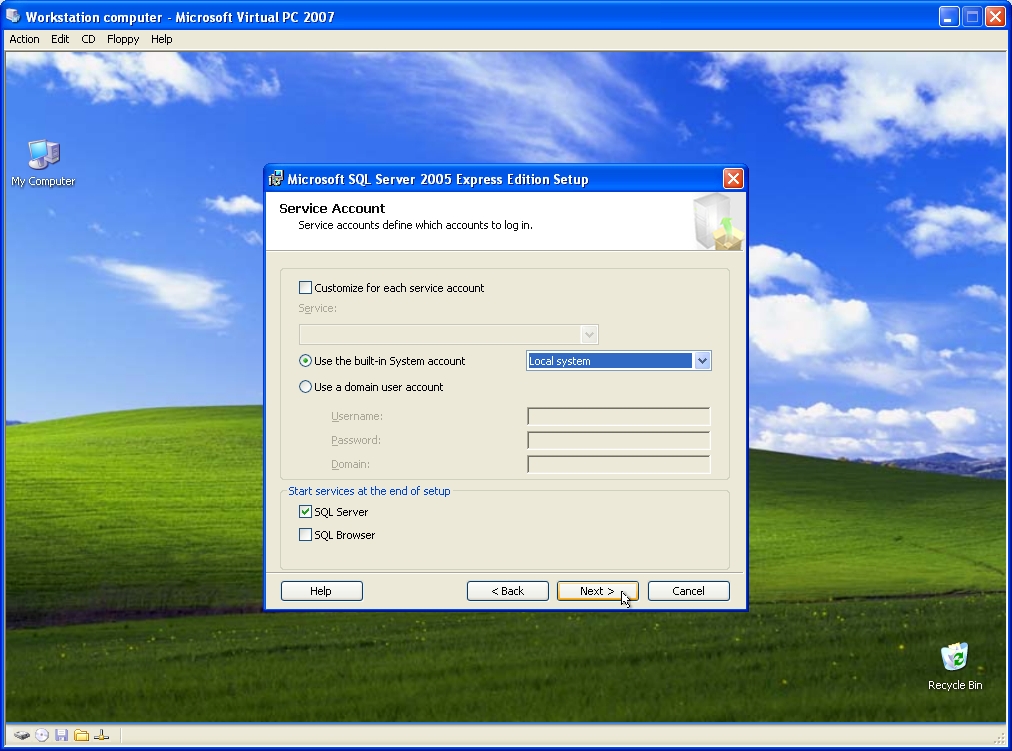
Select “Local system”, and tick “SQL server”, and tick “SQL browser” options as shown in the picture, and then click next to continue.
-

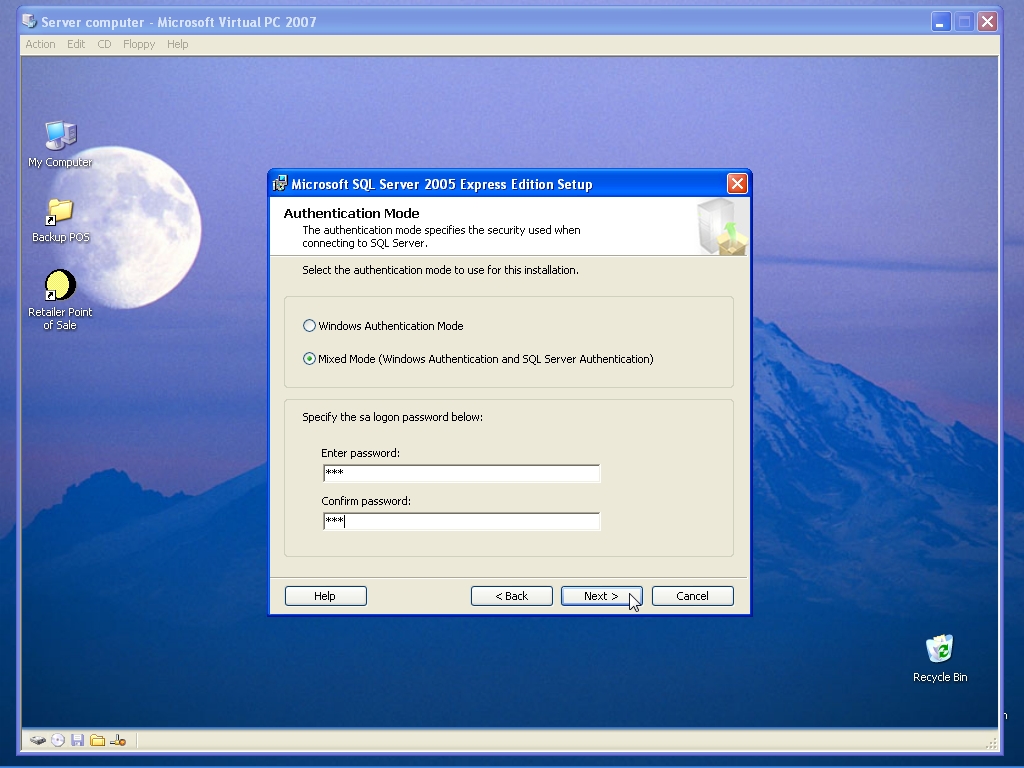
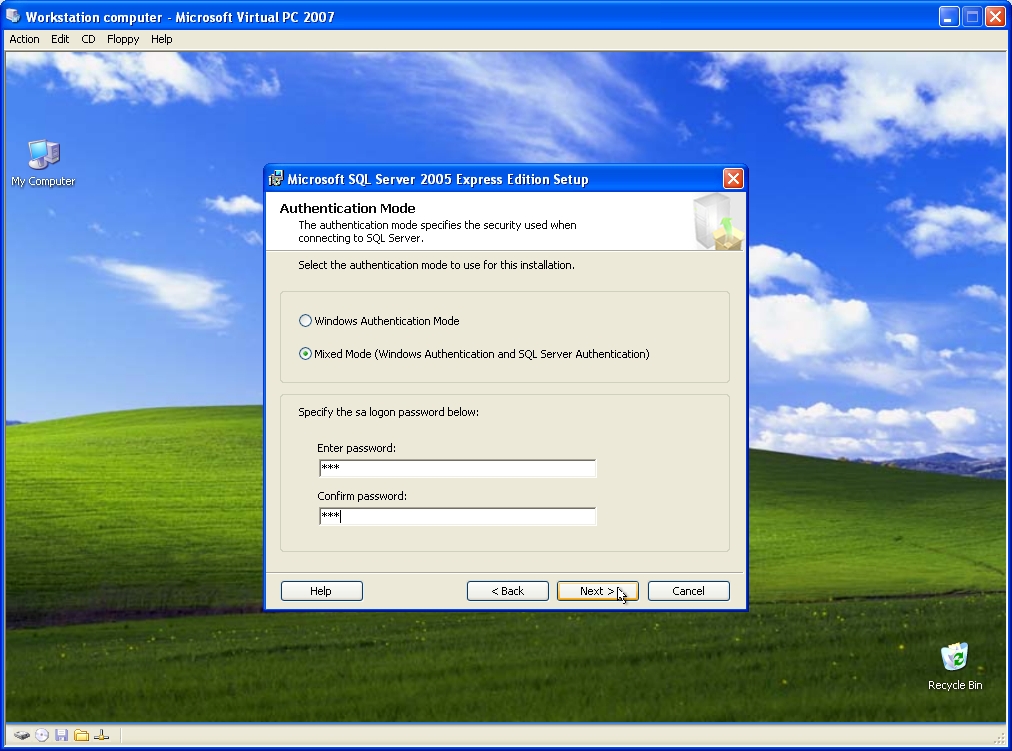
Select “Mixed mode”, and type “123” for the sa password, and “123” to confirm password as shown in the picture, and then click next to continue.
-

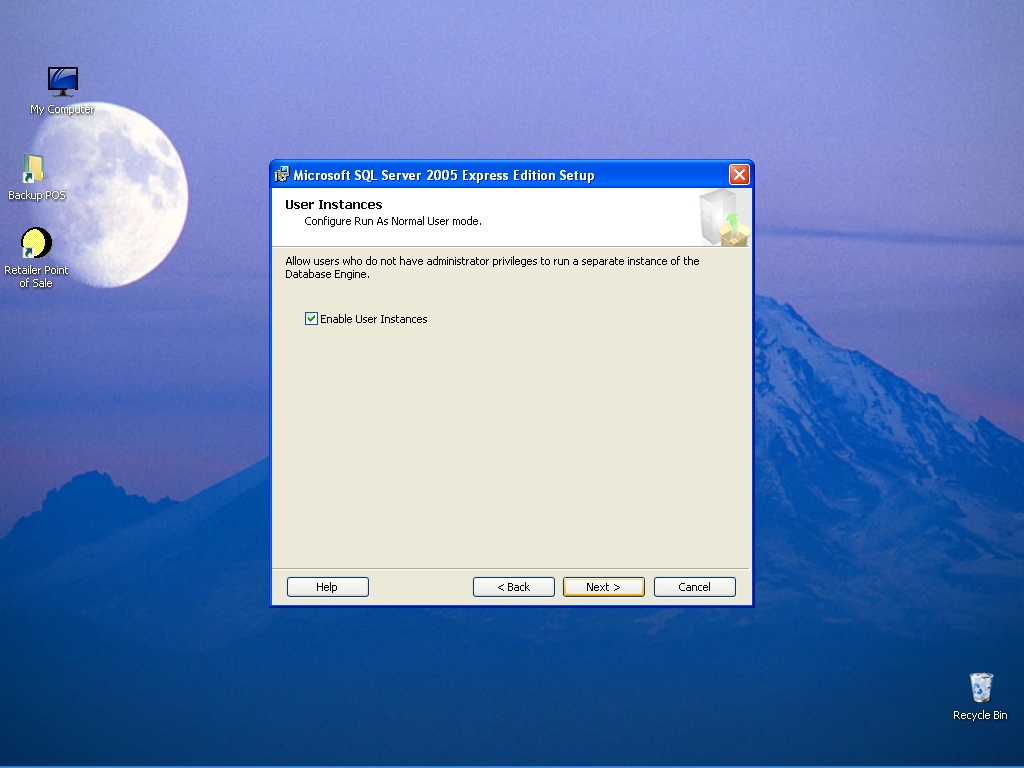
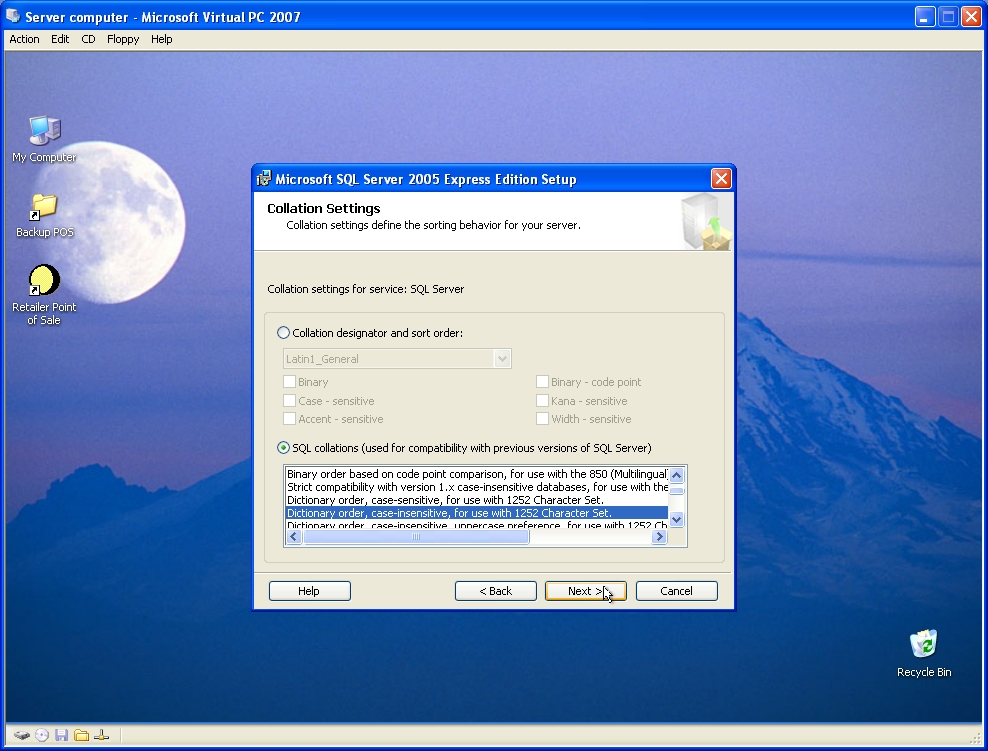
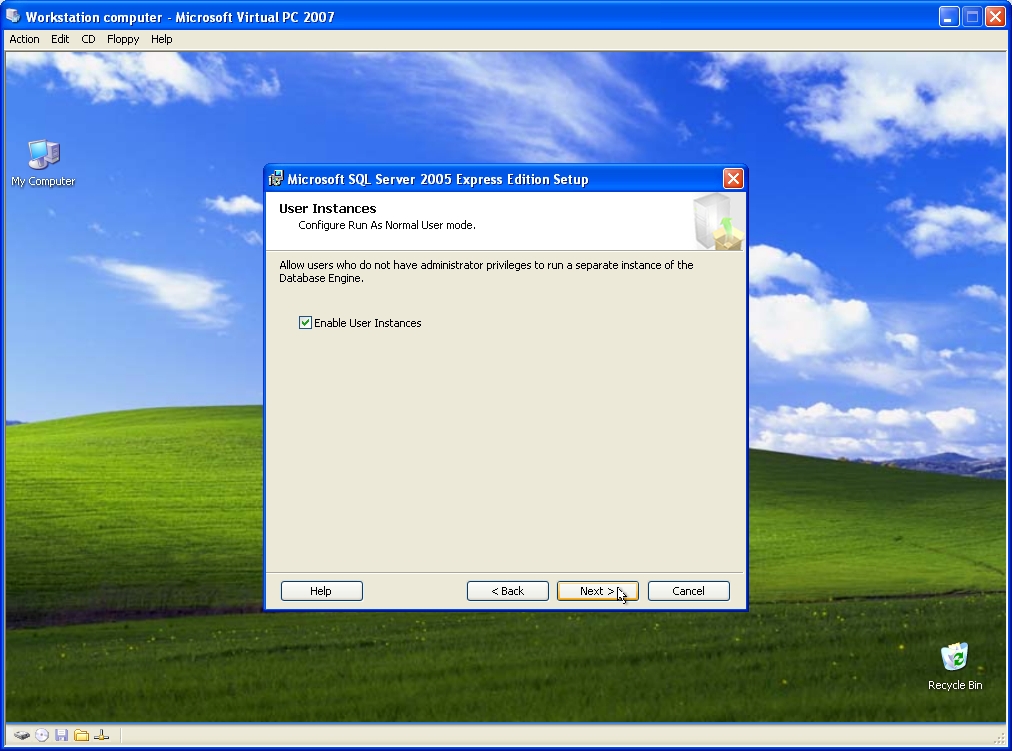
Accept the default options given on the screen as shown in the picture, and then click next to continue.
-
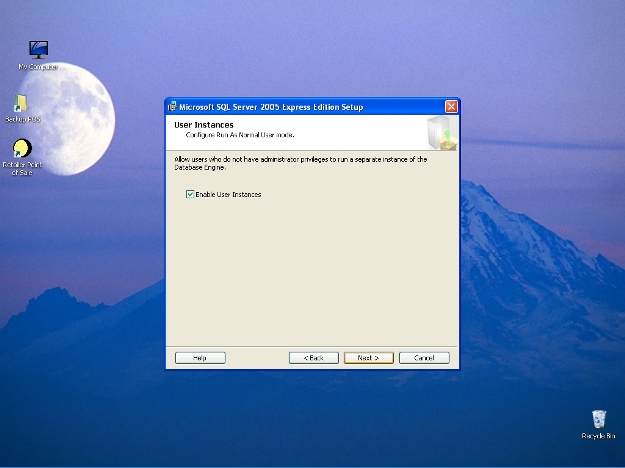
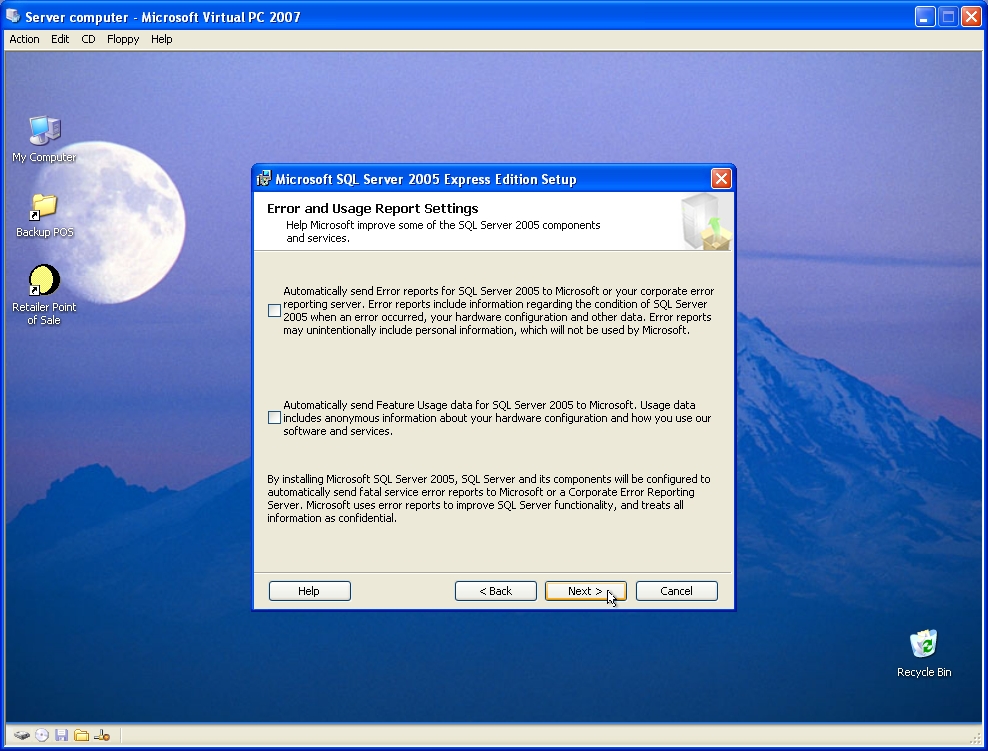
Accept the default options given on the screen as shown in the picture, and then click next to continue.
-
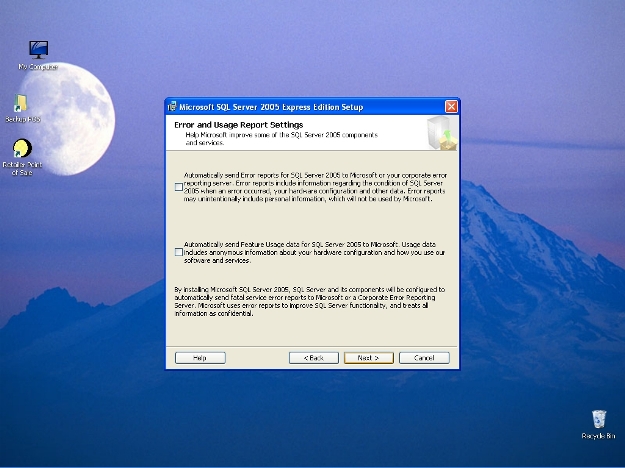
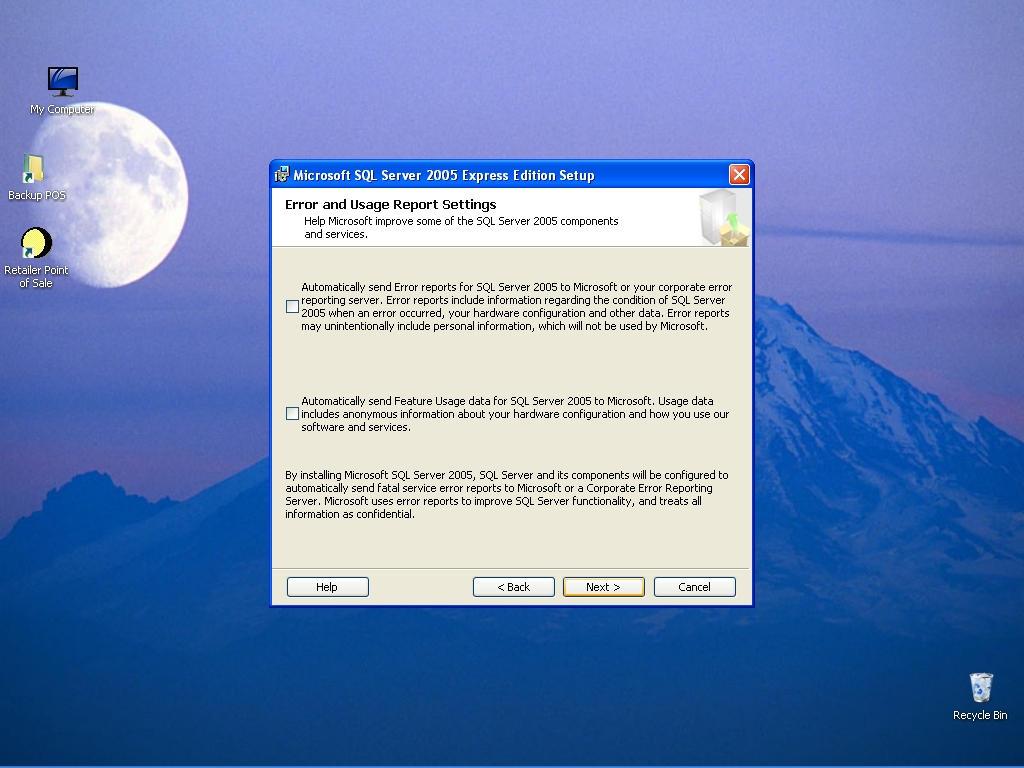
Accept the default options given on the screen as shown in the picture, and then click next to continue.
-

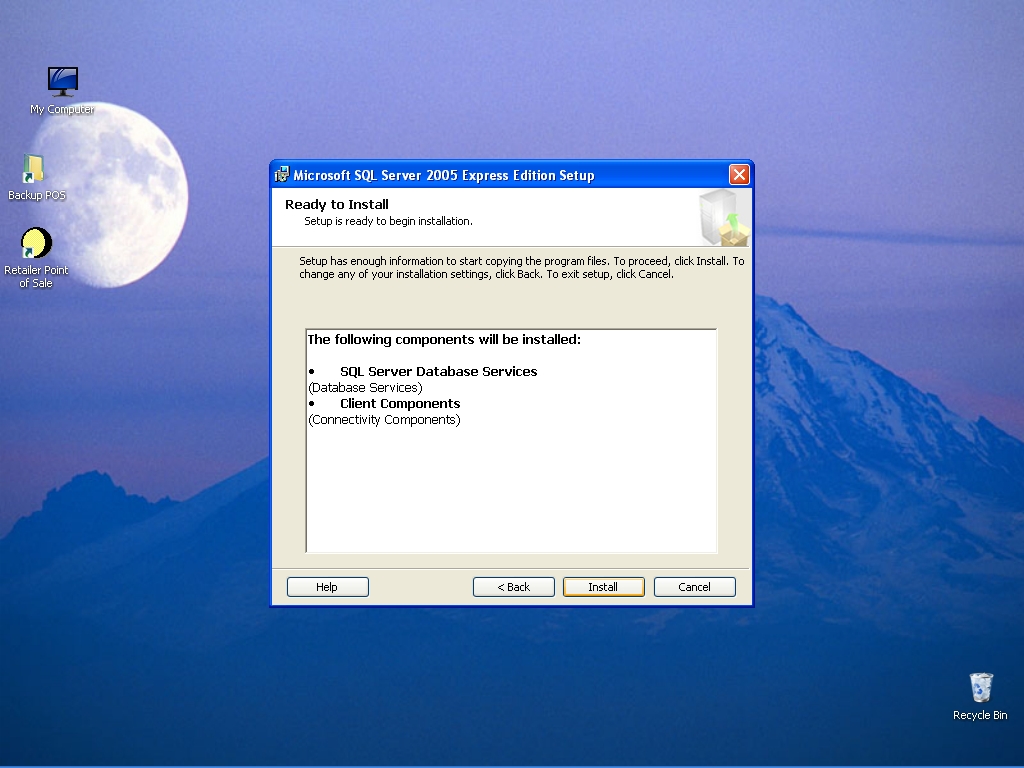
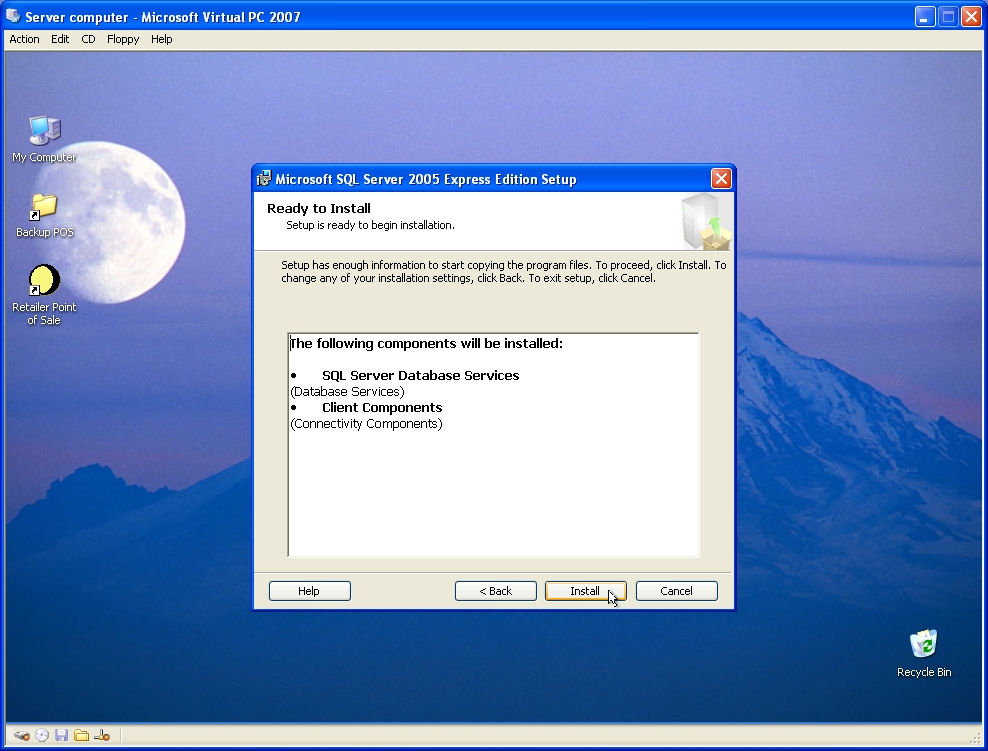
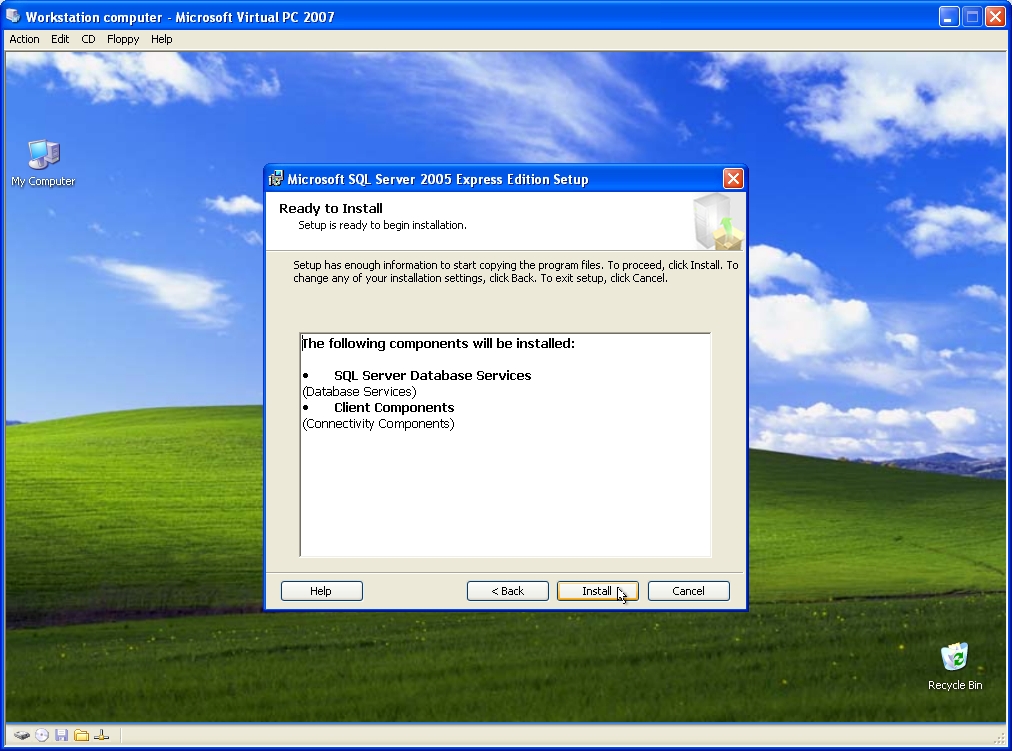
SQL is now ready to be installed. Click install to continue.
-
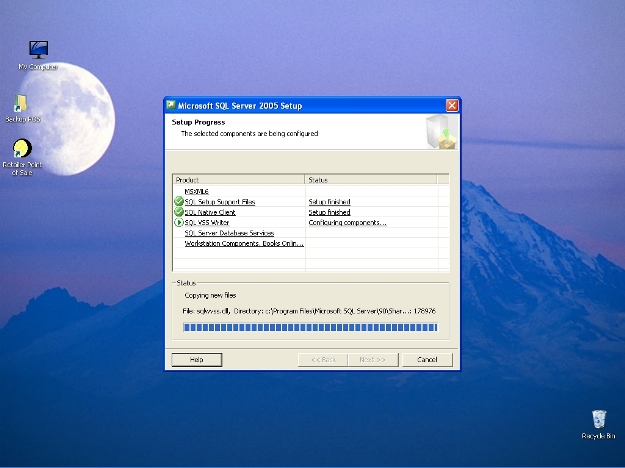
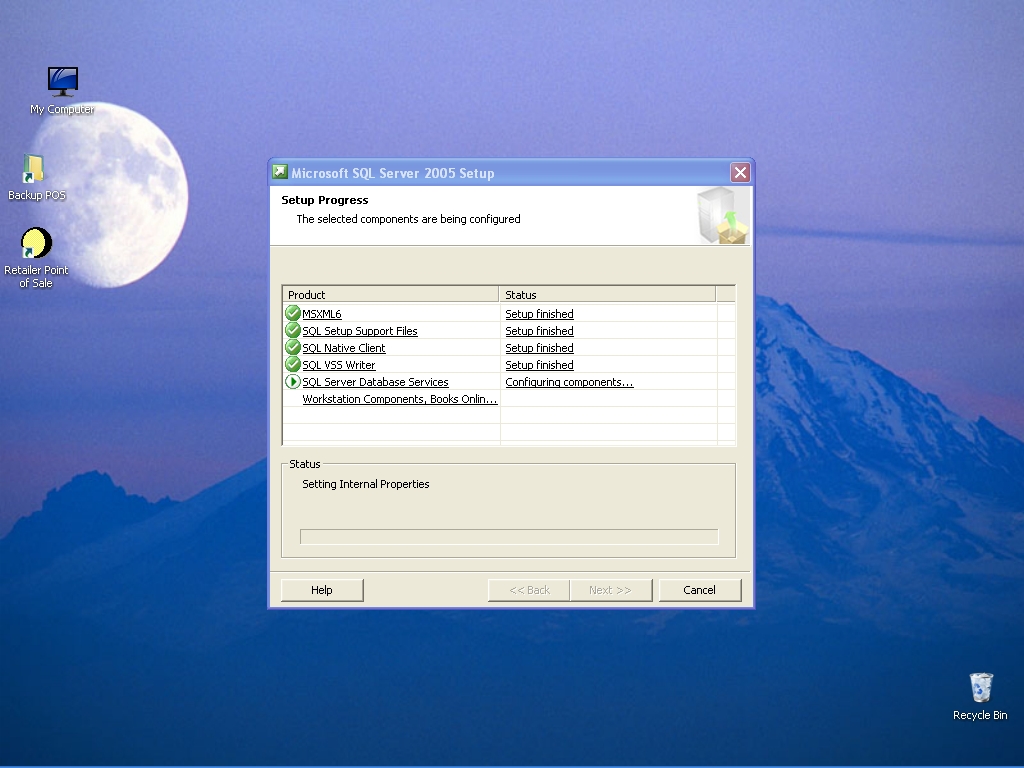
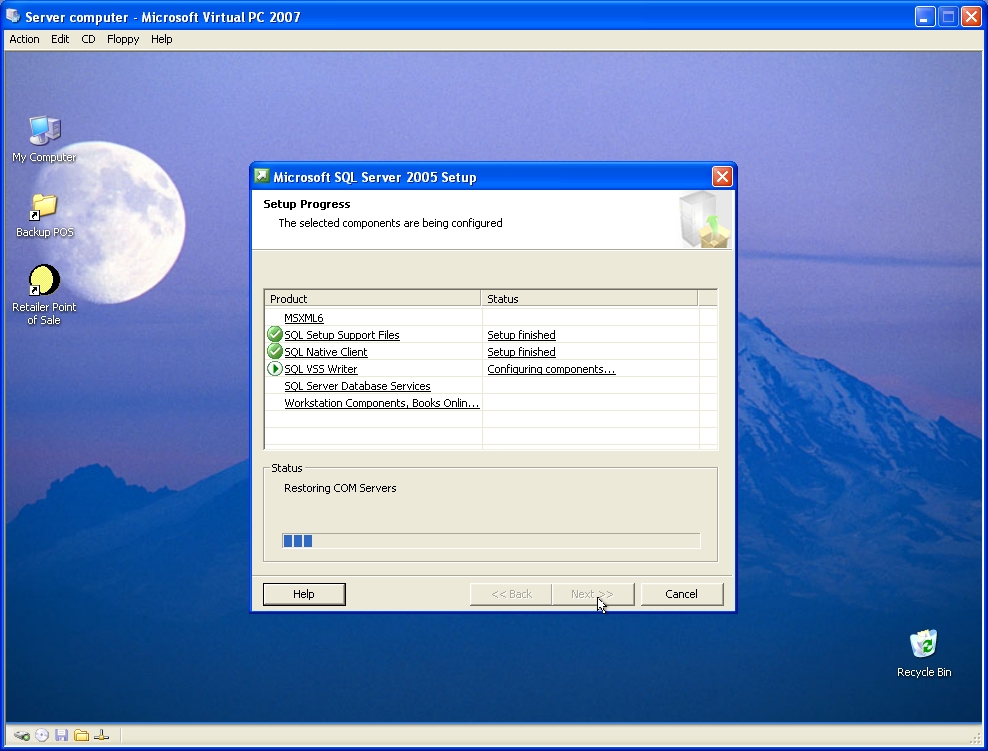
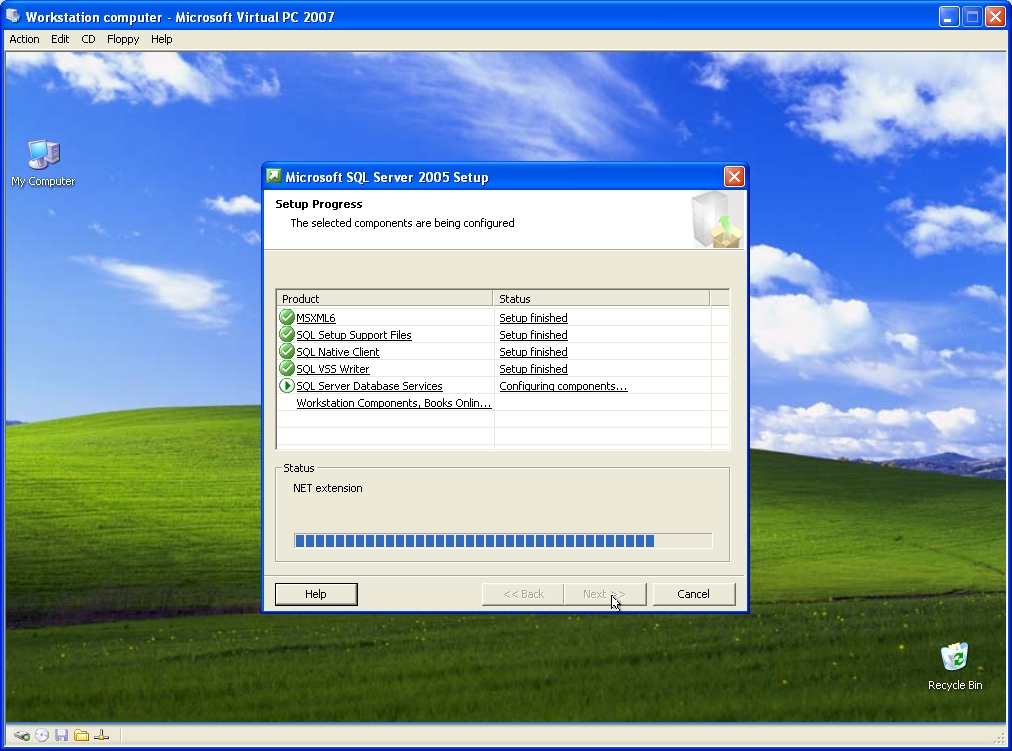
SQL server 2005 Express installation is in progress.
-

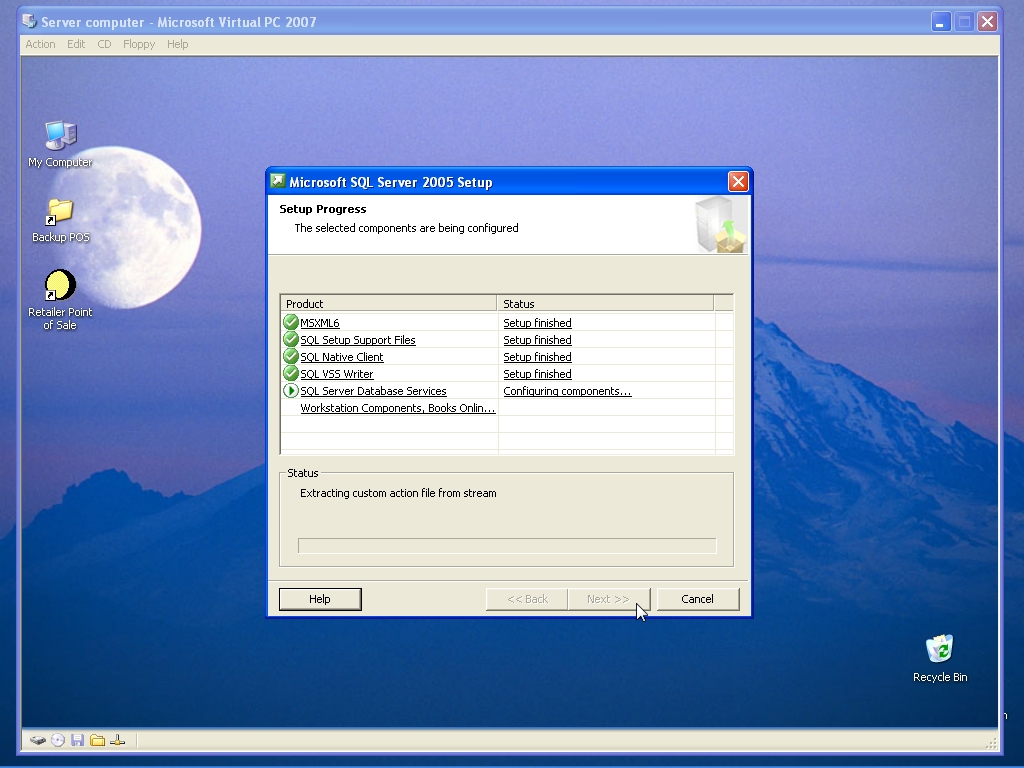
SQL server 2005 Express installation is still in progress.
-

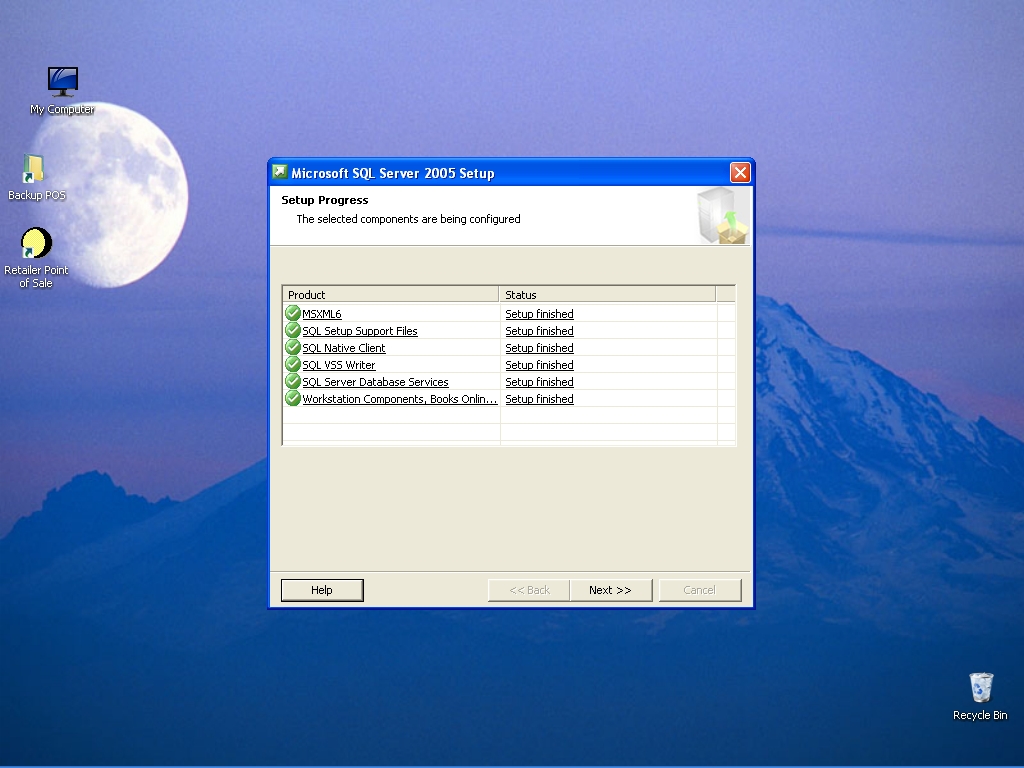
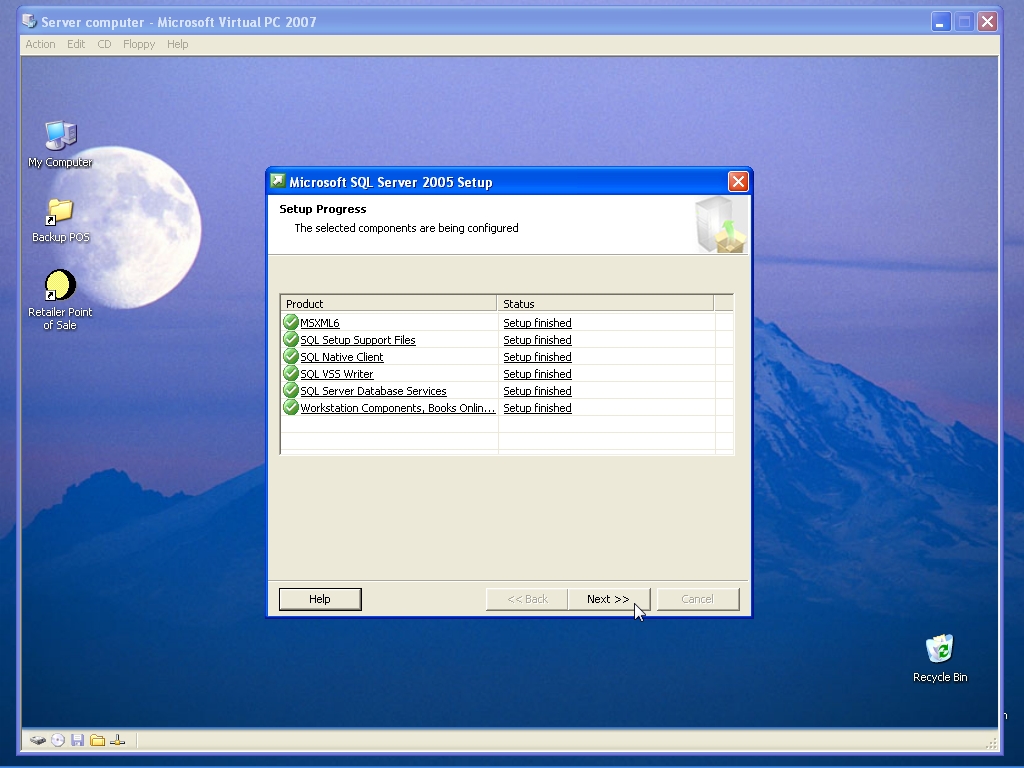
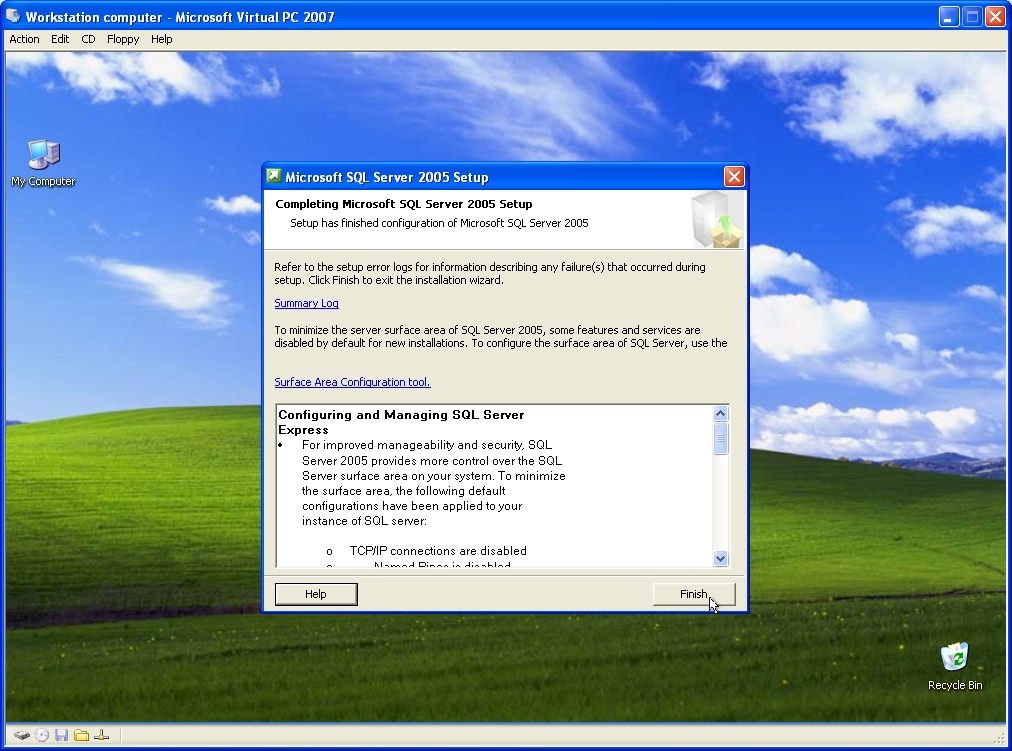
SQL server 2005 Express installation is complete. Click next to continue.
-

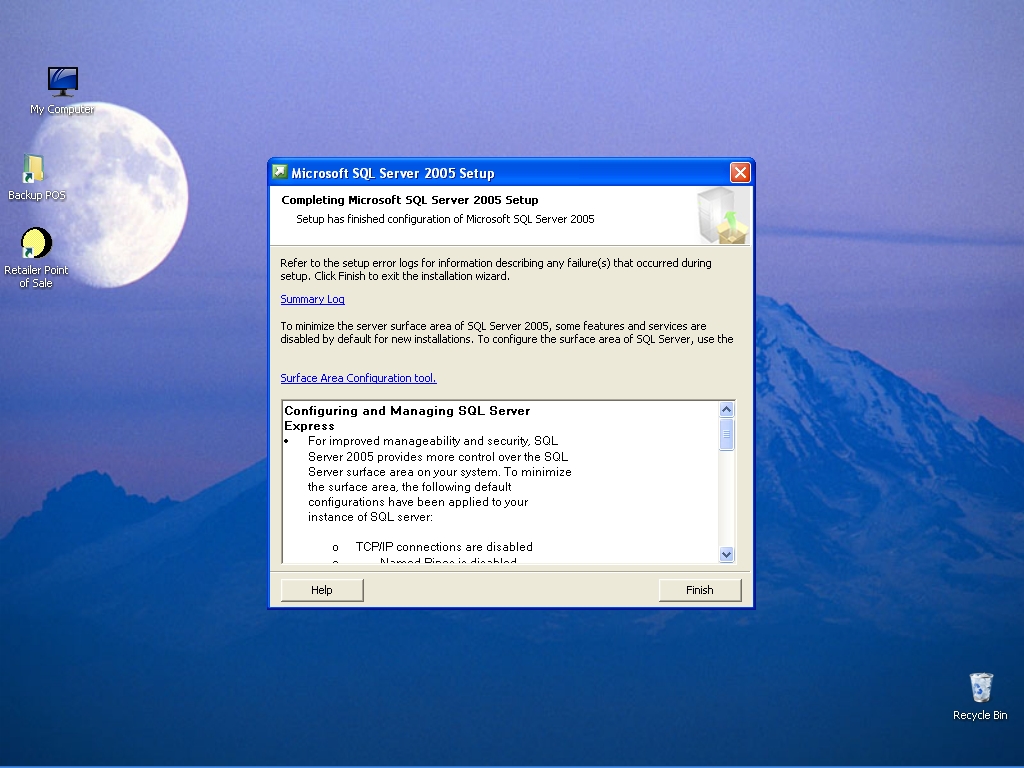
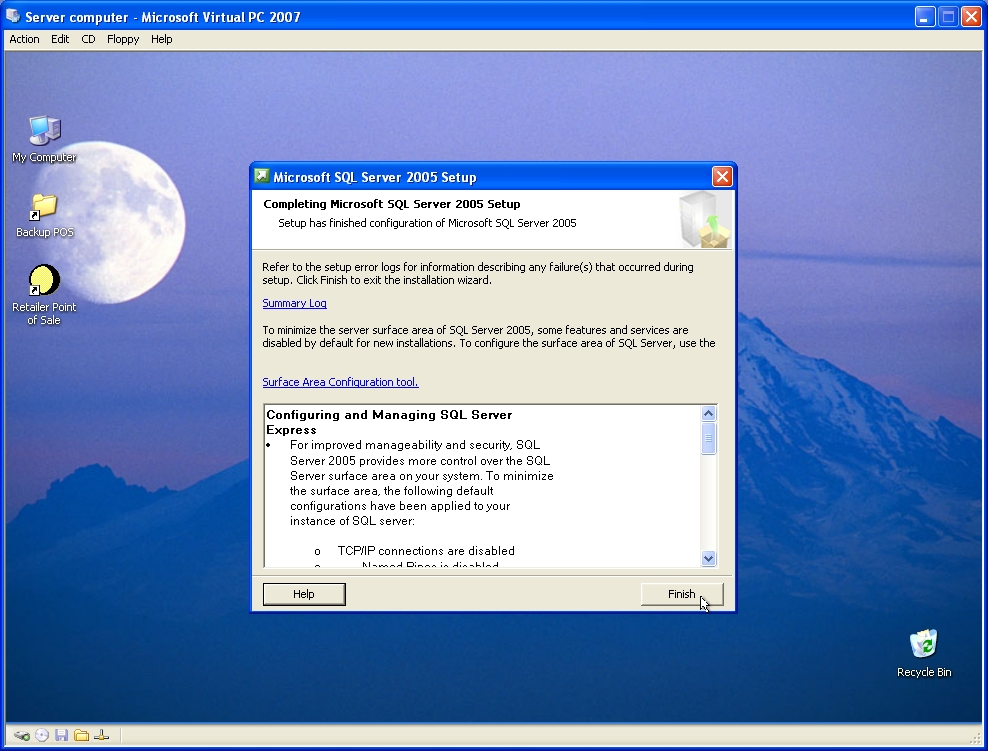
SQL server 2005 Express installation is complete. Click Finish to exit the installation.
-

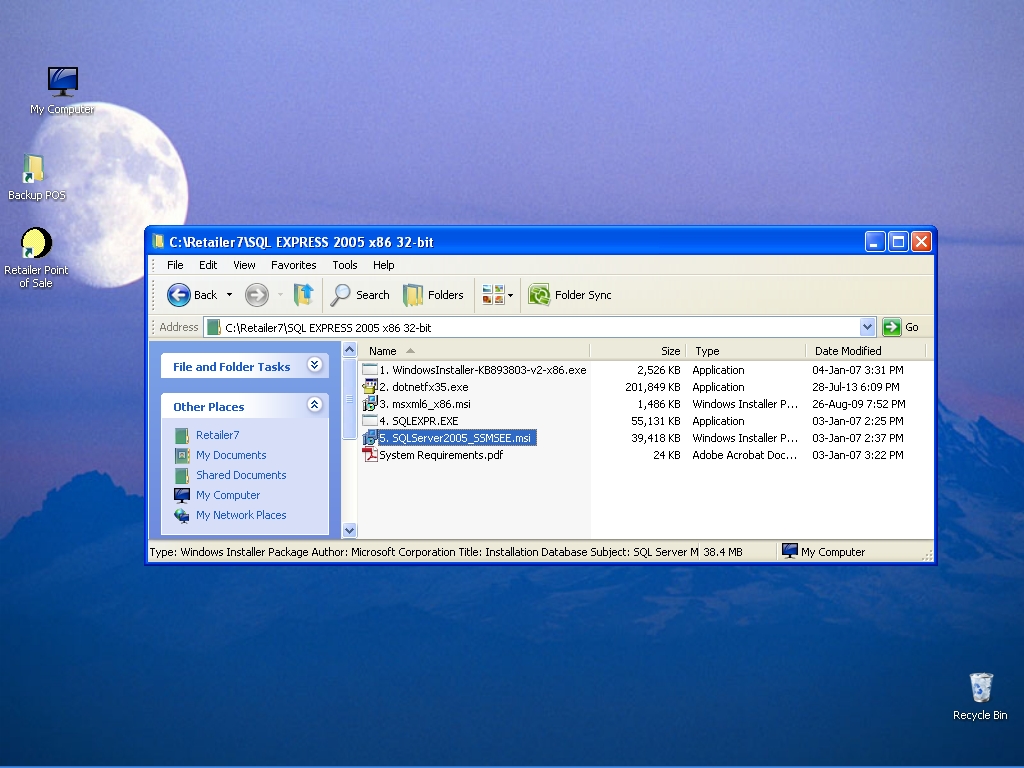
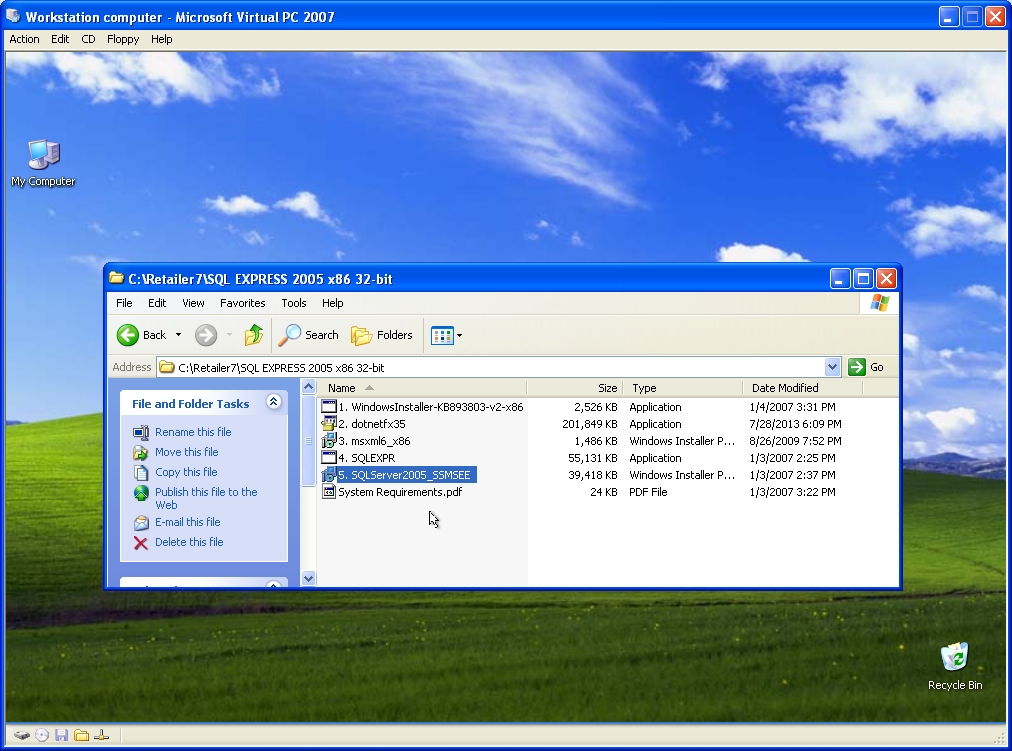
Choose the 5th file “sqlserver2005_ssmsee.msi”, to install the “Microsoft SQL Server Management Studio 2005 Express” program.
-

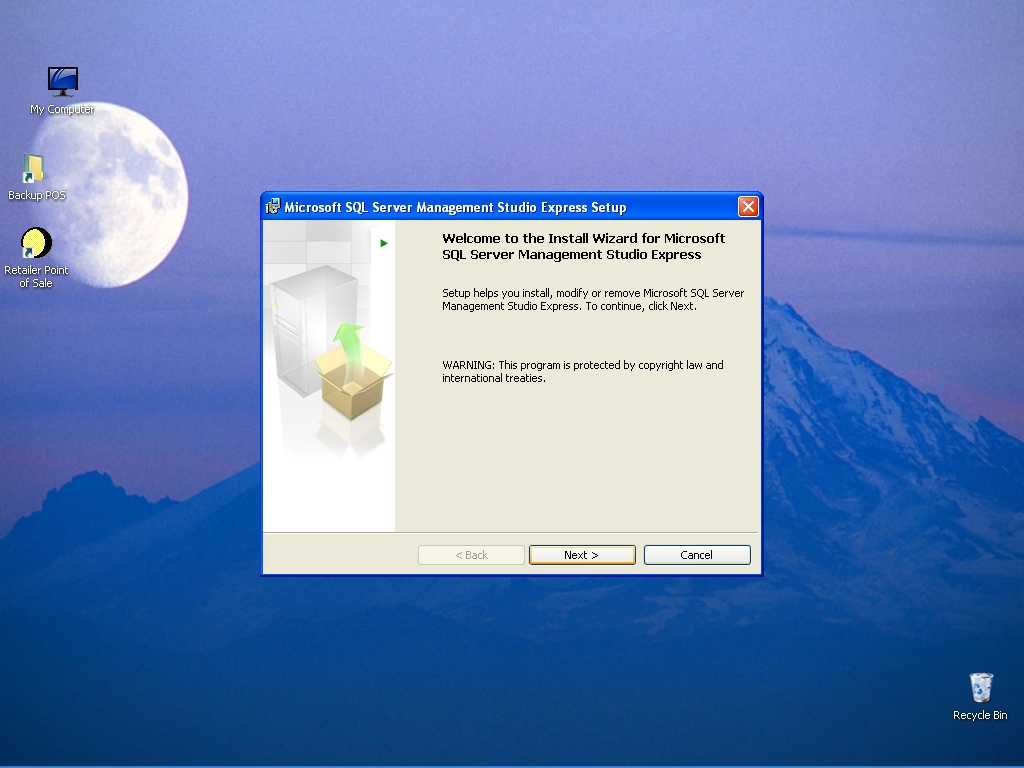
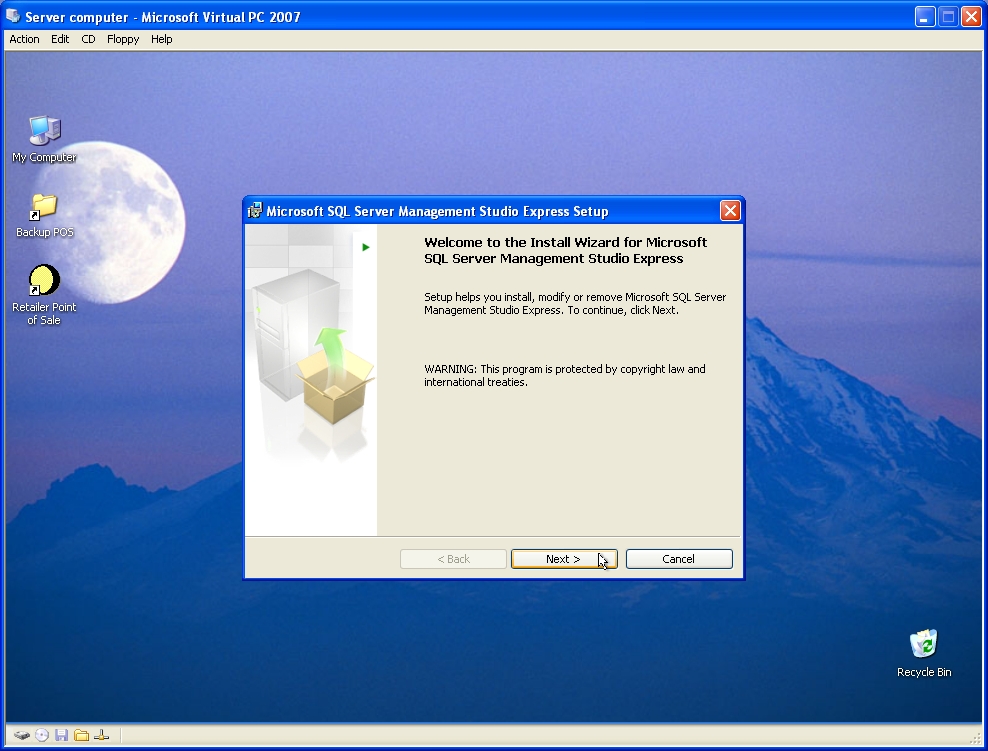
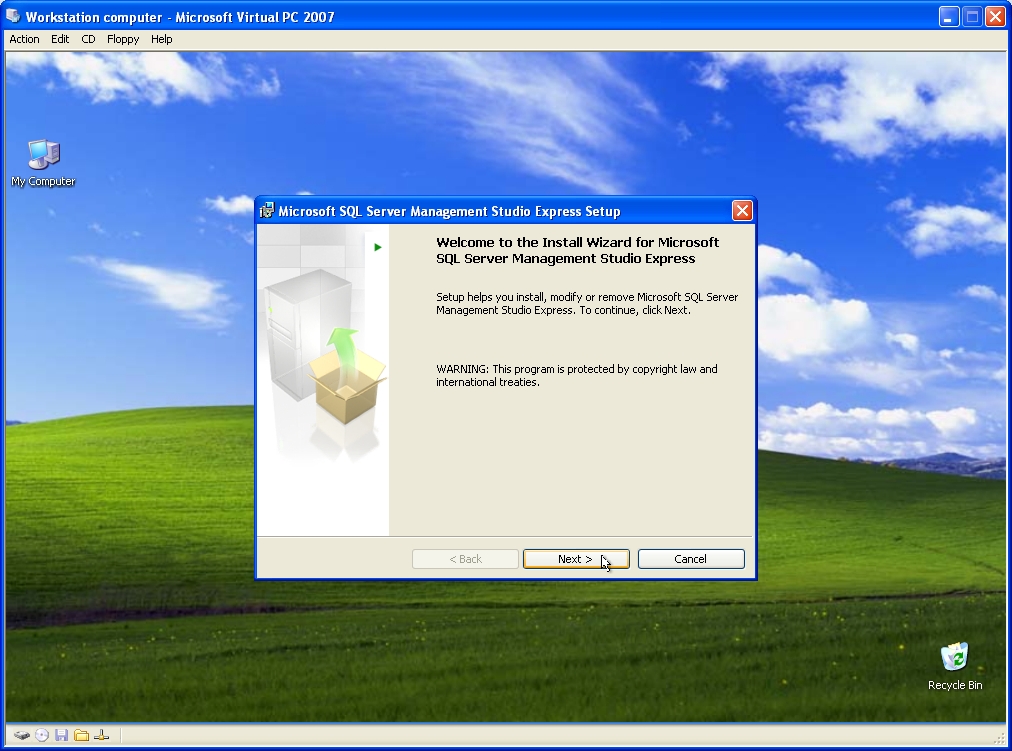
The “Microsoft SQL Server Management Studio 2005 Express” is ready to be installed. Click next to continue the installation.
-

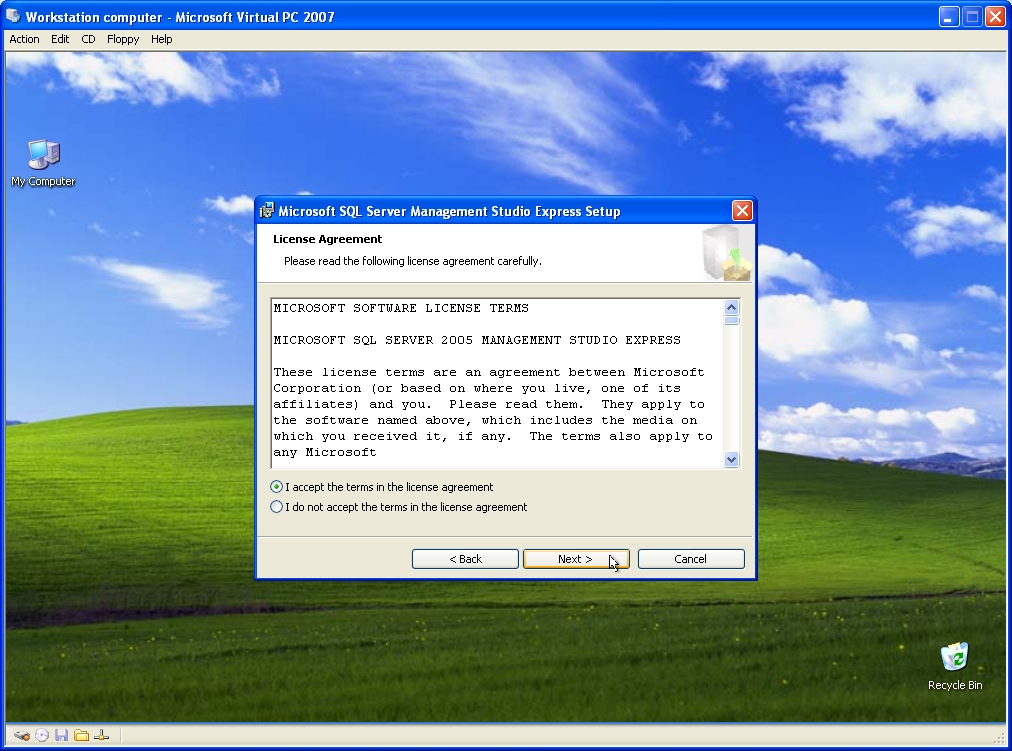
If you Accept license terms, then click next to continue.
-
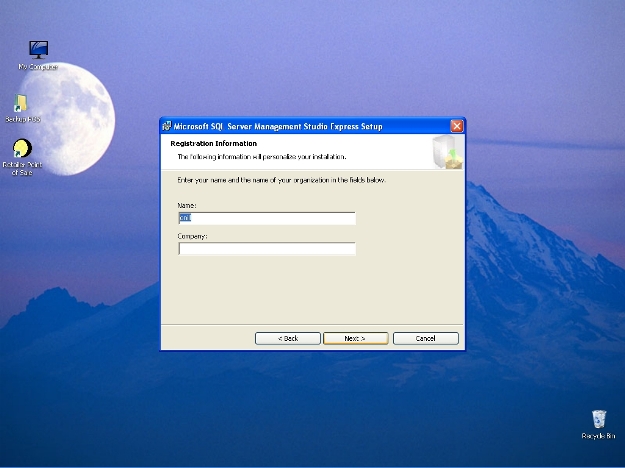
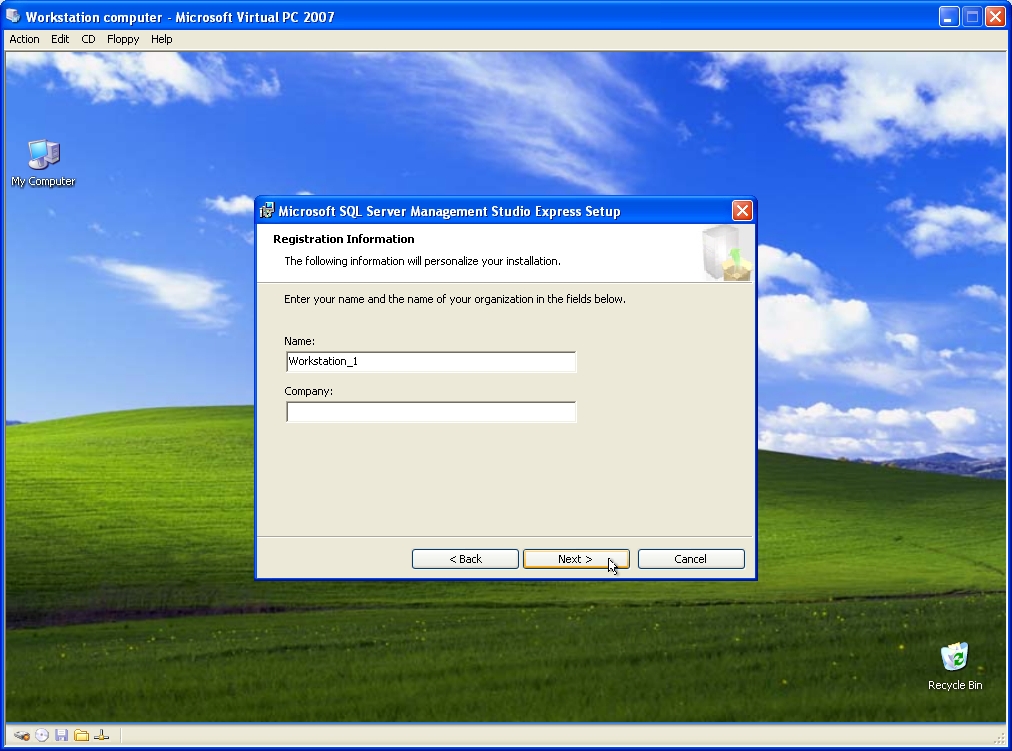
Fill-in the blank fields, and then click next to continue.
-

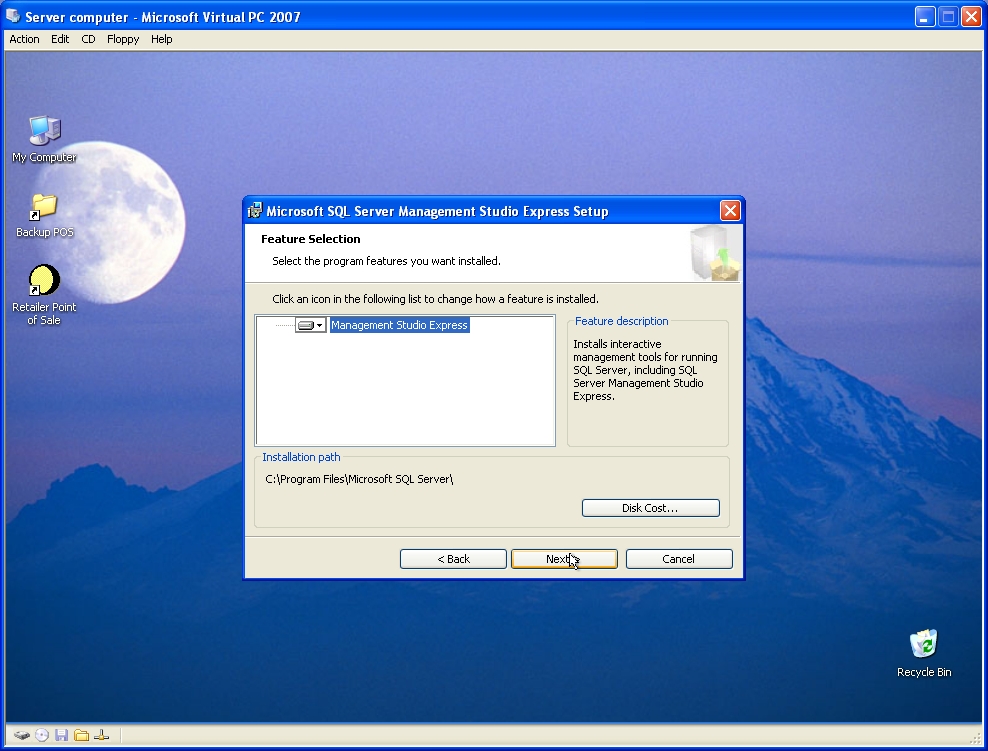
Accept the default options given on the screen as shown in the picture, and then click next to continue
-
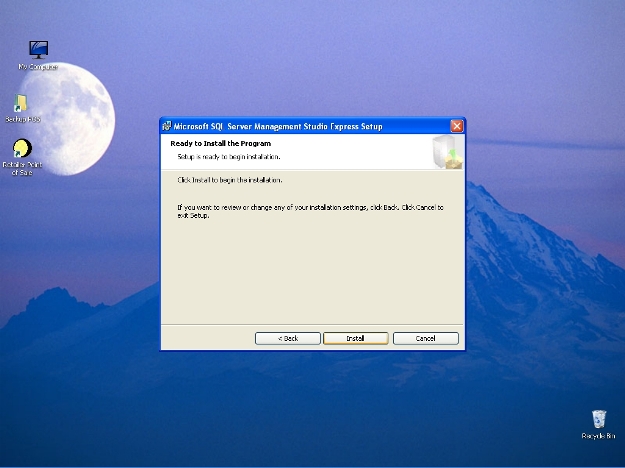
The program is now ready to install “Microsoft SQL Server Management Studio 2005 Express”. Click install to continue.
-
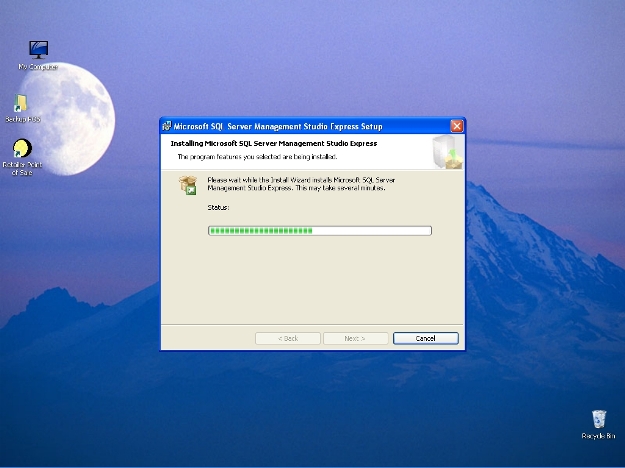
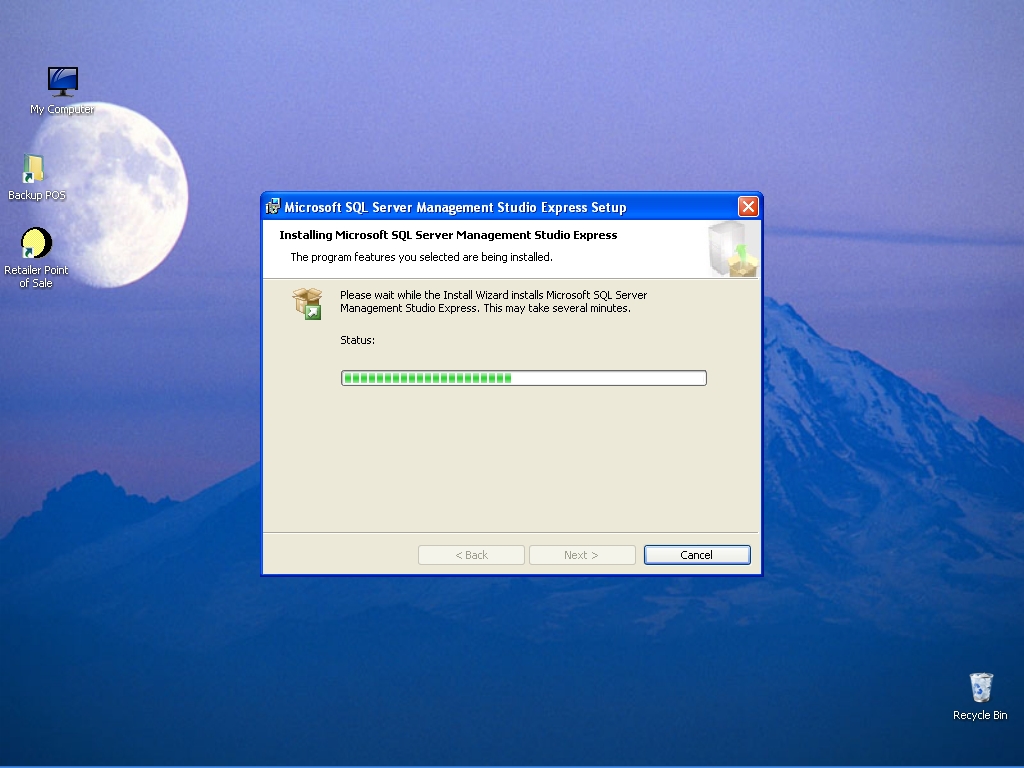
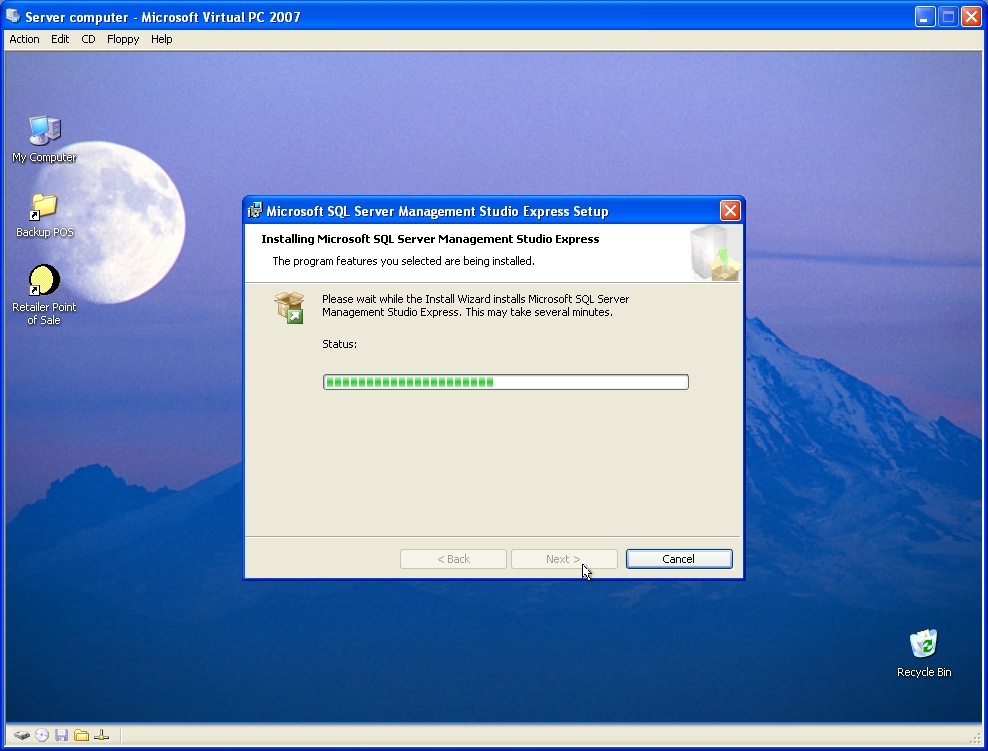
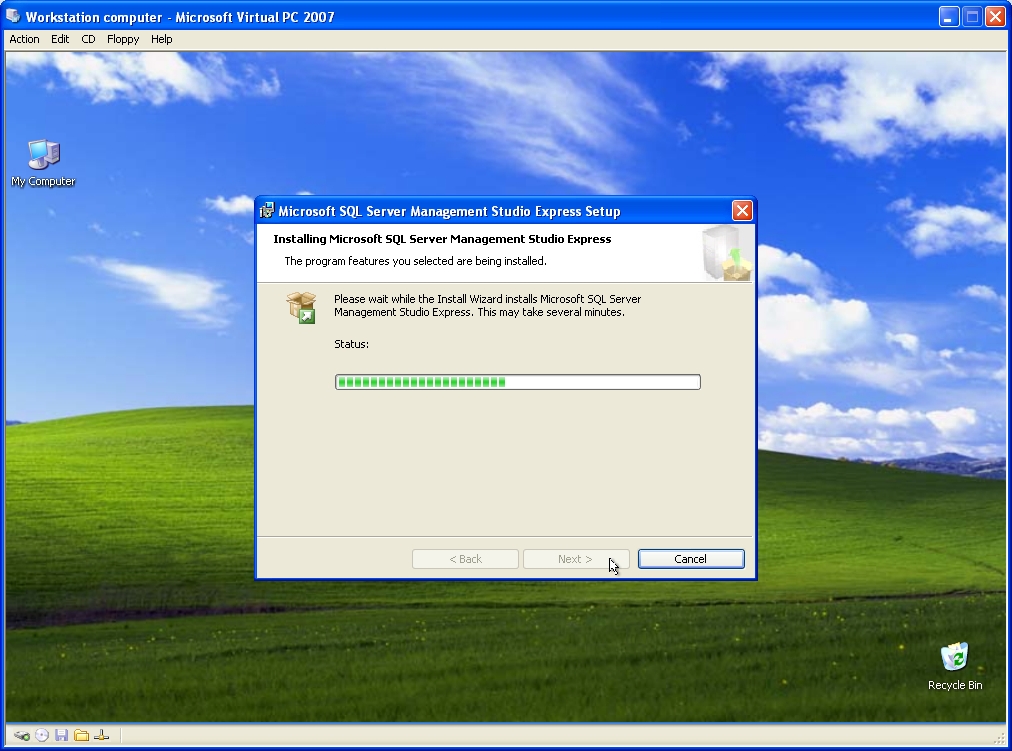
SQL Server Management Studio 2005 Express installation is in progress.
-
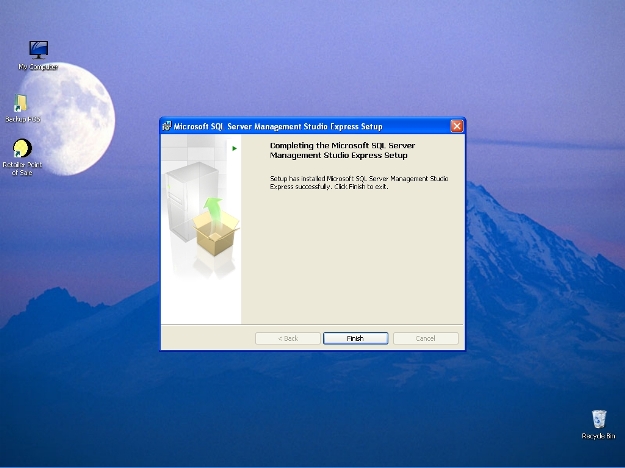
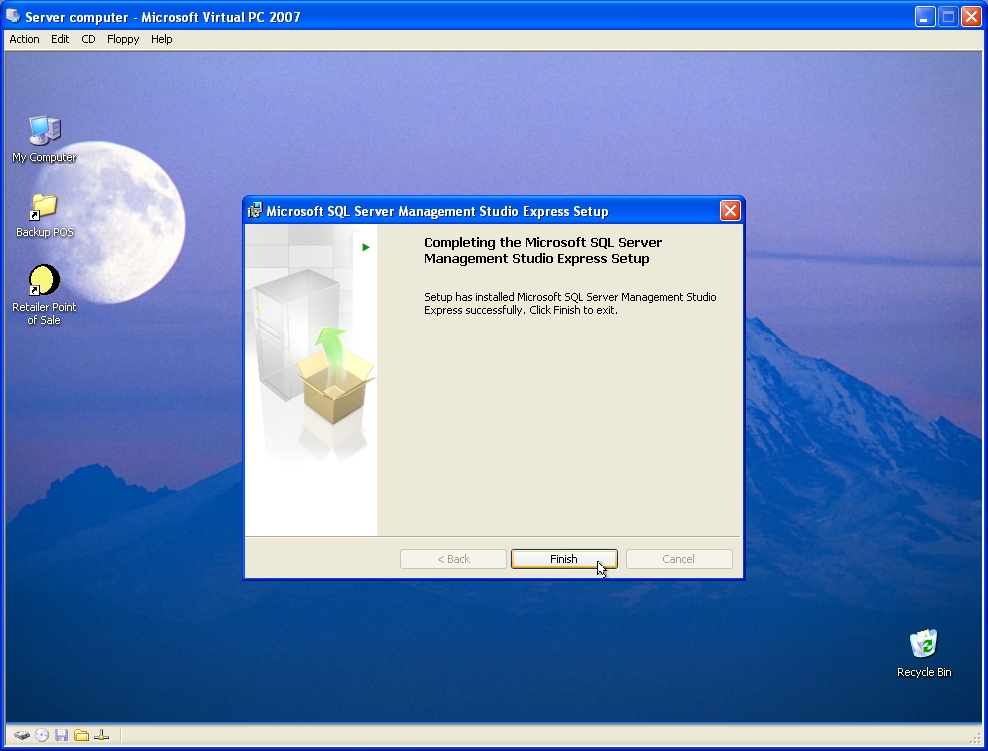
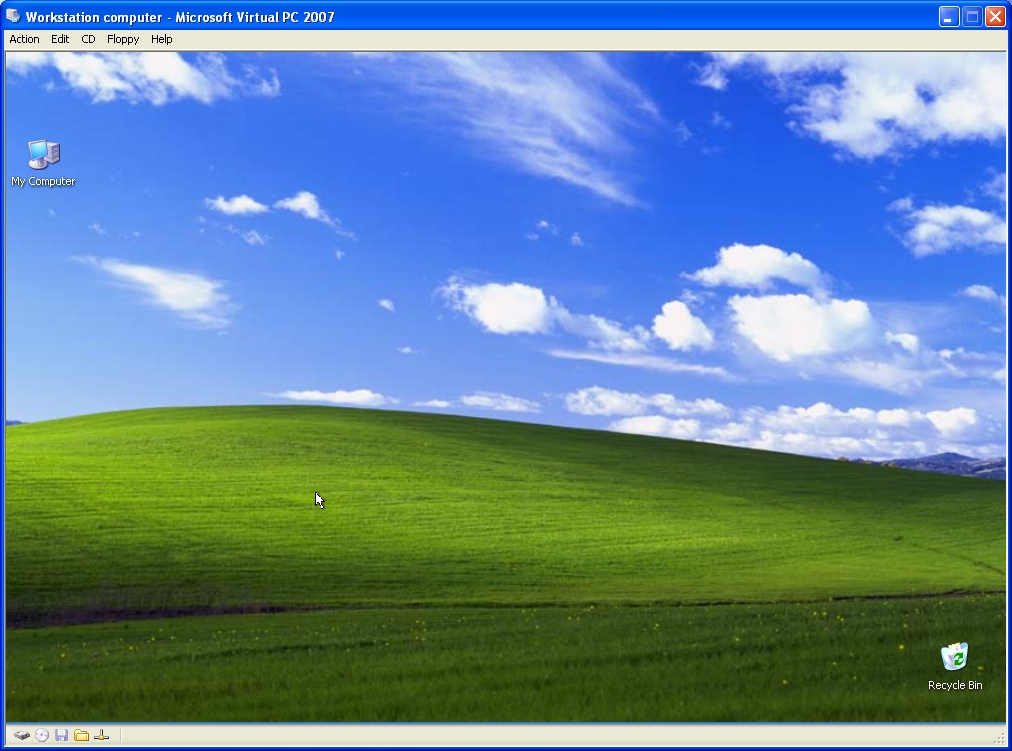
SQL Server Management Studio 2005 Express installation is complete. Click Finish to exit the installation.
-

The next step is to configure SQL Server 2005 Express.
-
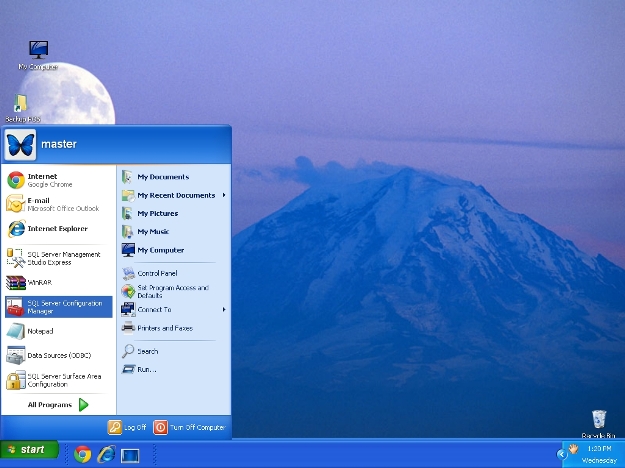
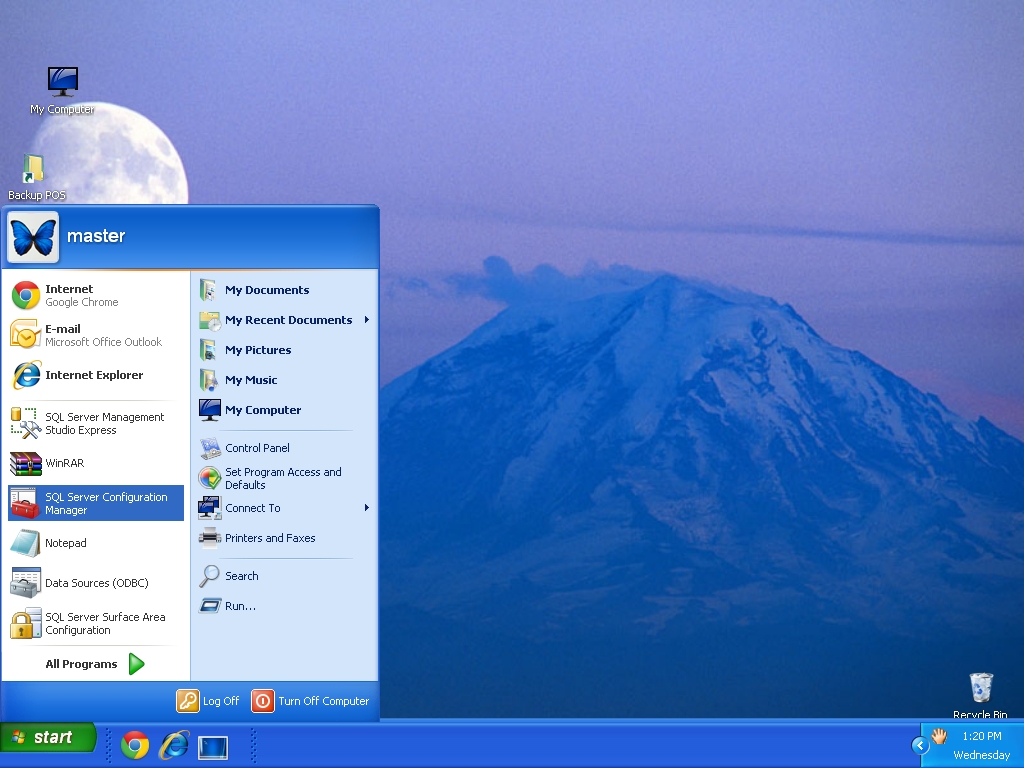
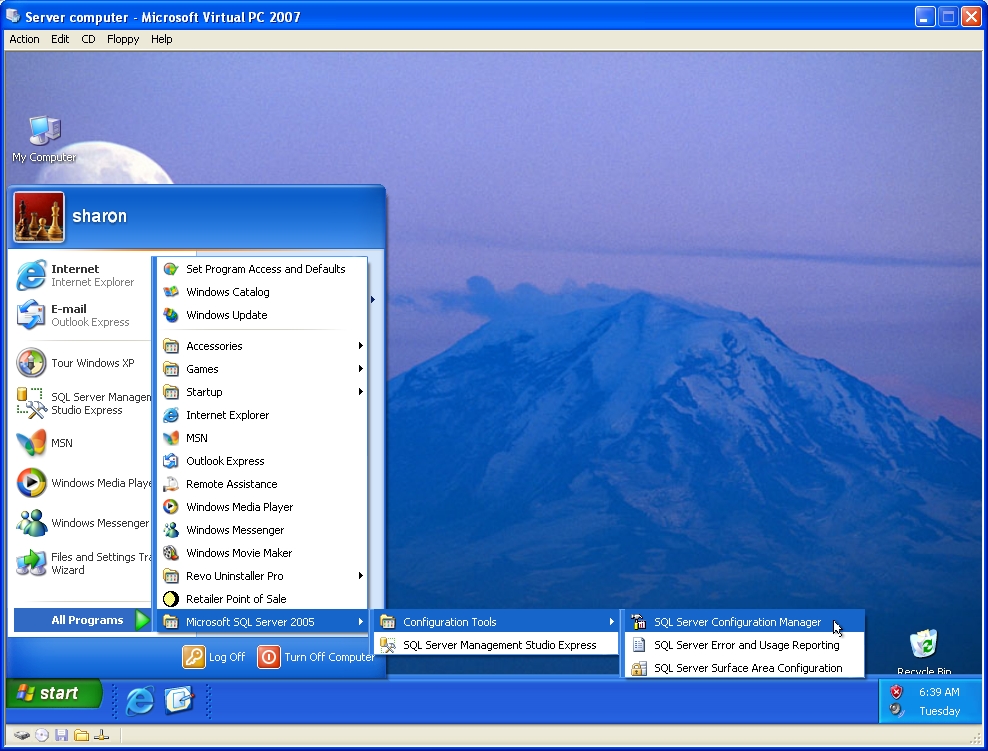
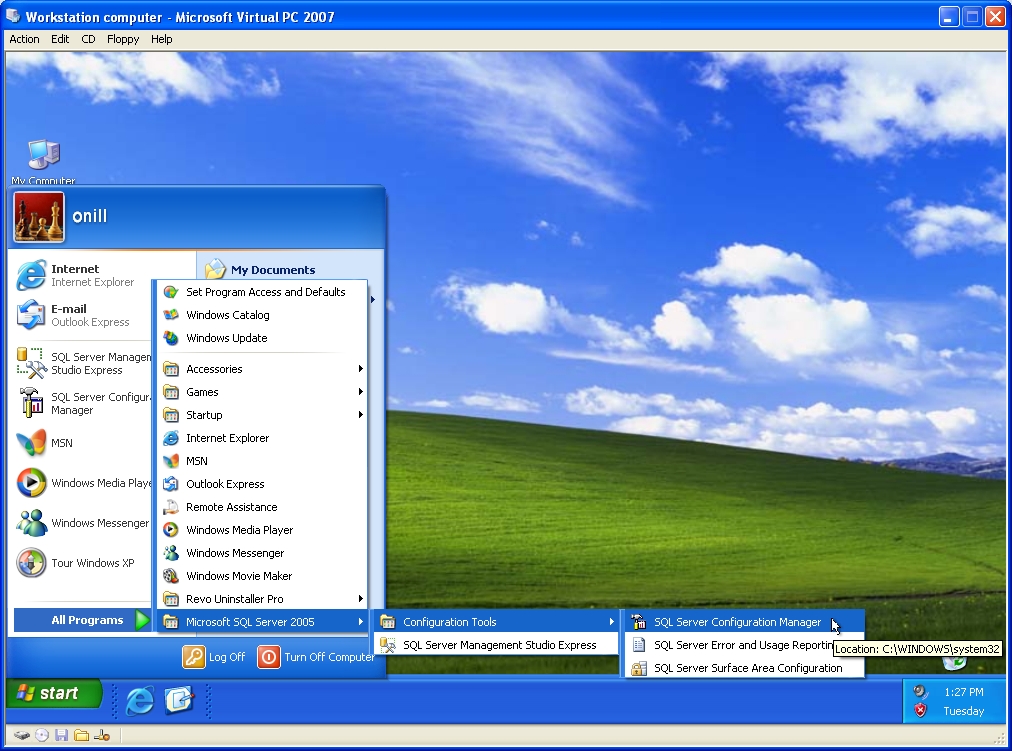
Open the “SQL Server Configuration Manager”.
-

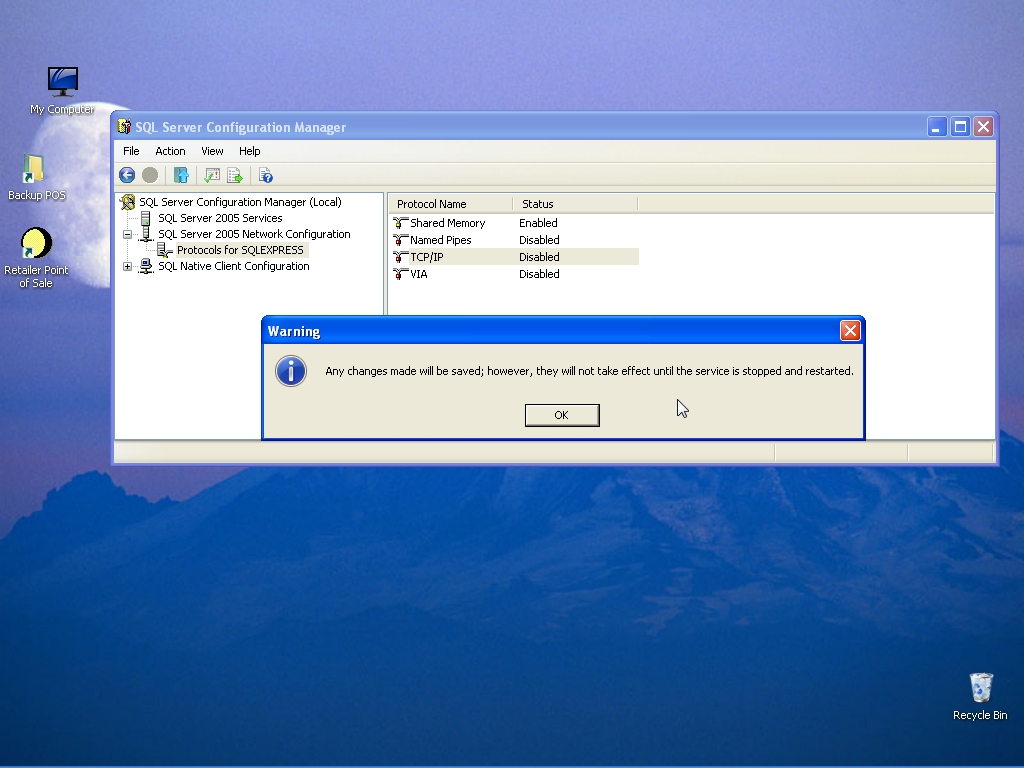
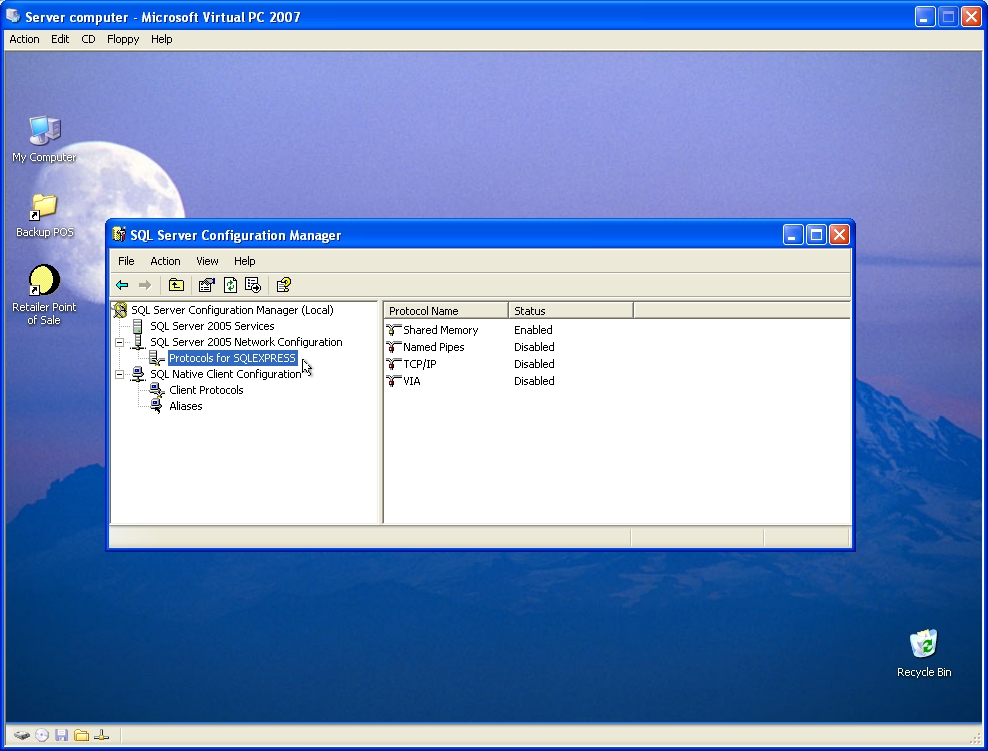
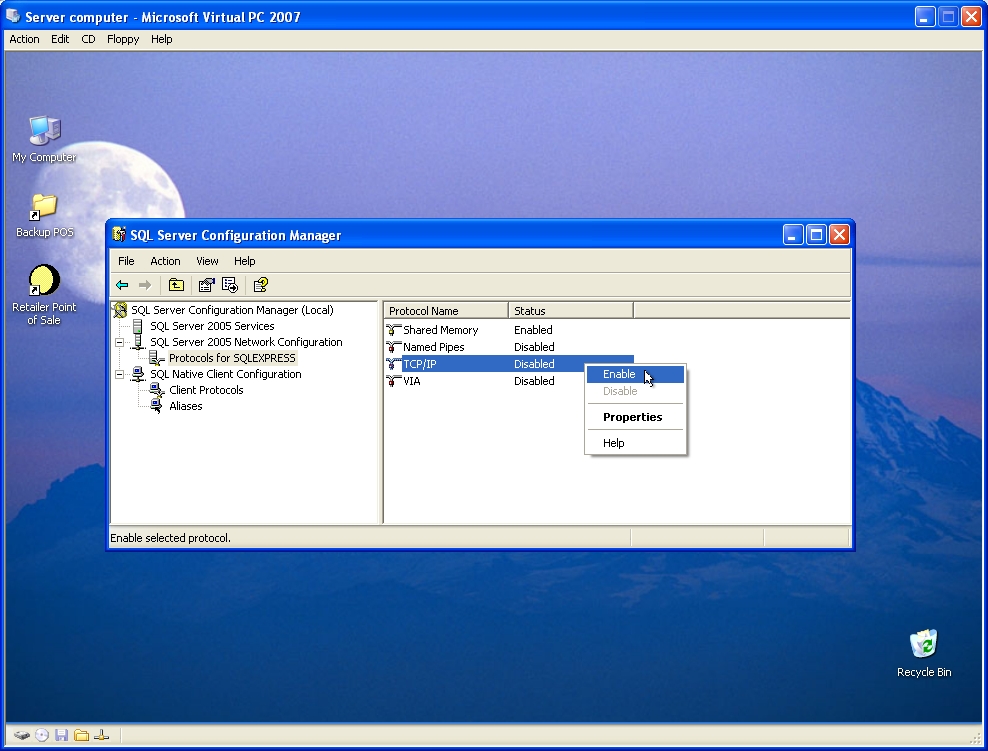
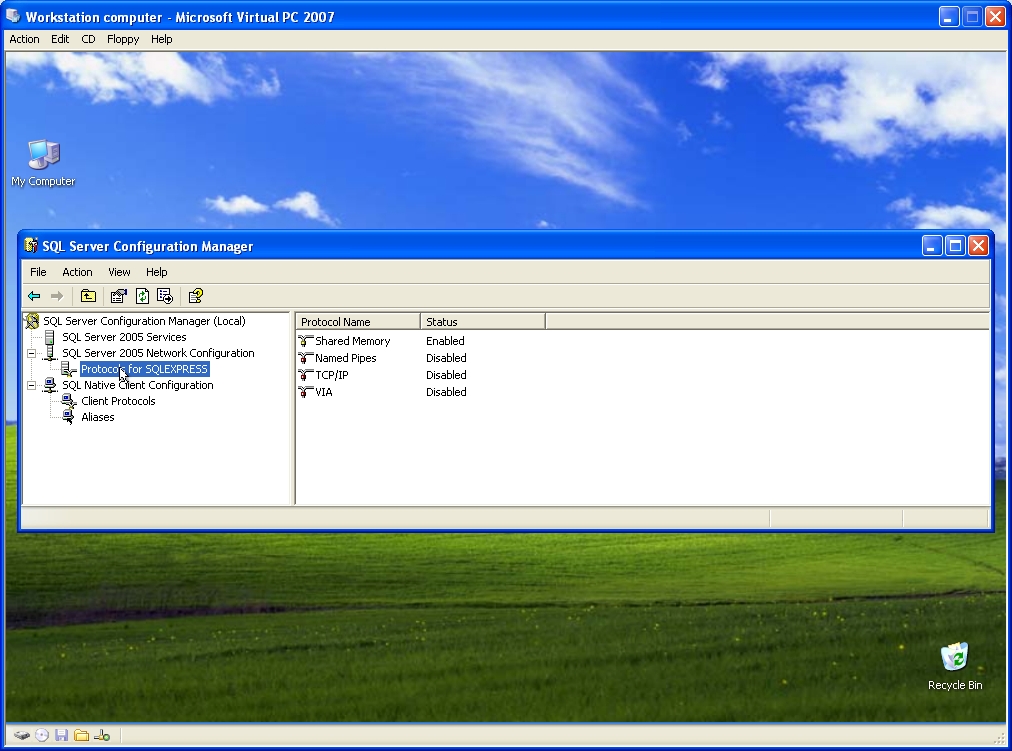
On the left side, under the “Network configuration” link, open “Protocols for SQLEXPRESS”.
-
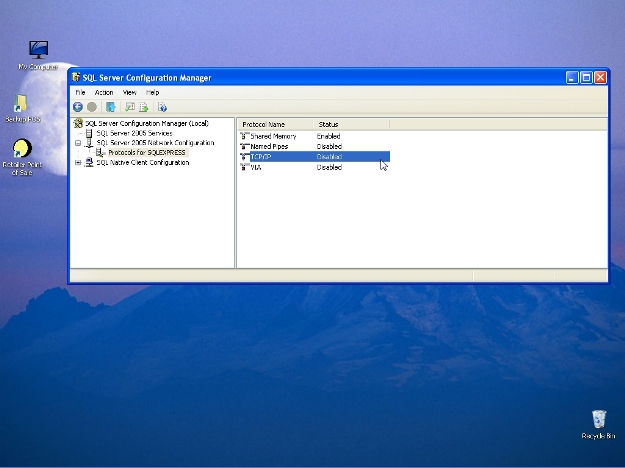
Select “TCP/IP”. This should be Enabled.
-

Right click to change “TCP/IP” to Enable.
-

A reminder message to STOP and then RESTART the SQL server and the SQL browser.
-

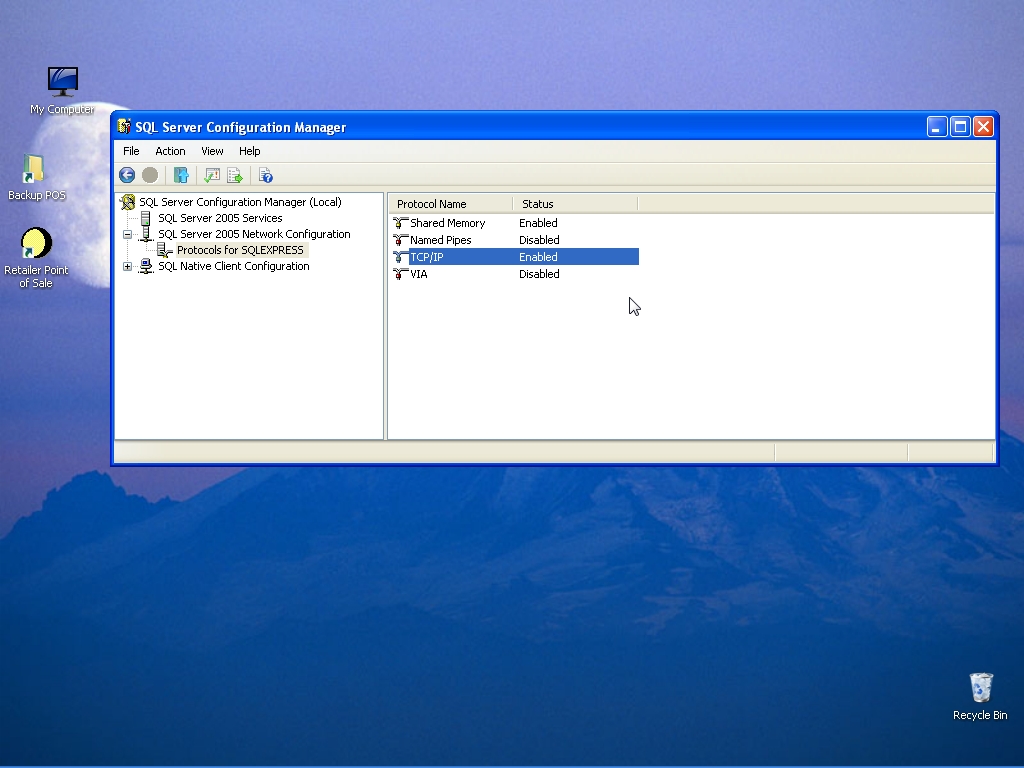
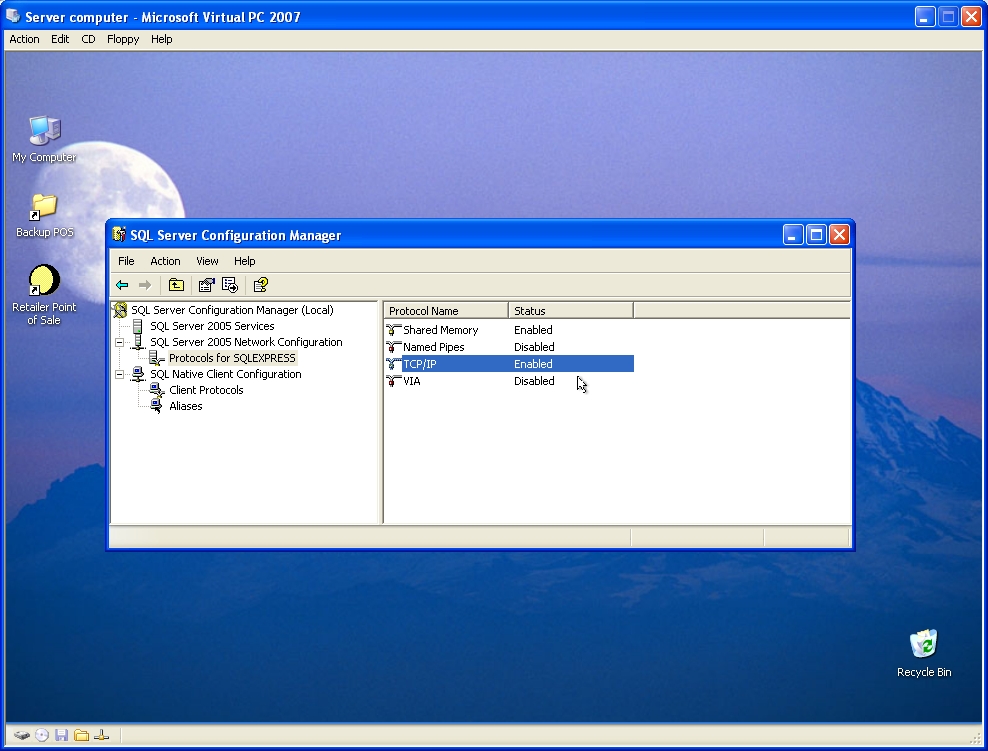
“TCP/IP” is now Enabled. But SQL server and SQL browser must be RESTARTED to effect the “TCP/IP” change.
-

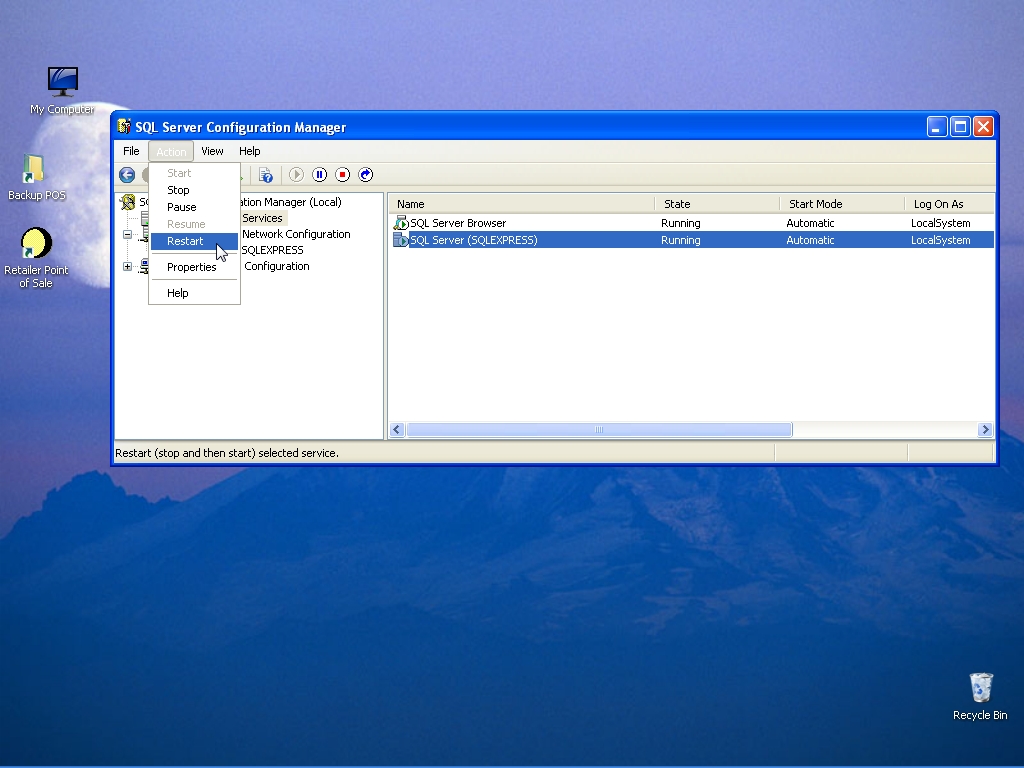
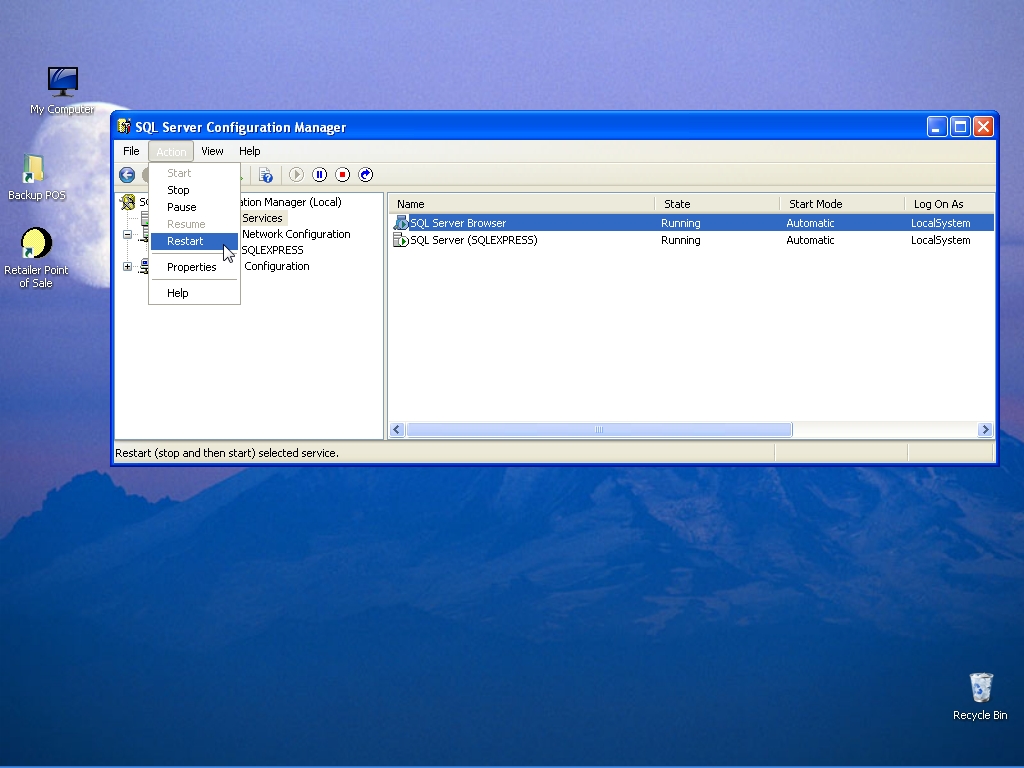
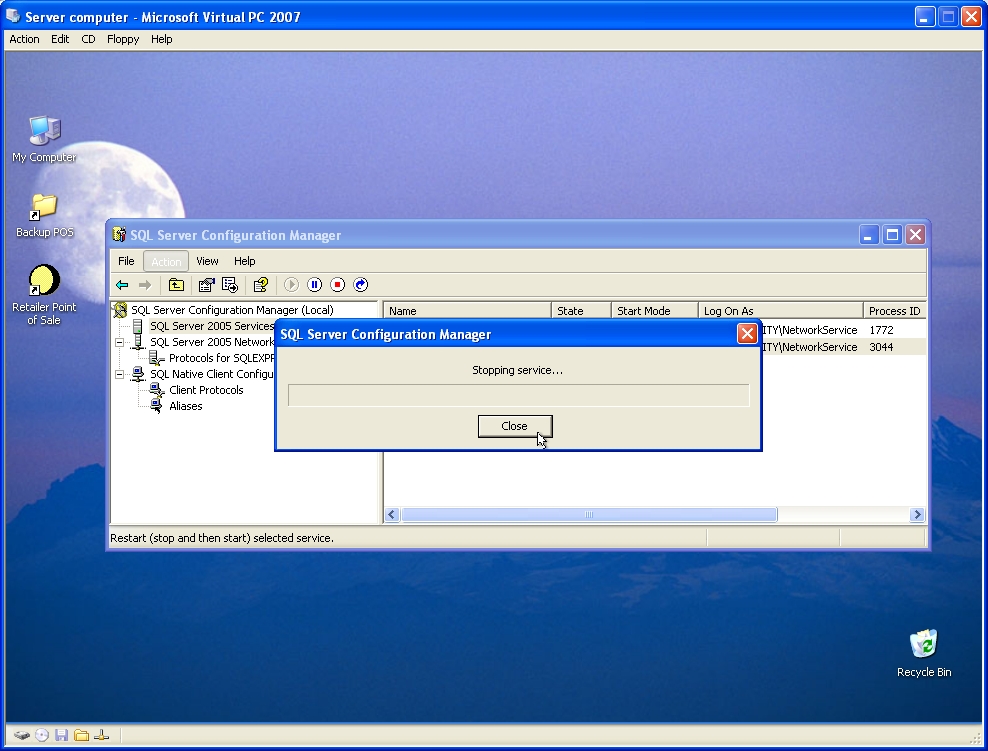
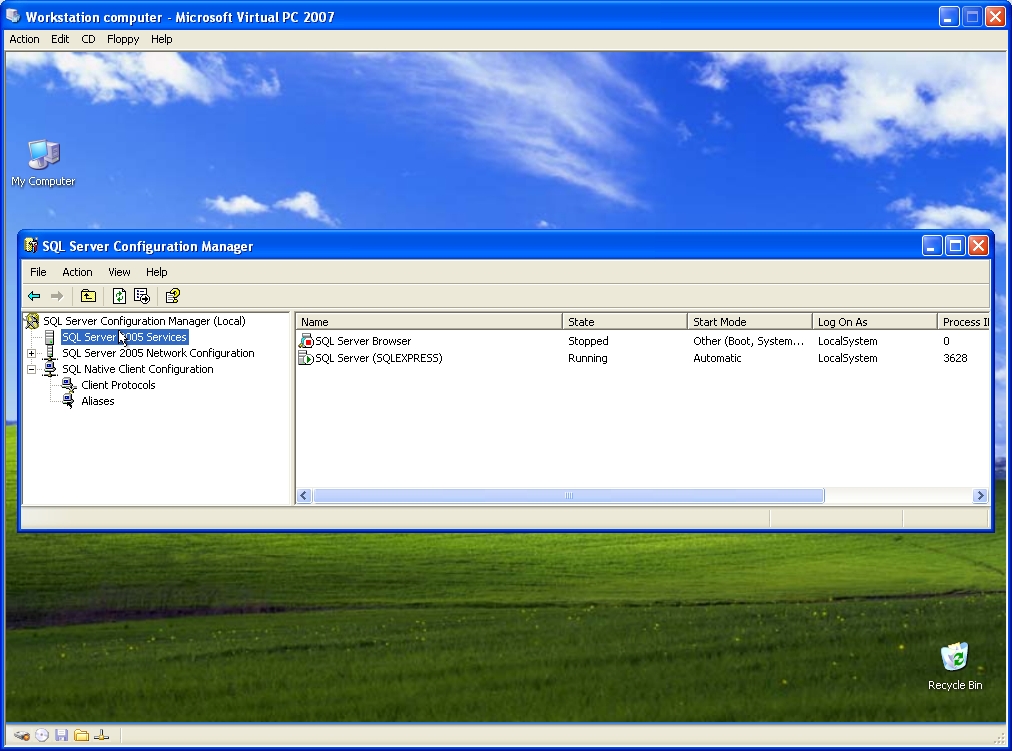
Select the “SQL server (SQLEXPRESS)”
-

From the “Action” menu, select “Restart”. This will restart the SQL server to effect the “TCP/IP” Enabled change.
-
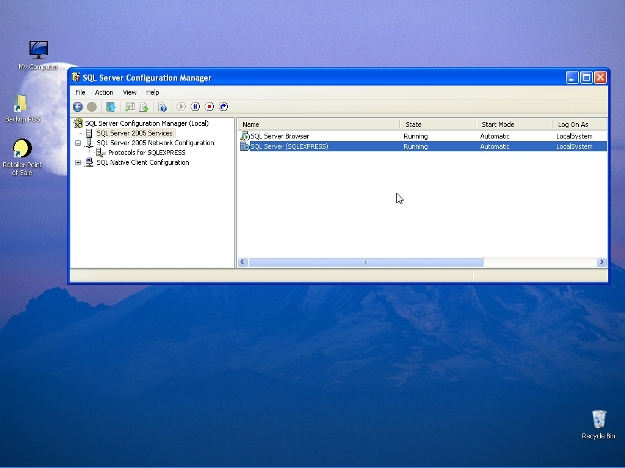
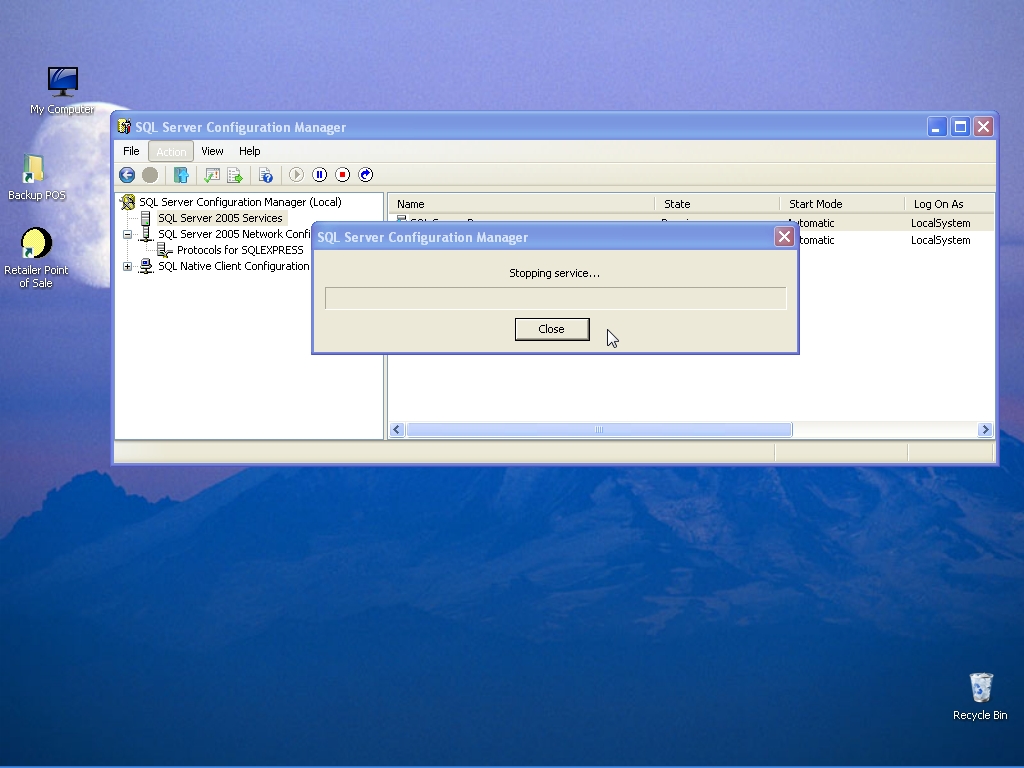
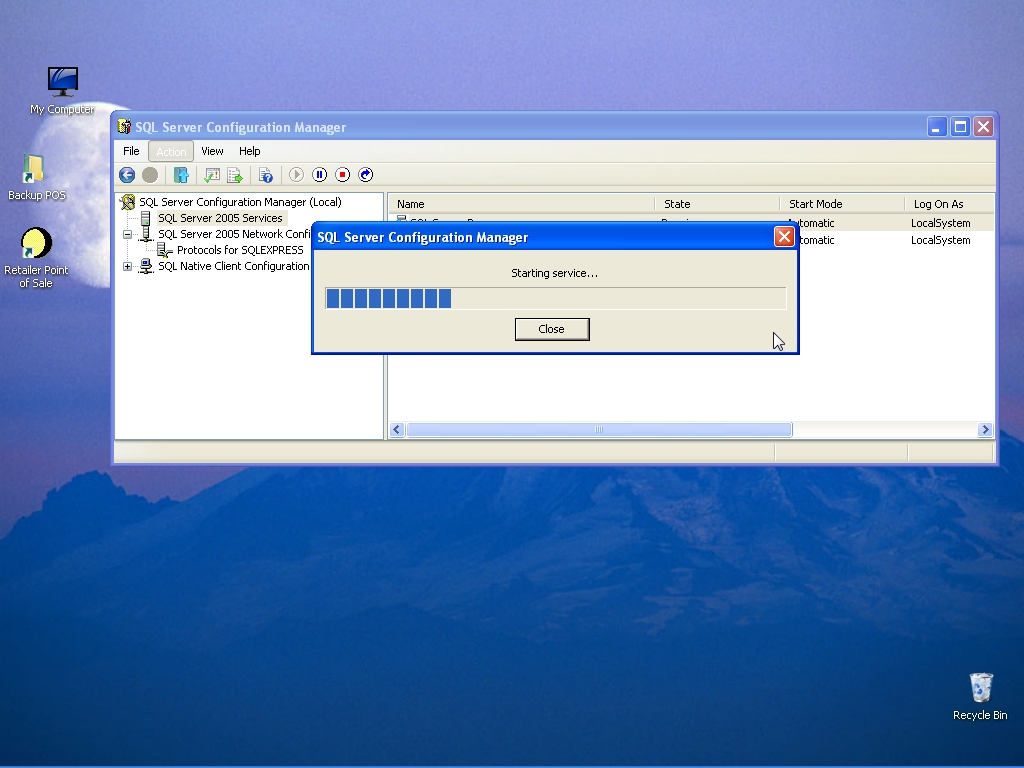
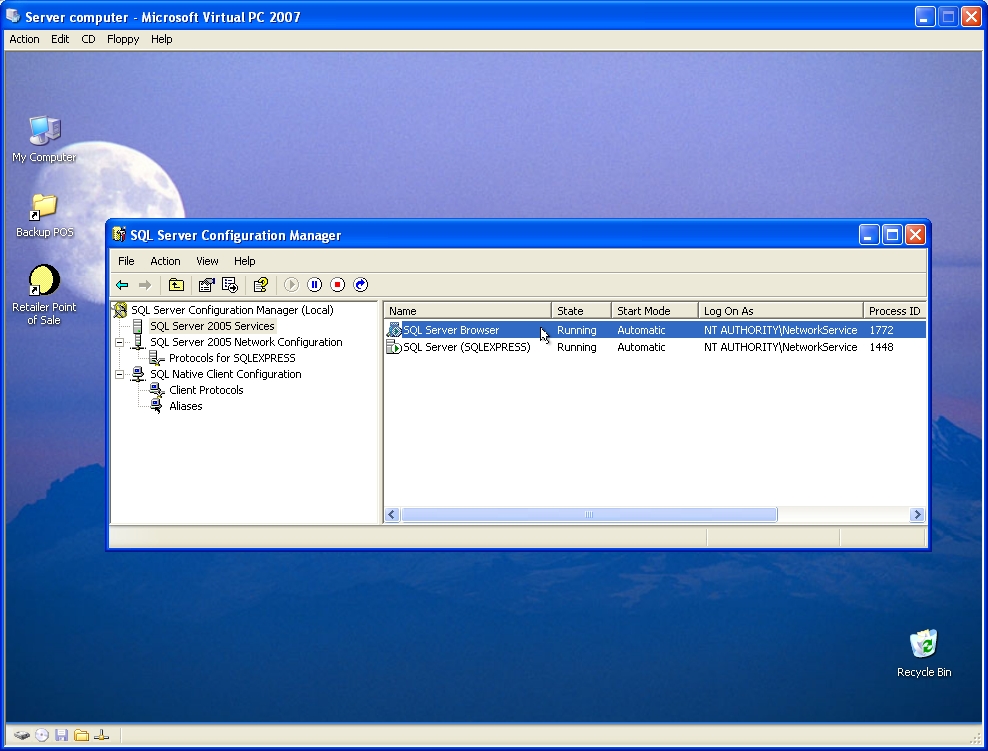
The “SQL Server (SQLEXPRESS)” is now restarted and the “TCP/IP” Enabled changed is now in effect.
-

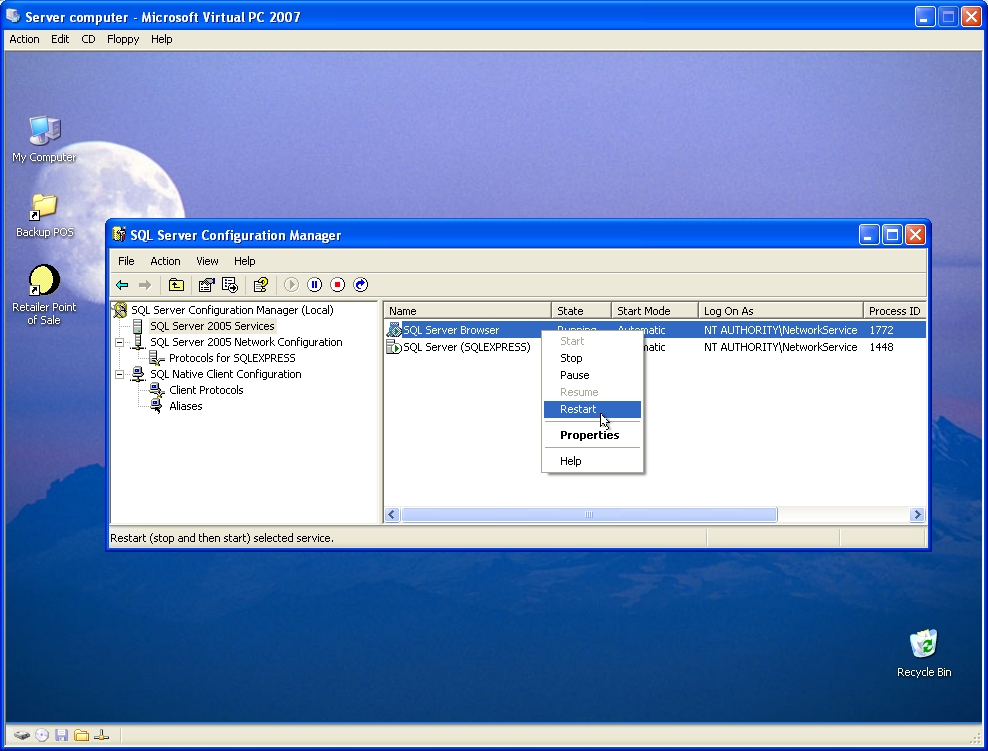
Select the “SQL Server Browser”
-
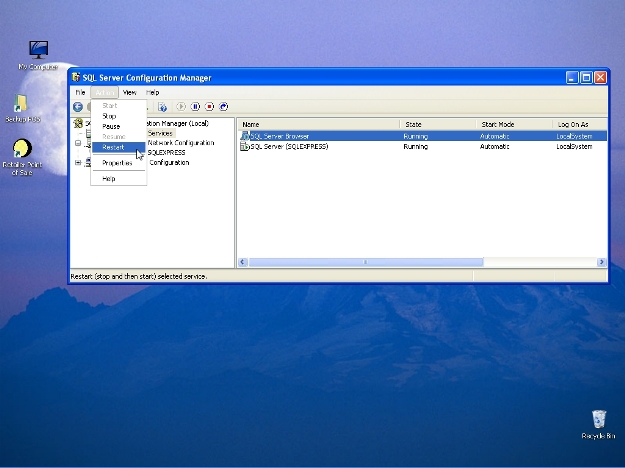
From the “Action” menu, select “Restart”. This will restart the “SQL server browser” to effect the “TCP/IP” Enabled change.
-
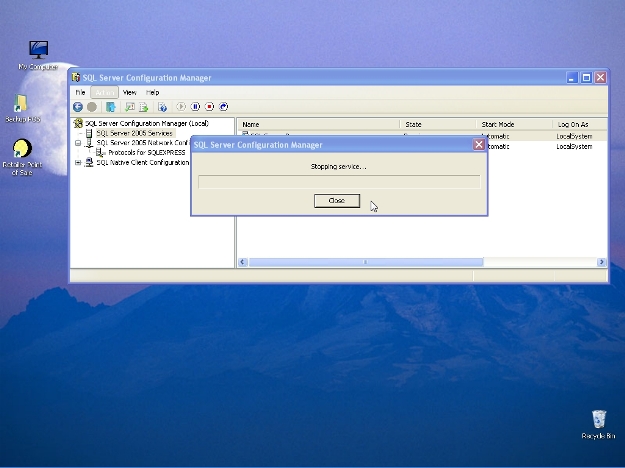
The “SQL Server Browser” is now restarted and the “TCP/IP” Enabled changed is now in effect.
-

The “SQL Server Browser” is now restarted and the “TCP/IP” Enabled changed is now in effect.
-
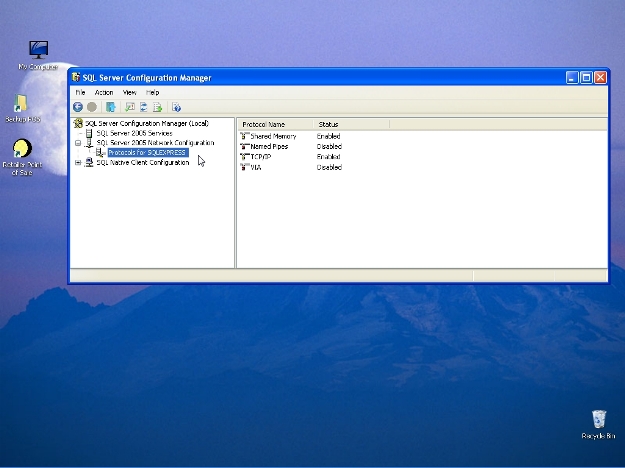
Select “Protocols for SQLEXPRESS”. The protocols on the right should be as shown in the picture.
-

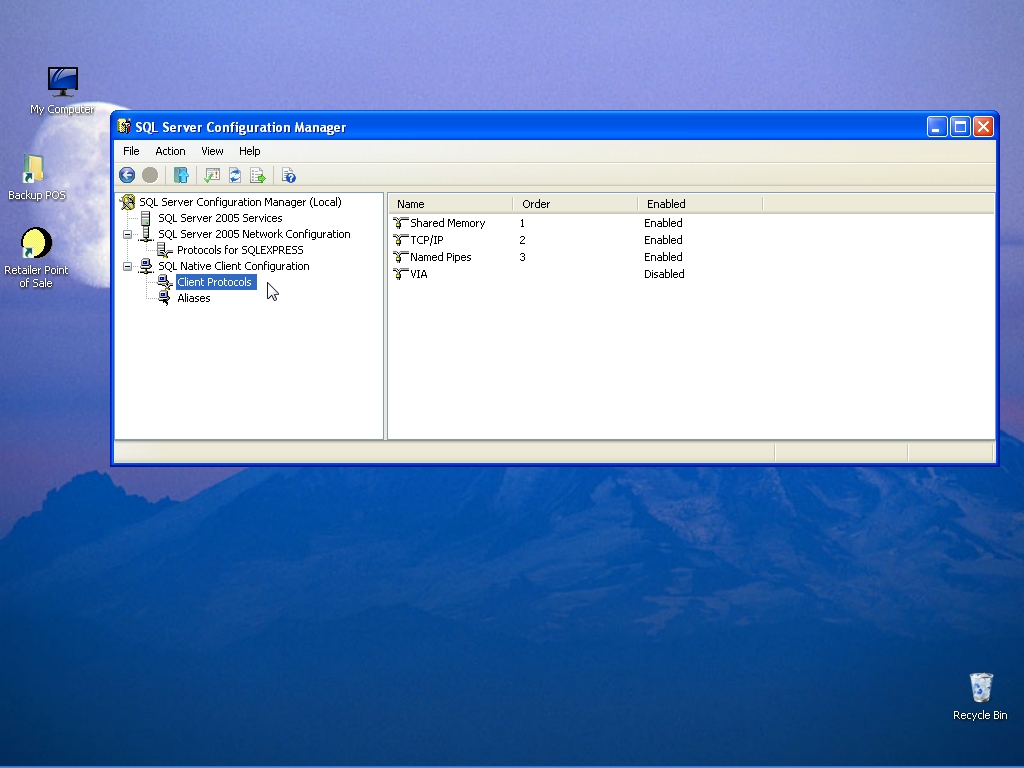
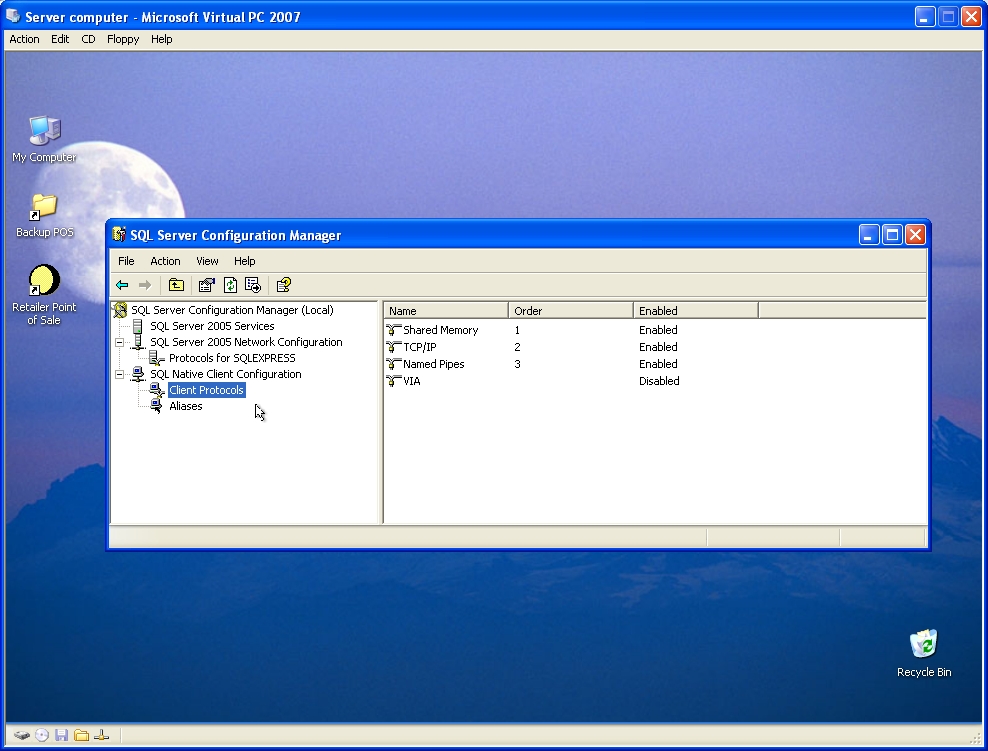
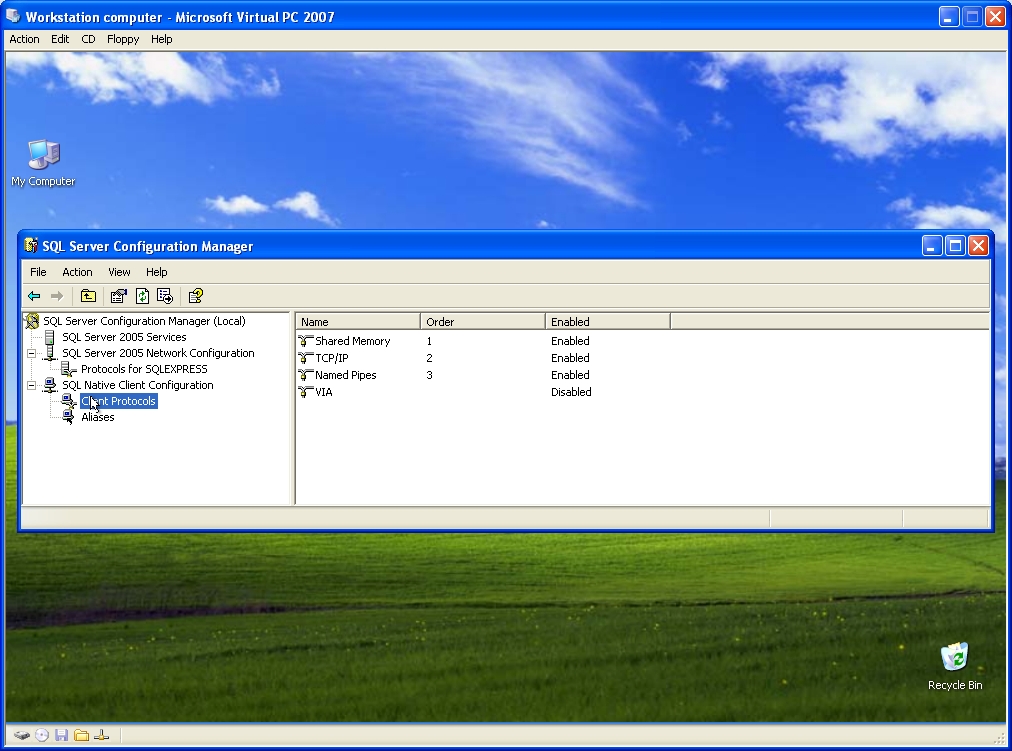
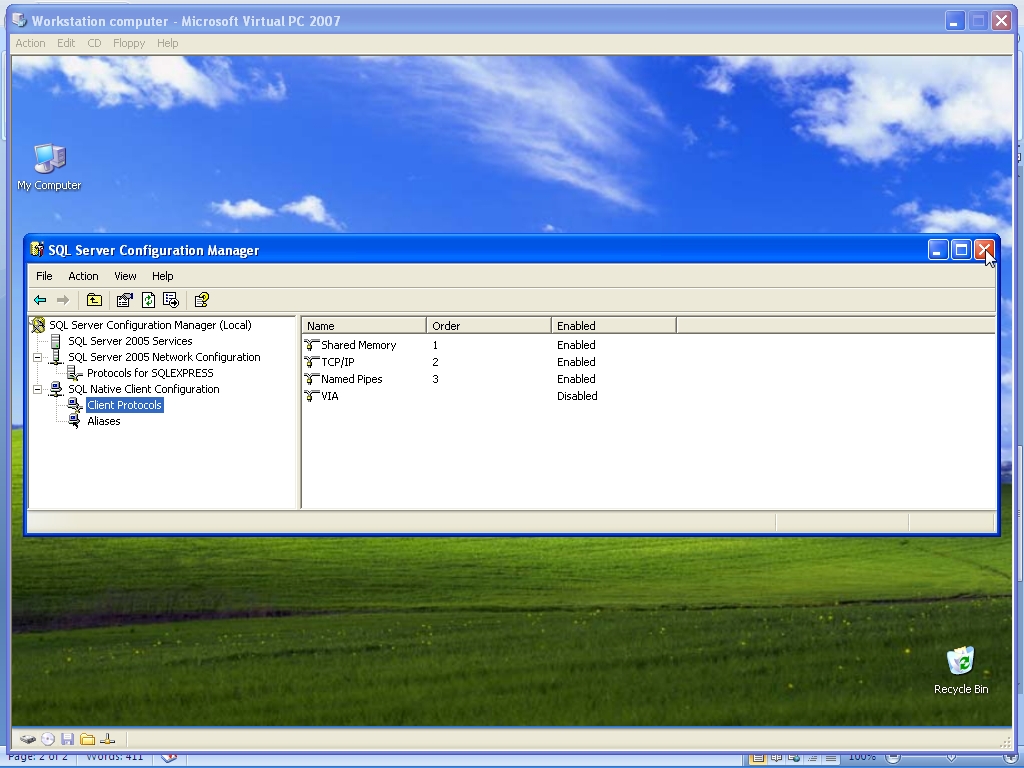
Select “Client protocols”. The protocols on the right should be as shown in the picture.
Configuration is now complete for SQL Server and SQL Browser.
-

The next step is to setup the ODBC connection.


